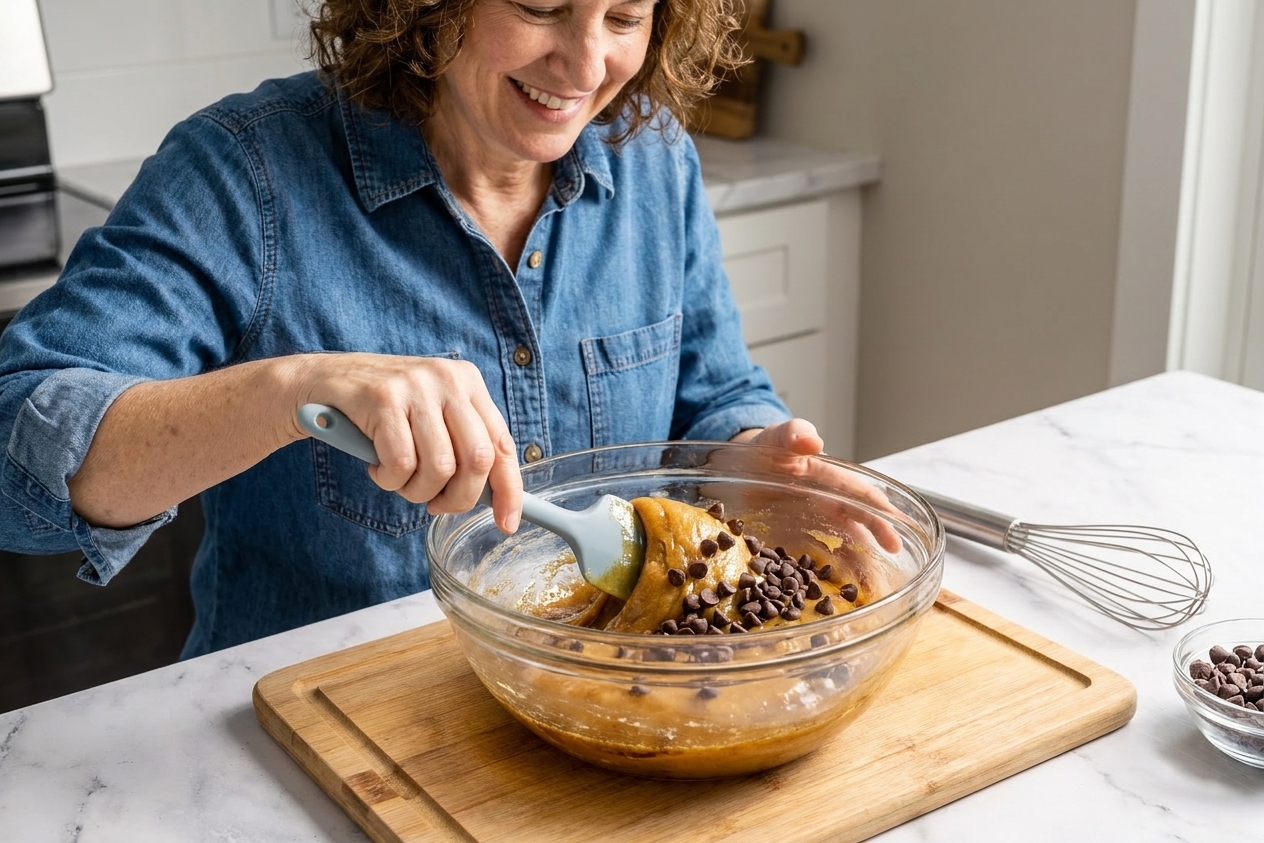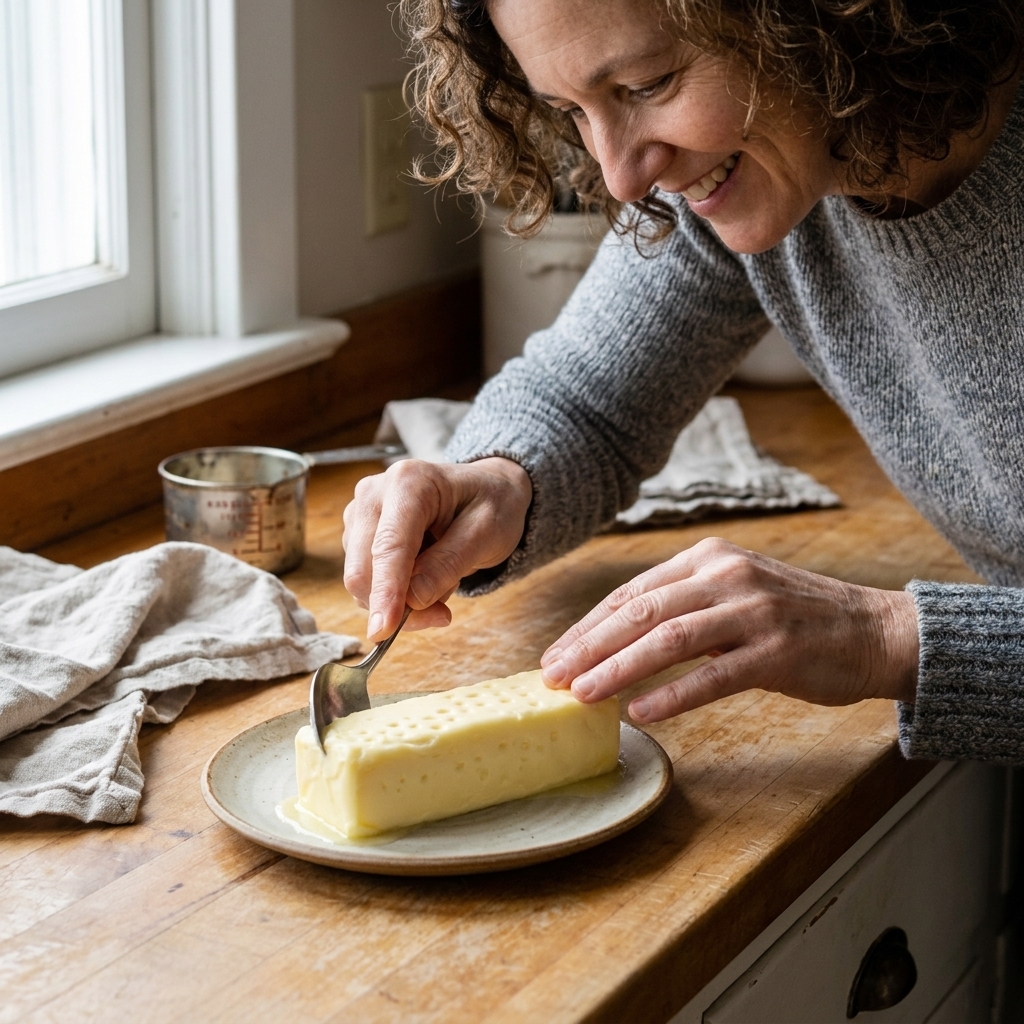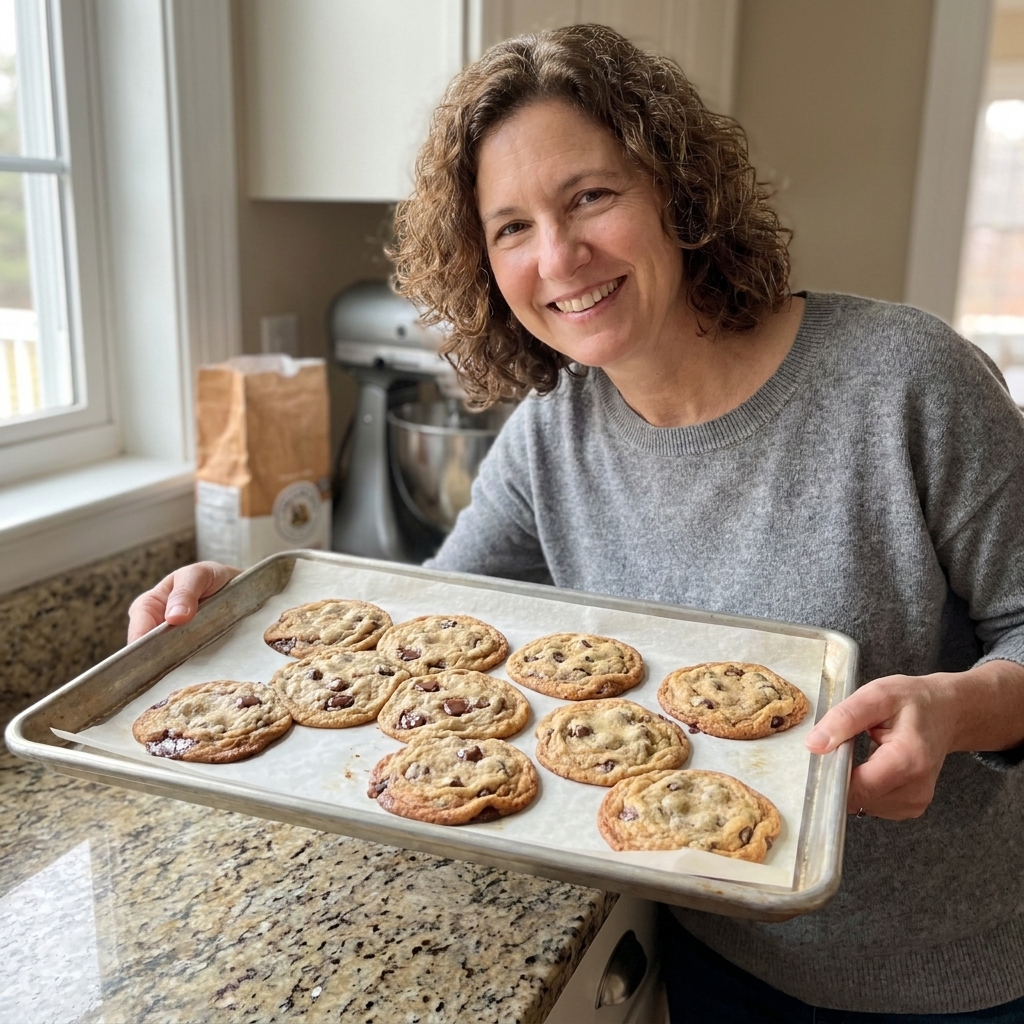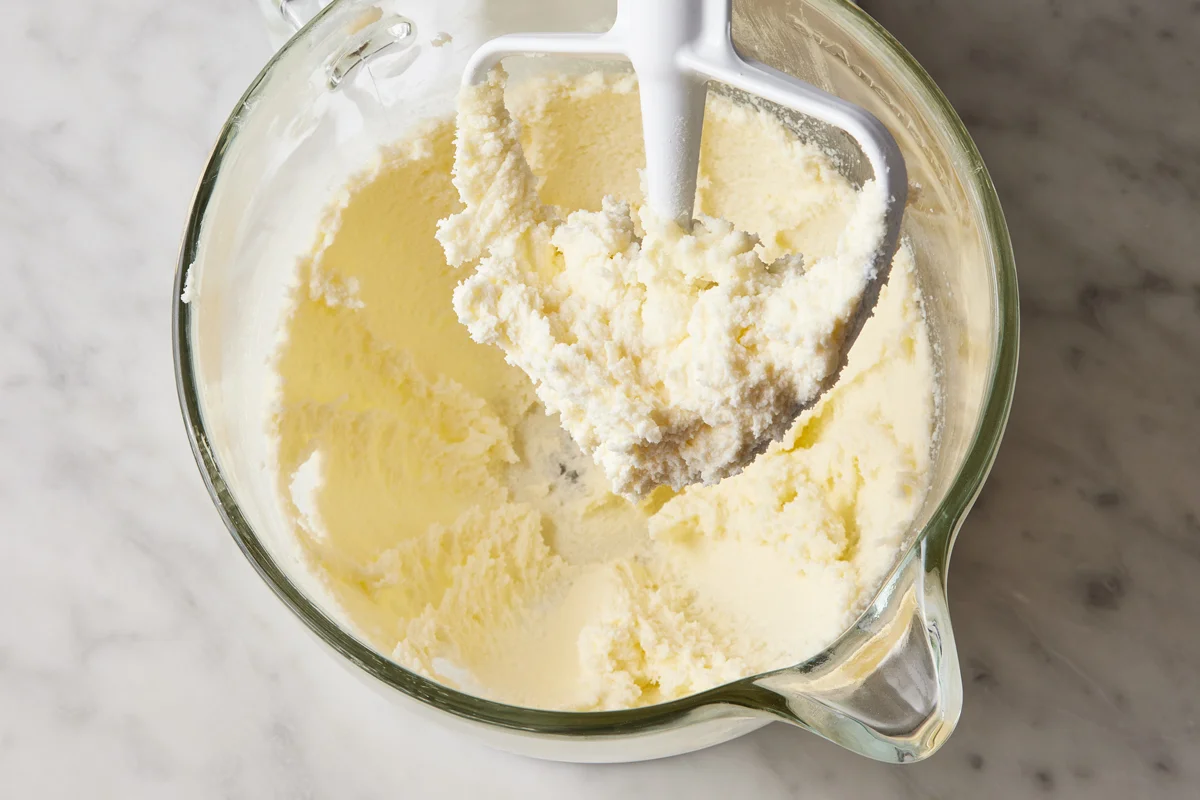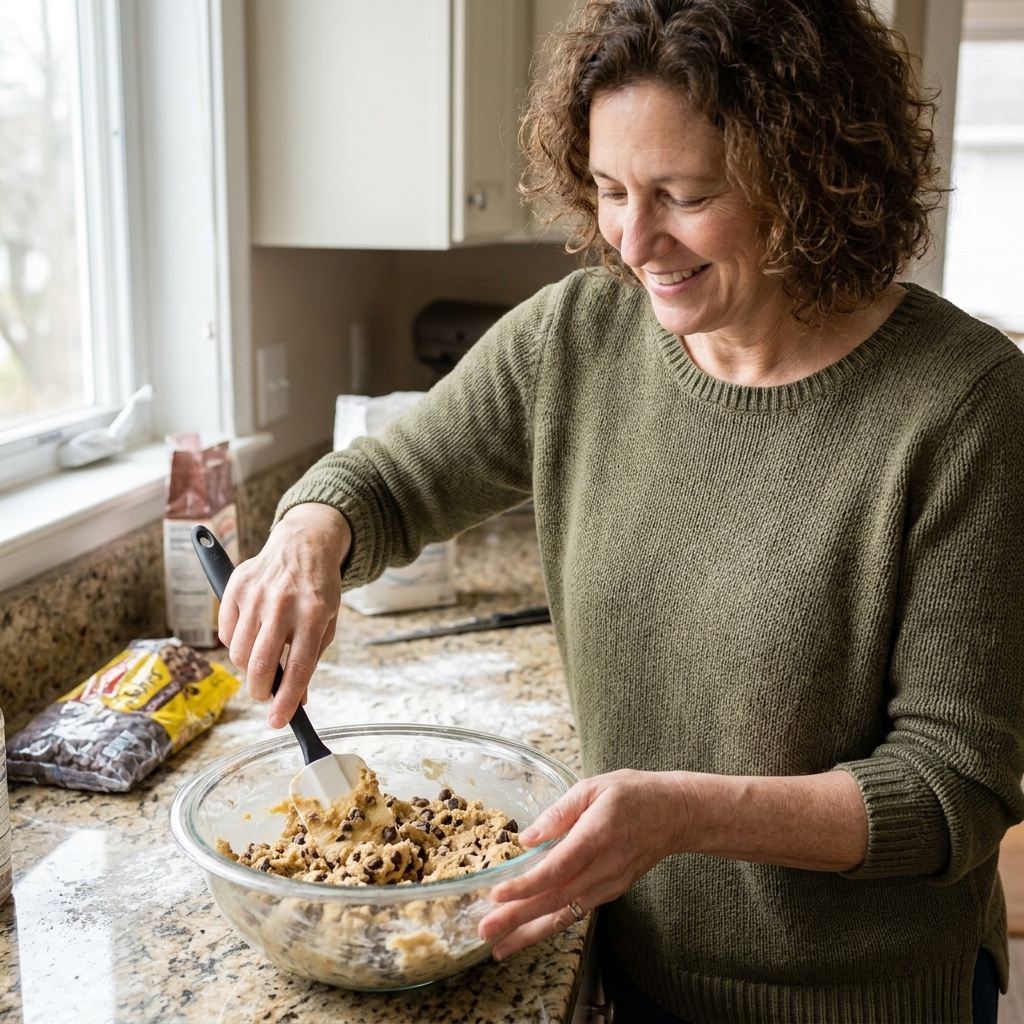
If you have ever bitten into a cookie and thought, “This is good, but I want it to taste like a bakery,” brown butter is one of the easiest upgrades you can make. It adds a deep, nutty caramel flavor (think toasted hazelnuts and toffee) without changing your ingredient list much at all.
The catch is that browning butter changes more than flavor. You lose some water, and you are also starting from melted butter, not a cool solid. Both can shift spread, chew, and thickness if you do not adjust. In this guide, I will walk you through exactly how to brown butter, how to cool it for cookies, and my simple moisture fixes so your classics stay chewy, thick, and predictable.
What brown butter does in cookies
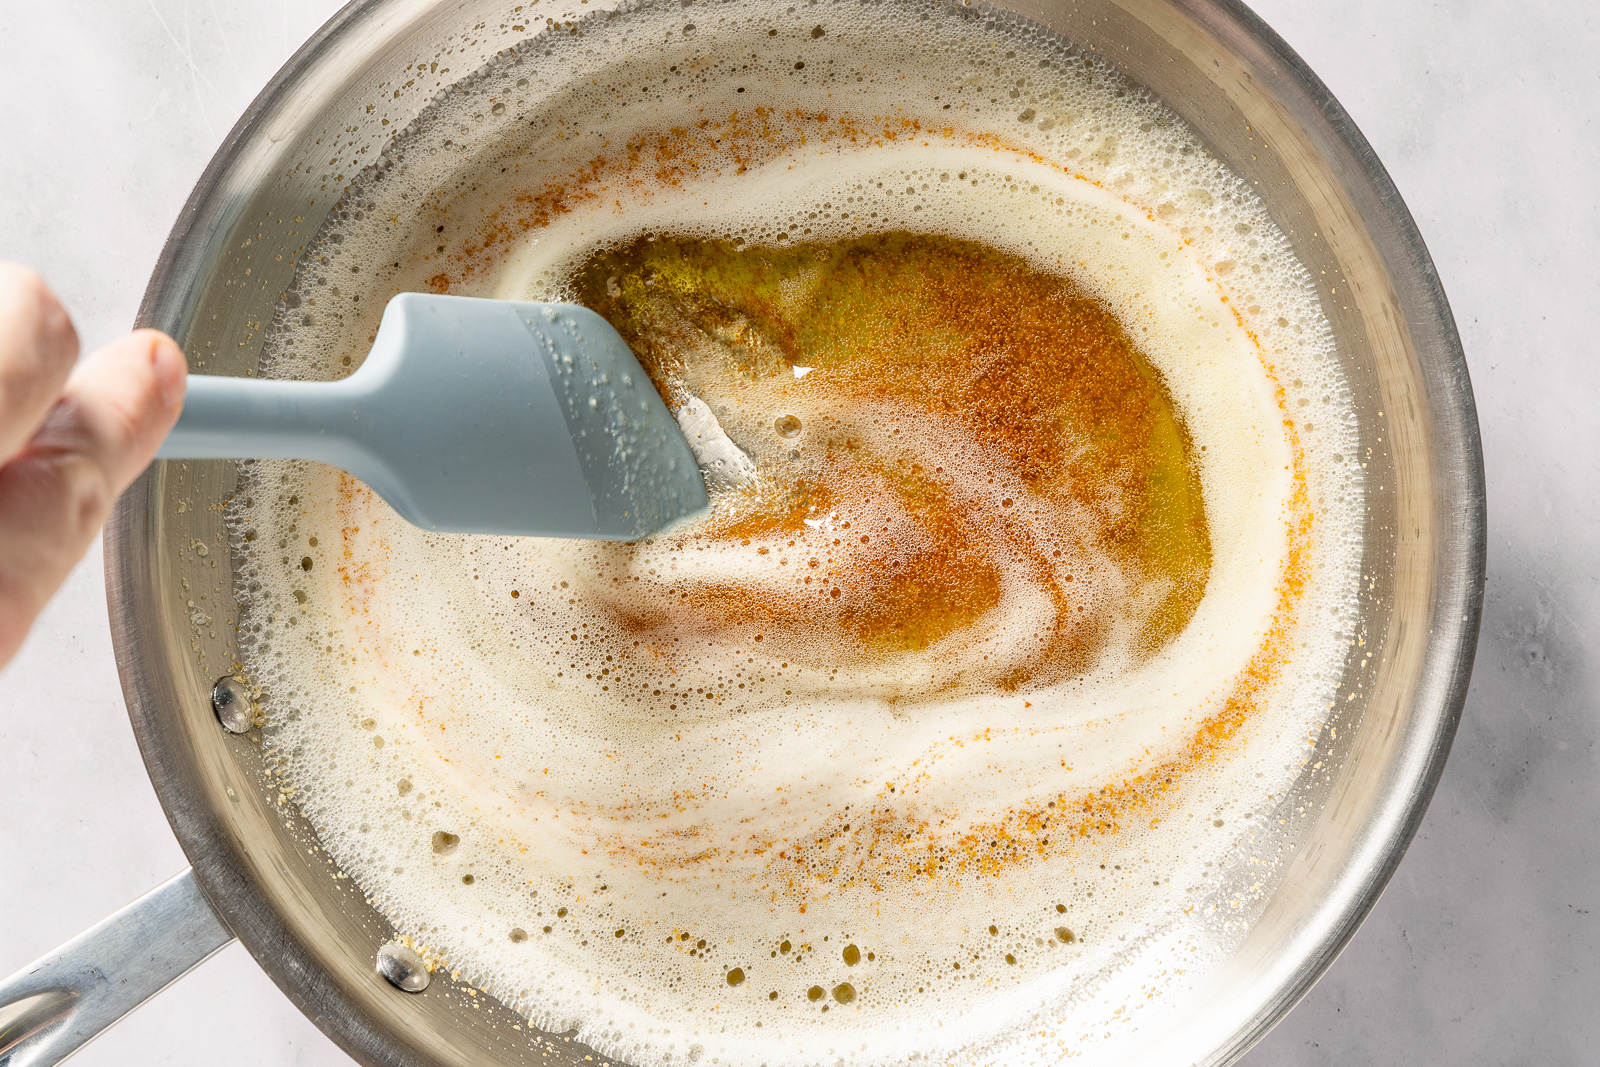
Butter is made of fat, water, and milk solids. When you brown butter, you are doing two things:
- Toasting the milk solids until they turn golden and smell nutty. This is where the flavor magic lives.
- Evaporating some water as the butter simmers. That changes how your dough hydrates and behaves.
There is one more practical detail: brown butter is usually used melted (or at least softened from melted). Melted fat and warmer dough can increase spread, while less water can reduce gluten development and change structure. Translation: it is not “more spread” or “less spread” every time. It is just different, and you can steer it.
In cookie terms, brown butter can give you:
- More depth: a warm, caramelized flavor that makes vanilla and chocolate taste more “grown up.”
- Better aroma: your kitchen will smell like a fancy pastry shop.
- A chewier bite if you replace some lost moisture and do not overbake.
How to brown butter
I use this method for everything from chocolate chip cookies to blondies. Once you do it a few times, it becomes second nature.
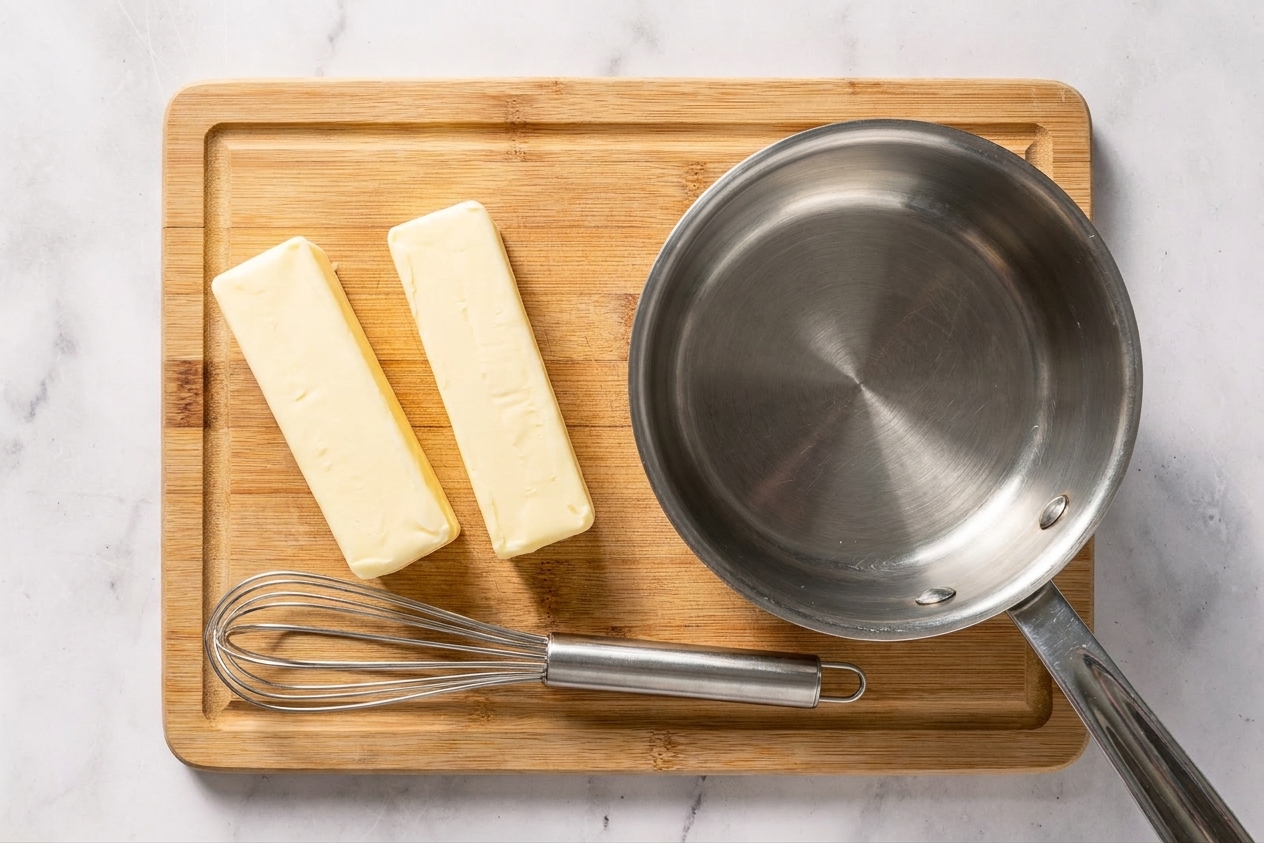
What you need
- Unsalted butter (recommended for control)
- A light colored saucepan (so you can see the color change)
- A whisk or heatproof spatula
- A heatproof bowl
Step-by-step (my routine)
- Cut butter into pieces so it melts evenly.
- Melt over medium heat in a light colored pan. It will foam, then calm down, then foam again.
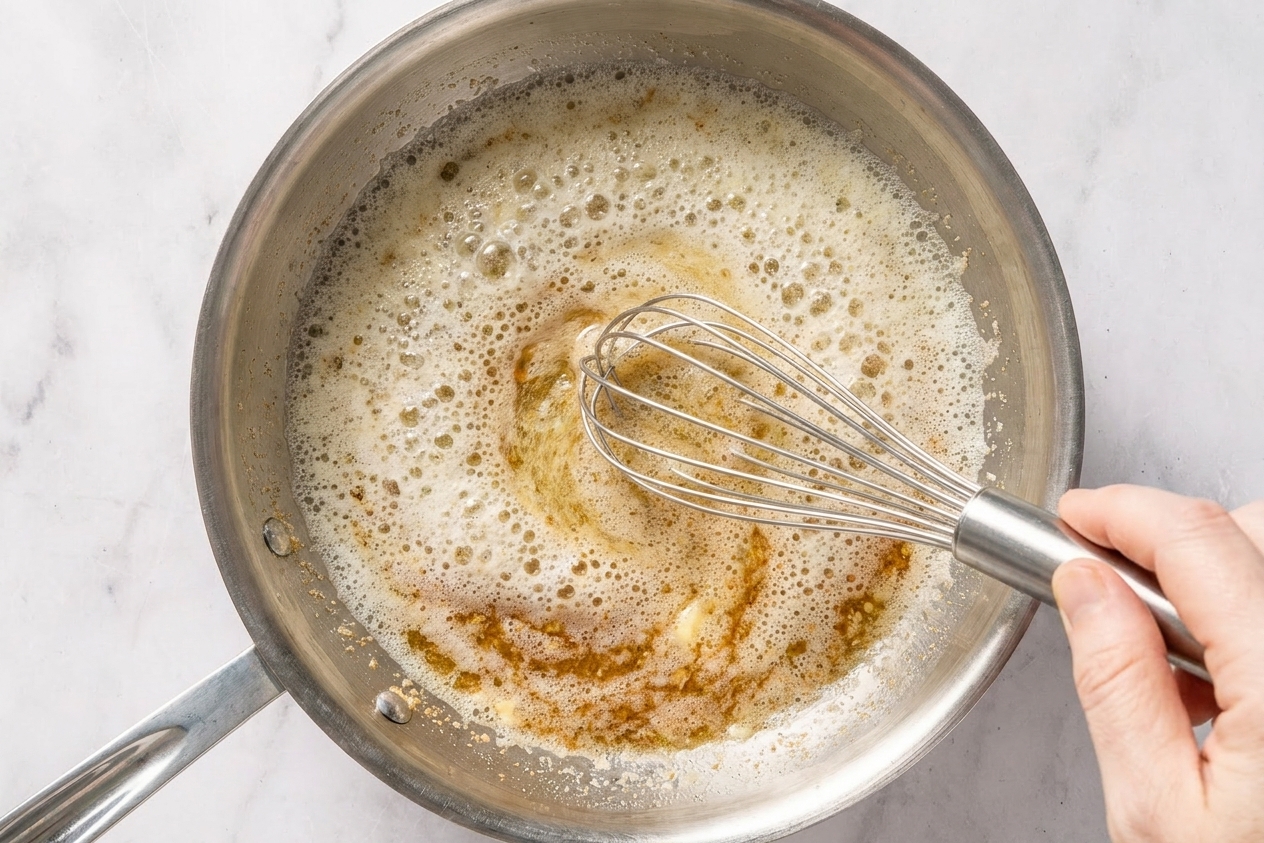
- Whisk frequently, especially once you see tiny tan specks forming on the bottom.
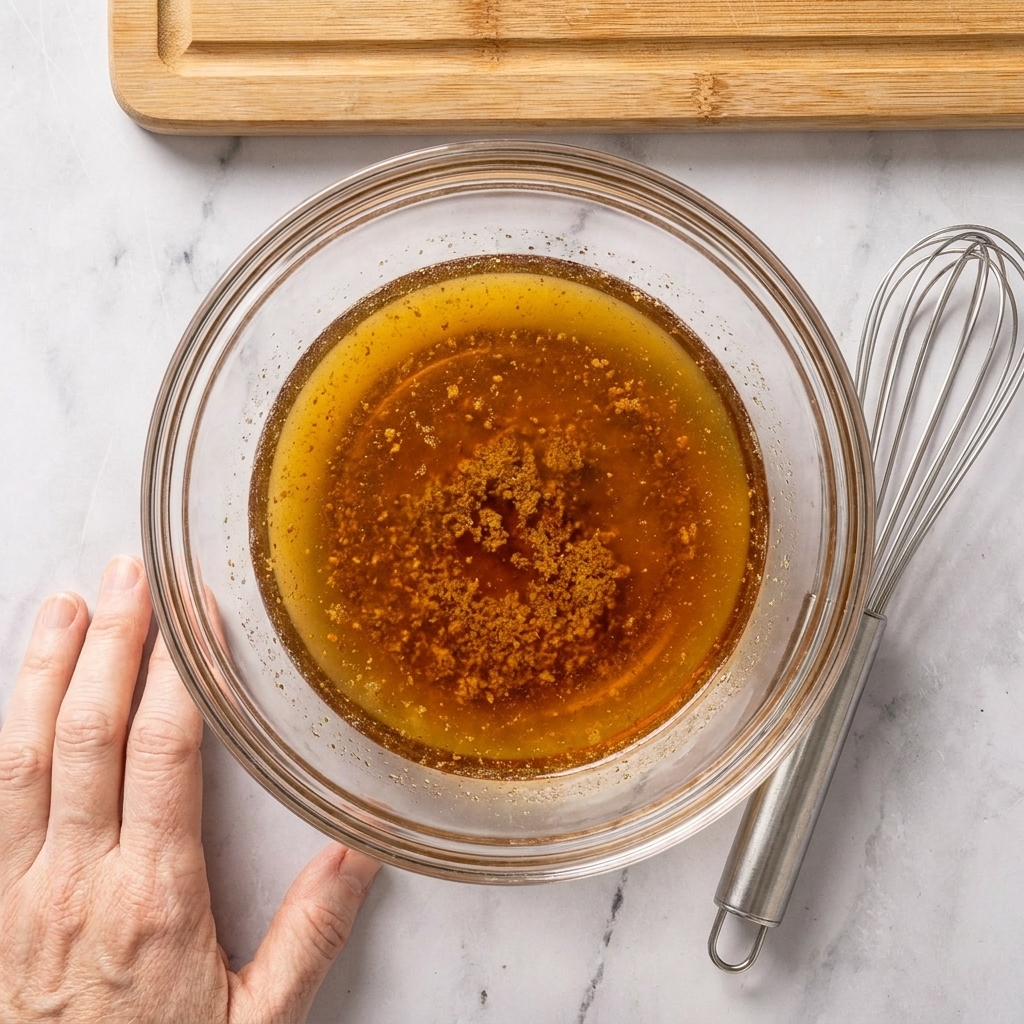
- Watch, smell, and track the color. The path is pale yellow to golden to amber, with brown flecks on the bottom.
- Pull it early. When it is golden amber and smells like toasted nuts and caramel, you are seconds away from perfect. It will keep darkening from residual heat.
- Pour into a heatproof bowl immediately, scraping in all those browned bits. Those bits are flavor.
Timing note: For 1 stick (1/2 cup), browning usually takes about 4 to 8 minutes on medium heat once the butter is fully melted. Your stove and pan matter, so rely on color and aroma more than the clock.
How not to burn it
Burnt butter happens fast, and it tastes bitter, not “toasty.” Here is how to stay in the safe zone:
- Use medium heat, not high. High heat browns unevenly and turns bitter quickly.
- Do not walk away once it starts foaming again. That is the final stretch.
- Choose the right pan. Dark nonstick pans make it hard to see color changes.
- Trust your nose. When it smells nutty and sweet, stop. If it smells sharp or acrid, it is over.
Rescue tip: If you see a few very dark specks, pour immediately. Sometimes you can save it by stopping the cooking fast. If the whole batch smells burnt, start over. Cookies are too precious to gamble.
Cooling brown butter
This is where most “my cookies spread too much” stories start. Hot or warm brown butter melts sugar too quickly and turns dough into cookie puddles.
Pick your goal
- Thick, chewy cookies: Let brown butter cool until it is room temperature and slightly thickened. Think: still pourable, not warm, and it leaves a glossy ribbon when you stir.
- Closest to the original recipe: Let it cool until it is soft and opaque, like room temperature butter (not melted). Depending on your kitchen, that can mean resting until it partially re-solidifies, or chilling briefly and stirring until it is creamy again.
Fast cooling trick: Pour brown butter into a wide, shallow bowl so it cools faster. Stir every few minutes.
The moisture issue (and the fix)
Here is the big concept: browning butter reduces its water content. Most cookie recipes were developed assuming regular butter, which still has water in it. If you brown the butter and change nothing else, your dough can end up:
- drier and crumblier
- less puffy
- more prone to overbaking
Option 1: Weigh before and after (my favorite)
This is the most consistent approach, especially if you repeat recipes a lot.
- Weigh the butter before browning.
- Brown it, then weigh the browned butter after you pour it into the bowl (include the browned bits).
- Add water (or milk) to bring it back up to the original weight.
Important: Stir the added water in thoroughly before you add sugars so it is actually incorporated and does not separate.
Example: If you start with 113 g (1 stick) and end with 100 g after browning, add 13 g water to the bowl. Stir well.
Option 2: Quick liquid add-back (a starting point)
If you do not want to weigh, this quick fix works well in many standard cookie recipes. Just know the exact water loss varies with pan, time, and butter brand, so treat this as a baseline.
- For 1/2 cup (1 stick) butter: start with 2 to 4 teaspoons water or milk.
- For 1 cup (2 sticks) butter: start with 1 to 2 tablespoons water or milk.
If you are nervous, start on the lower end. You can always add a teaspoon more next batch once you see the texture you get.
How to swap it into recipes
If you have a favorite cookie recipe you make on repeat, here is my go-to game plan.
1) Start with a partial swap
For your first test, brown only half the butter and leave the other half as softened regular butter. You still get that nutty flavor, but the recipe behaves more like the original.
2) Keep the fat amount the same
Brown butter is still butter fat, so you typically replace butter 1:1. The adjustment is about moisture and temperature, not the fat itself.
3) Match the method
If your original recipe creams softened butter and sugar, you will get the most similar results by letting brown butter cool until soft and opaque (not melted), then creaming it. If your recipe uses melted butter, you can use brown butter once it is cool (not warm) and proceed as written.
4) Plan for chilling
Brown butter cookie dough almost always benefits from at least 30 minutes in the fridge. Overnight is even better for flavor and thick cookies.
5) Consider your sugar balance
Brown butter pairs beautifully with brown sugar. If a recipe is very white-sugar heavy and you want a chewier cookie, you can often swap 2 to 4 tablespoons of white sugar for brown sugar without changing the total amount. (Do this only after you have tested the basic brown butter swap.)
6) Do a one-cookie test bake
Scoop one cookie and bake it first. It tells you everything: spread, thickness, and bake time. If it spreads too much, chill longer. If it still spreads too much, add 1 to 2 tablespoons flour to the dough.
Best cookies for brown butter
Recipes that love it
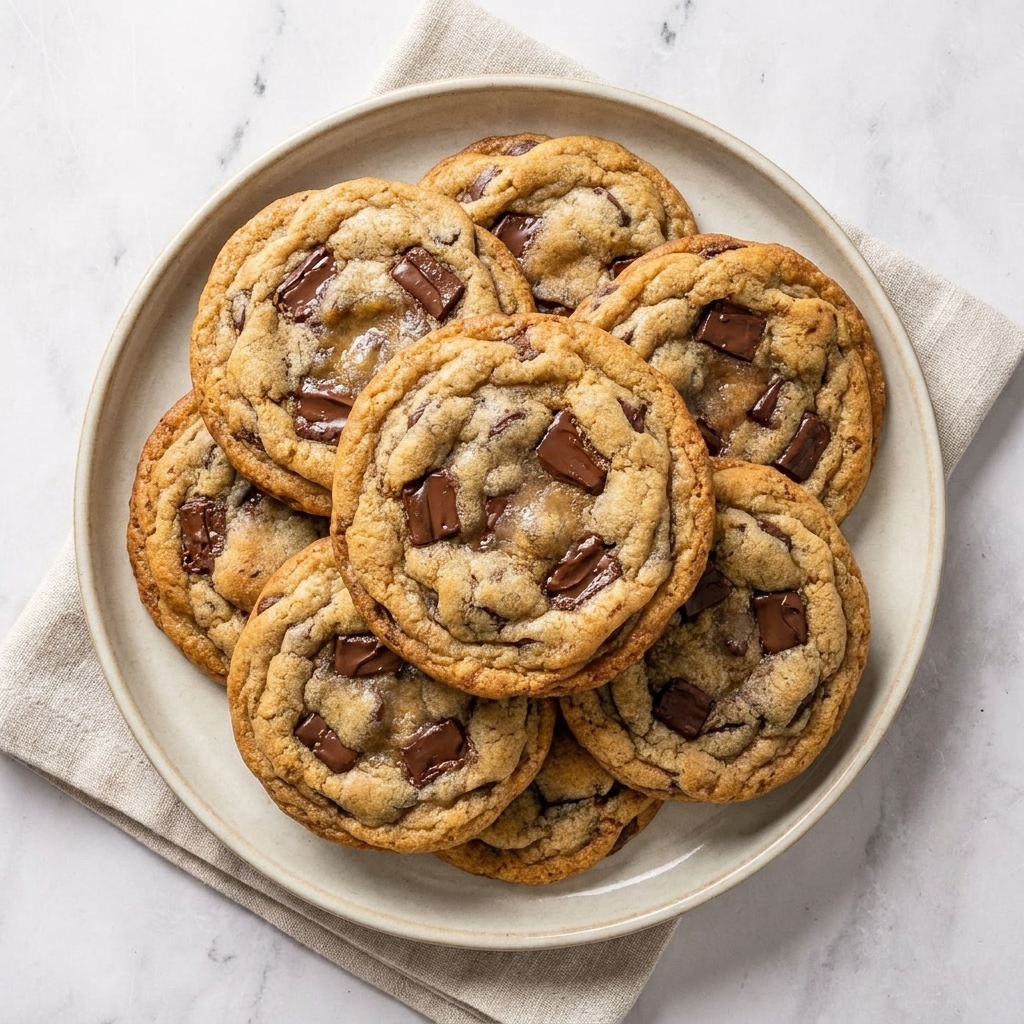
- Chocolate chip cookies: instant bakery flavor upgrade.
- Snickerdoodles: warm cinnamon plus nutty butter tastes like fall.
- Oatmeal cookies: toasty notes make oats taste richer.
- Peanut butter cookies: deeper roasted flavor.
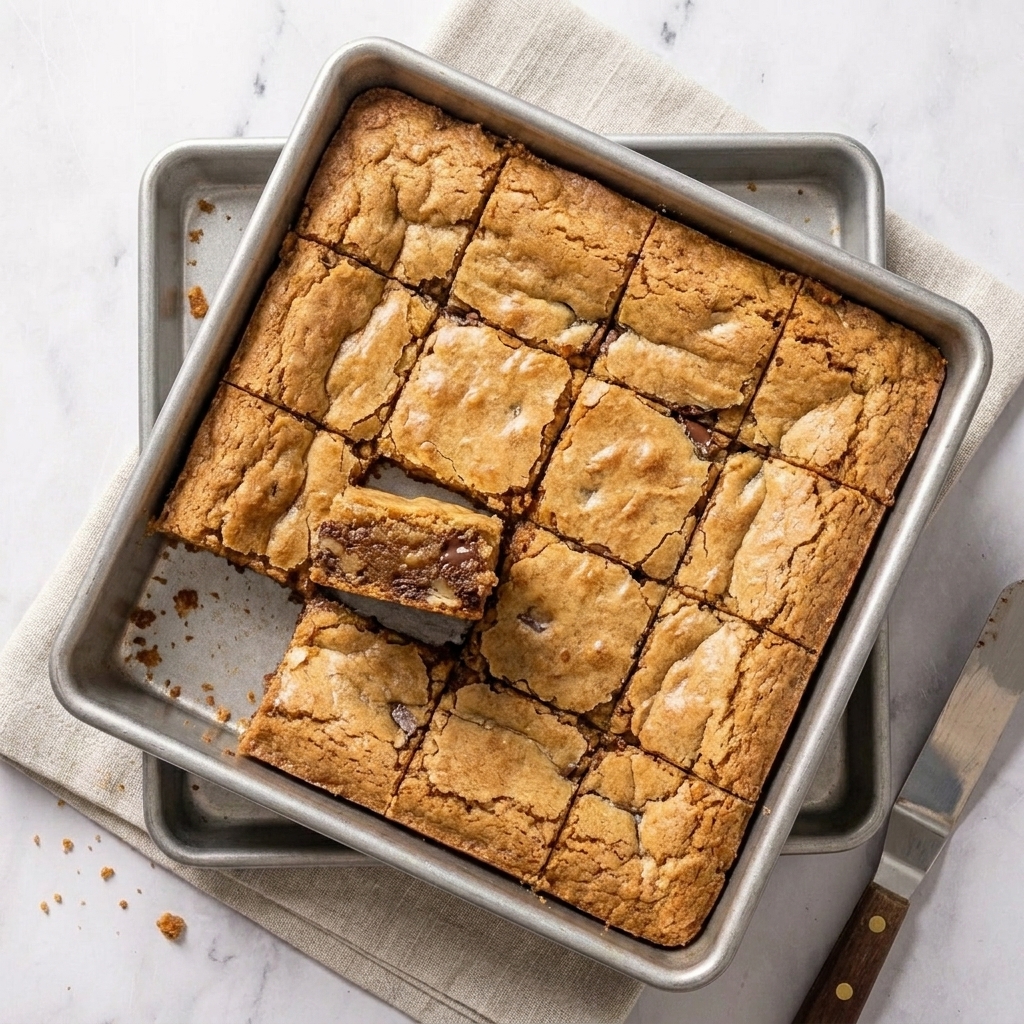
- Blondies and dessert bars: brown butter is basically a cheat code for caramel flavor.
When I skip it
- Delicate, pale cookies where you want a clean butter flavor, like classic sugar cookies meant for decorating.
- Very crisp cookies where extra toasty flavor can read slightly bitter if baked hard.
- Recipes that already run dry unless you are willing to add moisture back.
Troubleshooting
“My cookies spread into thin puddles.”
- Your butter was likely too warm. Cool it until thickened (or re-softened and opaque for creaming recipes), then chill the dough.
- Move the oven rack to the middle and use a light colored baking sheet.
- Consider adding 1 to 2 tablespoons flour if your recipe is already a spreader.
“My cookies are dry and crumbly.”
- Add back the lost moisture by weighing and replacing with water or milk.
- Do not overbake. Brown butter cookies can look underdone in the center when they are actually perfect.
- Check your flour measuring. Spoon and level, or better yet, weigh it.
“I do not taste the brown butter.”
- Brown it a shade darker next time, stopping right at golden amber.
- Use good vanilla and a pinch more salt to highlight the flavor.
- Let dough rest overnight. Flavor blooms with time.
“There are dark bits in my butter. Is that okay?”
Yes, as long as they are golden to deep brown and smell nutty. Those are toasted milk solids, and they belong in the dough. If they are black and smell burnt, toss and redo.
Brown butter for bars
Brown butter is a dream in dessert bars because it brings caramel notes without adding caramel. A few quick pointers:
- Blondies: Brown butter plus brown sugar is pure butterscotch energy.
- Brownies: It adds depth, but the chocolate still leads. If you love a crinkly top, focus on dissolving sugar well and whisking eggs and sugar thoroughly.
- Pan choice matters: Metal pans brown edges more. Glass pans bake slower. Adjust bake time accordingly.
FAQ
Do I need to use unsalted butter?
Unsalted is easiest because you control the salt level. If you use salted butter, reduce added salt in the recipe by about 1/4 teaspoon per stick, then adjust to taste next time (salt levels vary by brand).
Can I brown butter ahead of time?
Yes. Brown it, cool it, then refrigerate it in an airtight container for up to 5 days. If it smells off, discard it. You can also freeze it for longer storage, then thaw in the fridge.
Should I strain out the browned bits?
No. Keep them. They are the toasted milk solids that carry most of the flavor.
Can I brown butter in the microwave?
You can, but I do not recommend it for beginners. The stove gives you much better control, and burning happens fast in the microwave.
A simple starter plan
If you want one simple way to try this today, do this:
- Brown 1 stick (1/2 cup) unsalted butter.
- Cool until room temperature and slightly thickened.
- Stir in 2 to 3 teaspoons water (or weigh and replace exactly).
- Use it in your favorite chocolate chip cookie recipe and chill the dough for at least 45 minutes.
Once you taste that nutty, toffee-like background note, it is hard to go back.