Nothing is more heartbreaking than pulling a tray of gorgeous stuffed cookies from the oven, only to find little Nutella lava puddles baked onto your pan. I have been there. The good news is that Nutella-stuffed cookies are absolutely beginner-friendly once you learn two skills: freezing the filling and sealing the dough like you mean it.
This guide walks you through the exact techniques I use for thick, bakery-style cookies with a gooey center and clean edges. No intimidation, no fancy equipment, just smart prep.
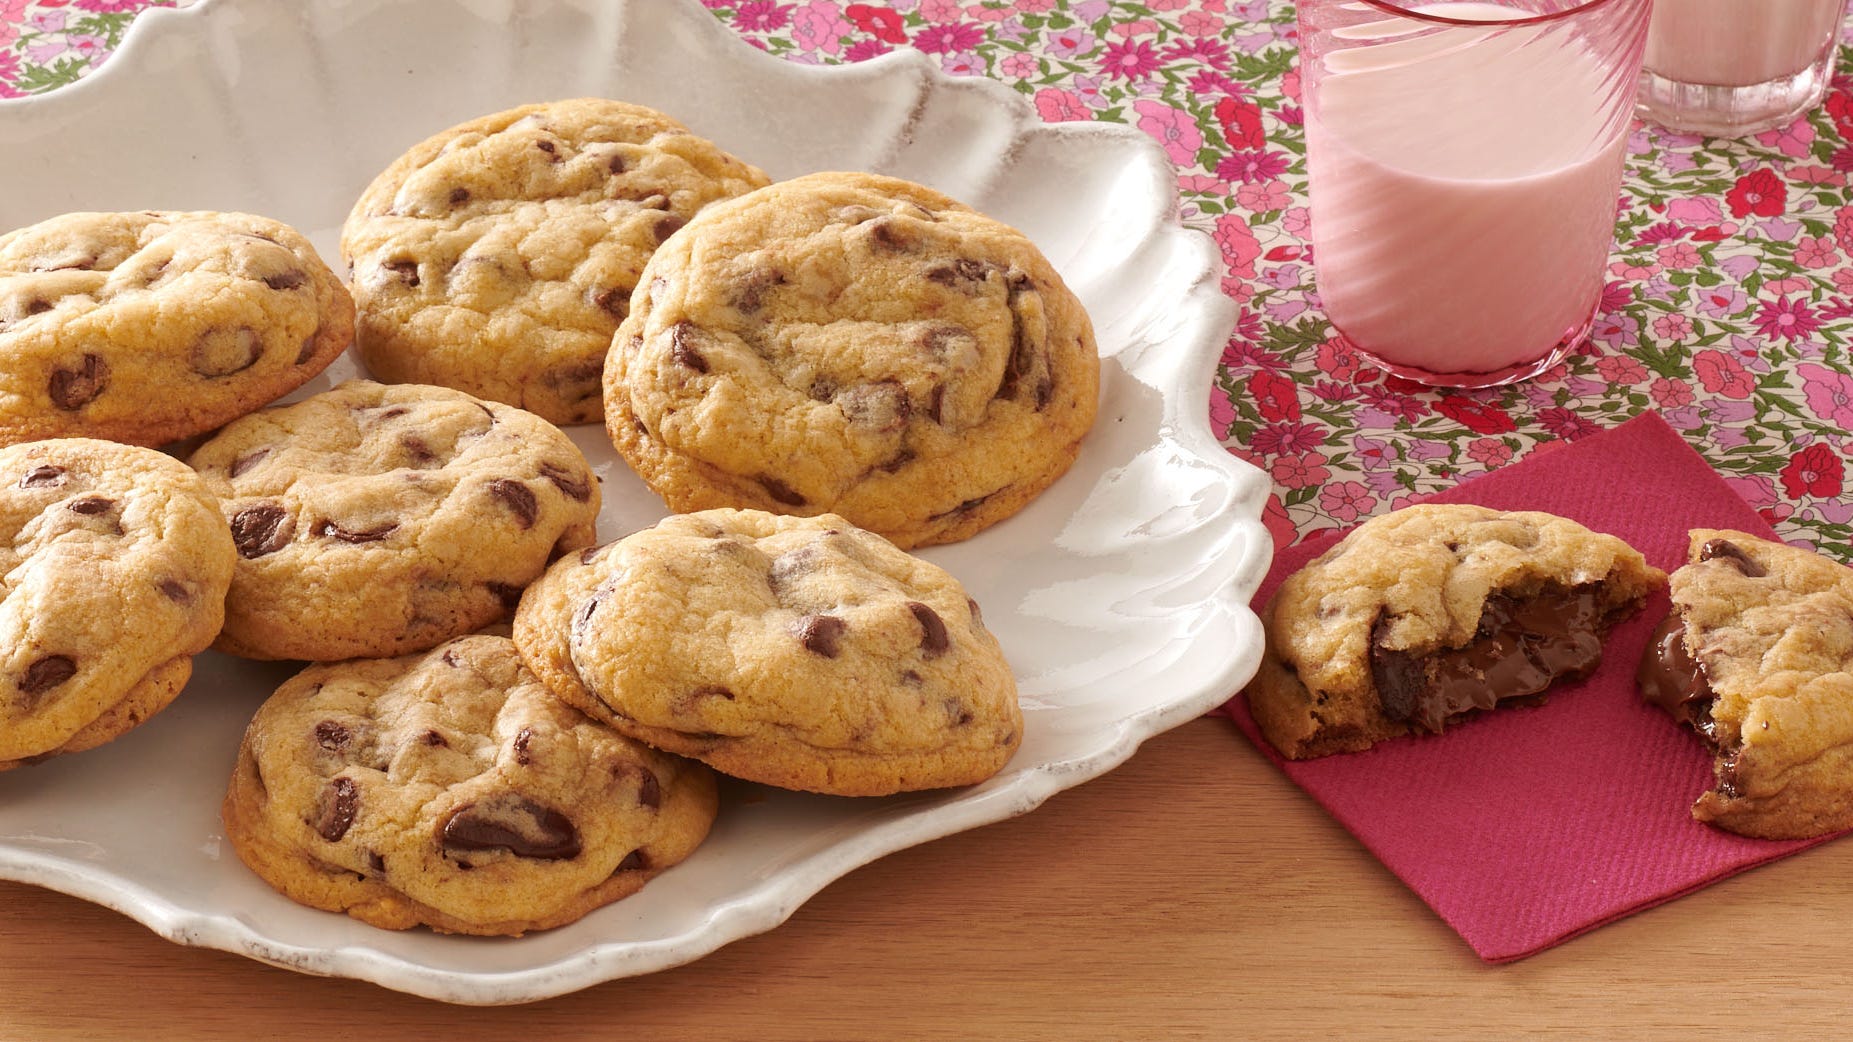
Why Nutella leaks
Nutella is a soft spread, not a firm candy filling. In the oven it warms quickly, thins out, and will seek the nearest escape route.
- Warm filling: If Nutella goes into the dough at room temperature, it melts before the cookie sets.
- Thin or uneven dough coverage: The most common leak is right at the top seam where dough is stretched too thin.
- Weak seams: A seam that is just pressed together, not pinched and smoothed, tends to open as the cookie spreads.
- Hot pans and high heat: Overly hot baking sheets can melt the center before the outside structure forms.
Two leak-proof methods
You can make stuffed cookies two ways. Both work, but one is more beginner-proof.
Method 1: Freeze Nutella portions (my go-to)
This gives you a tidy Nutella puck that stays put long enough for the dough to set.
Method 2: Pipe Nutella into the dough
Piping can be fast, but if the Nutella is too soft, it smears while you are shaping. For first-timers, I recommend freezing portions.
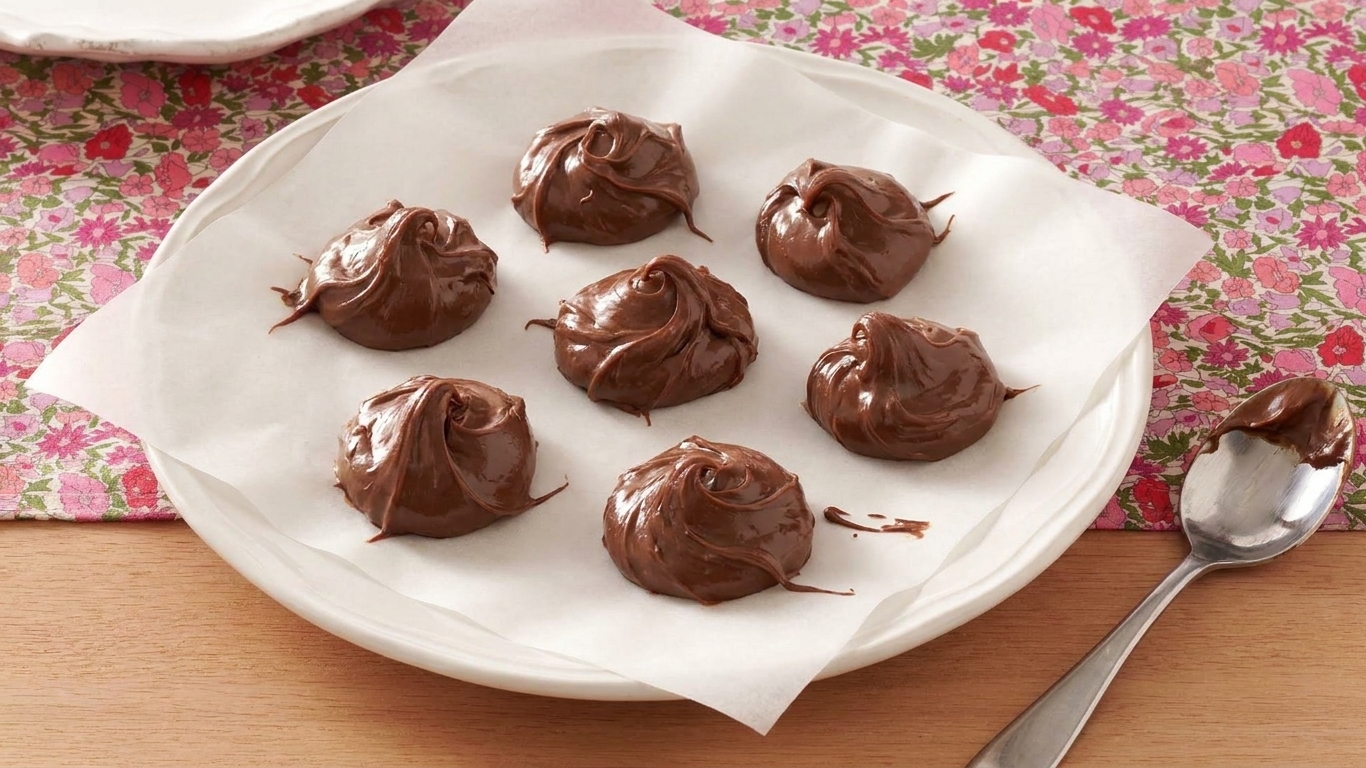
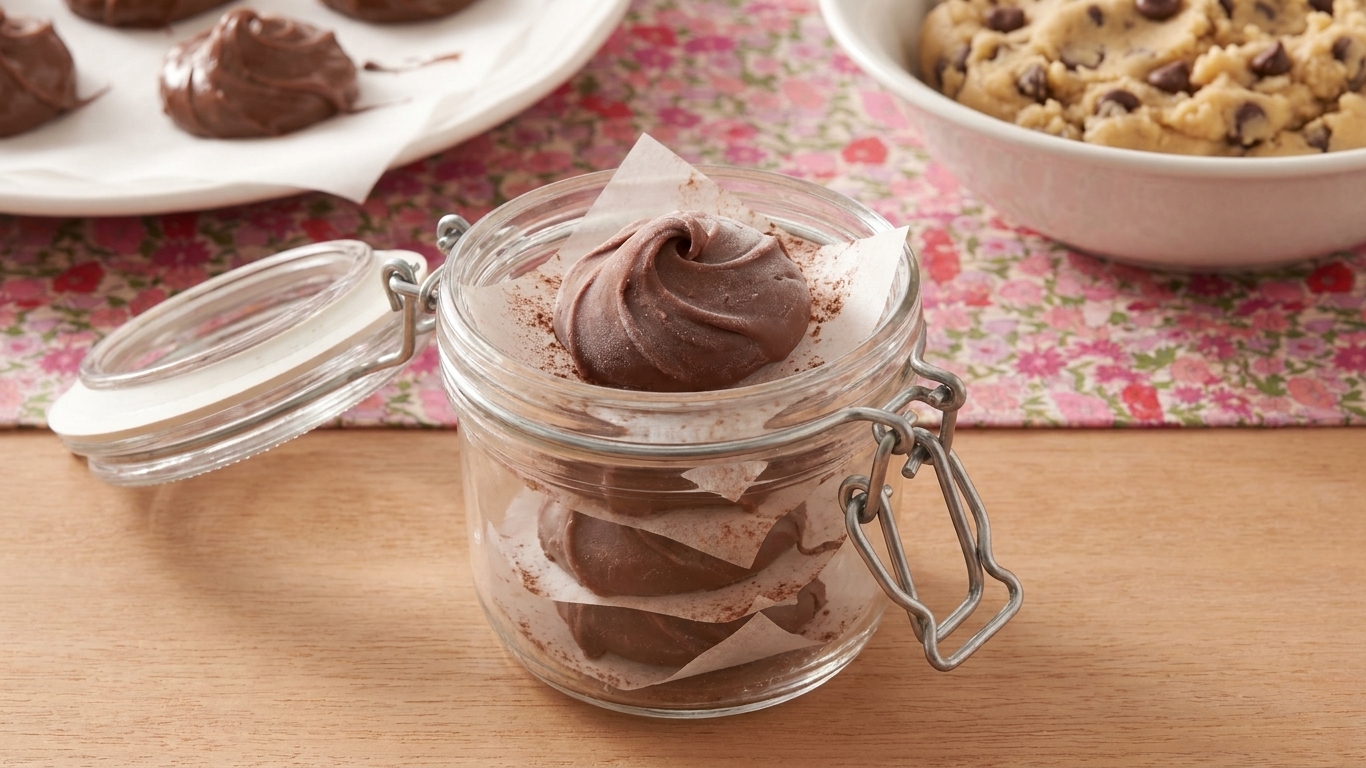
Freeze the Nutella
This is the single biggest difference between a frustrating batch and cookies you are proud to share.
Step-by-step
- Line a plate or small tray with parchment paper.
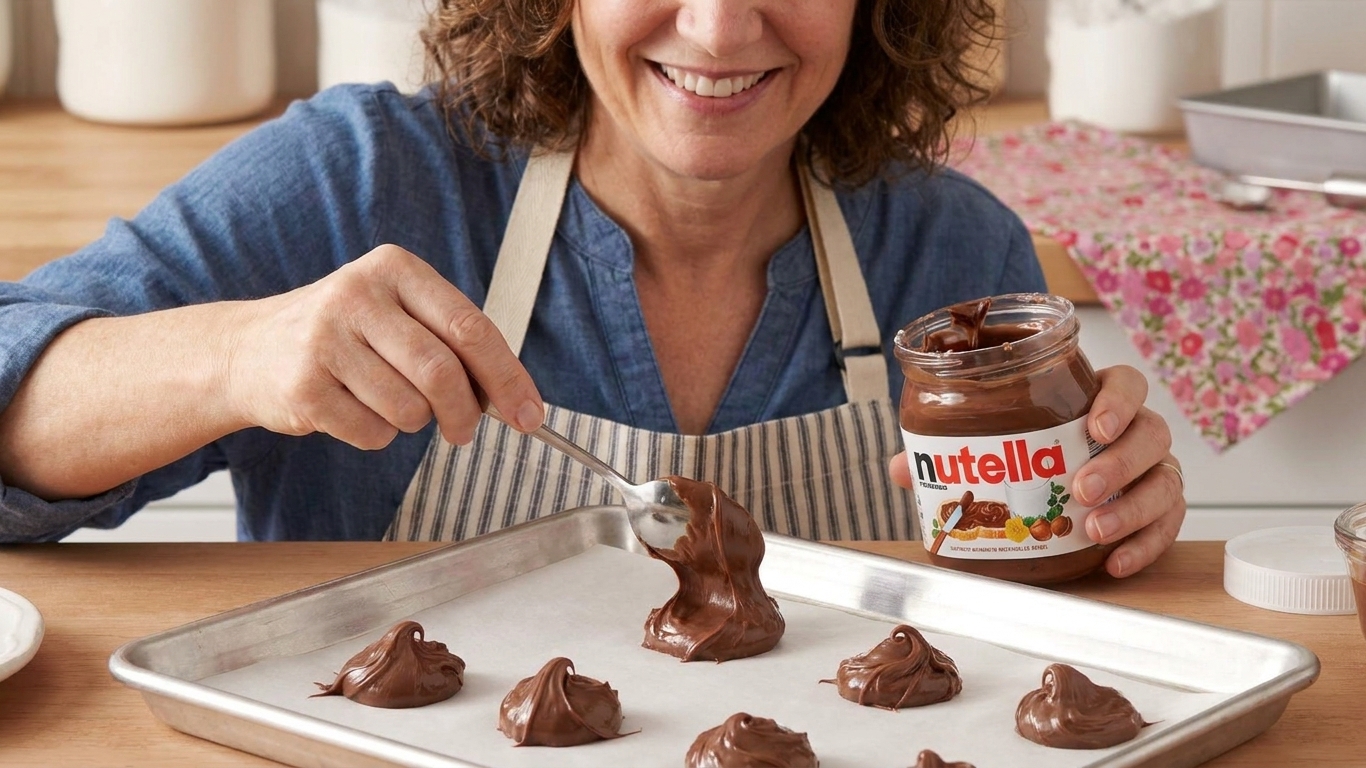
- Scoop Nutella into portions using a teaspoon or small cookie scoop. For standard cookies, aim for 1 to 2 teaspoons each.
- Flatten slightly into little coins. Flat portions are easier to wrap in dough than tall blobs.
- Freeze until you can handle them cleanly, usually 45 to 90 minutes depending on your freezer and portion size. Overnight is totally fine.
- Work in small batches: keep most portions in the freezer and only pull out a few at a time as you assemble cookies.
My practical rule: if you can pick up a portion with your fingers without it smearing, it is ready.
Dough basics
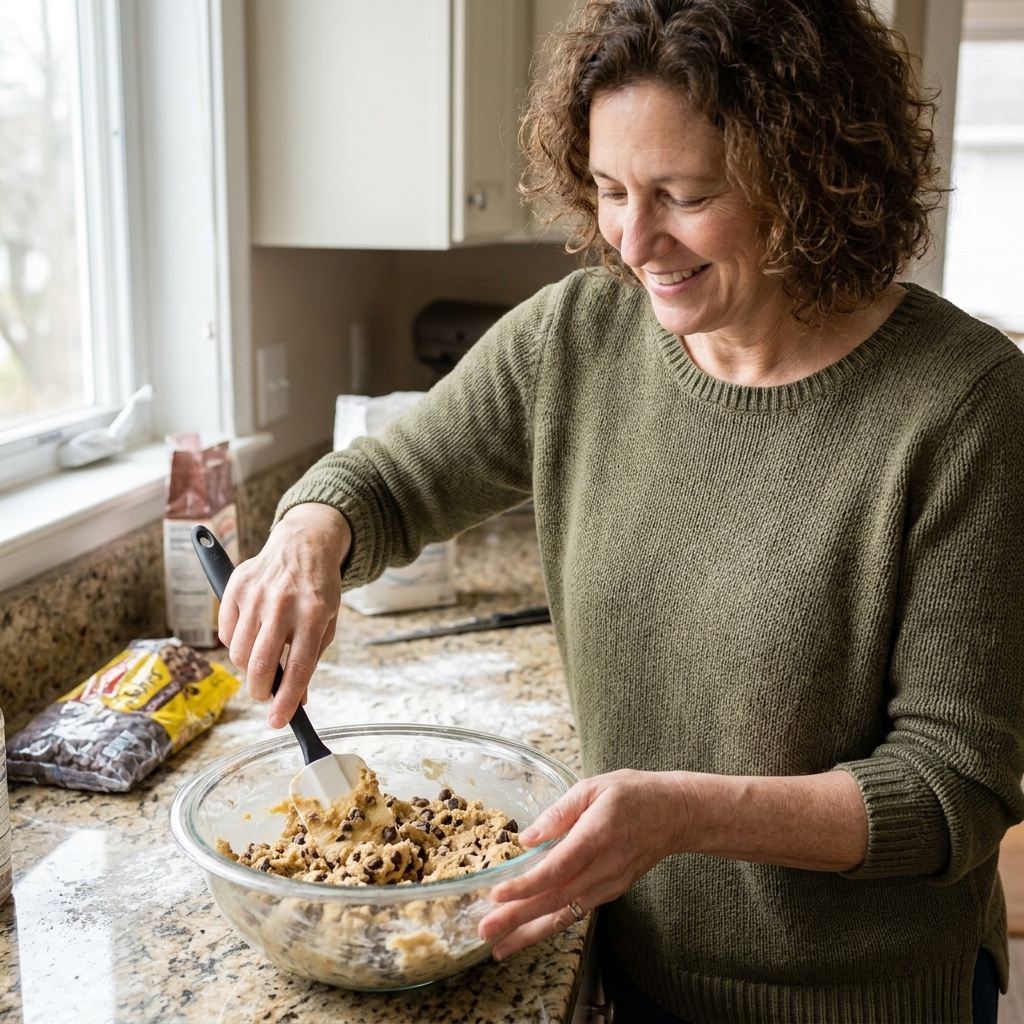
You do not need a specific recipe here, but your dough should be able to hold a pocket without tearing.
- Thicker is better: A dough that is too soft or oily tends to slump and expose the filling.
- Chilled dough helps: If your dough feels sticky, chill it for 20 to 30 minutes before stuffing.
- Avoid over-creaming to ultra-fluffy: That can make cookies spread more aggressively, stressing the seam.
If you are using a favorite chocolate chip cookie dough, it usually works great. If it turns very soft at room temperature, give it a quick chill before assembly.
How much dough per cookie?
As a simple starting point, I like 2 1/2 to 3 tablespoons dough per cookie (roughly 45 to 60 g) with 1 to 2 teaspoons Nutella inside. If you want more filling, increase the dough portion too so the Nutella has enough coverage.
Seal it well
This is the part most tutorials rush through. The seal is not just a pinch. It is a pinch, then a smooth.
Step-by-step sealing
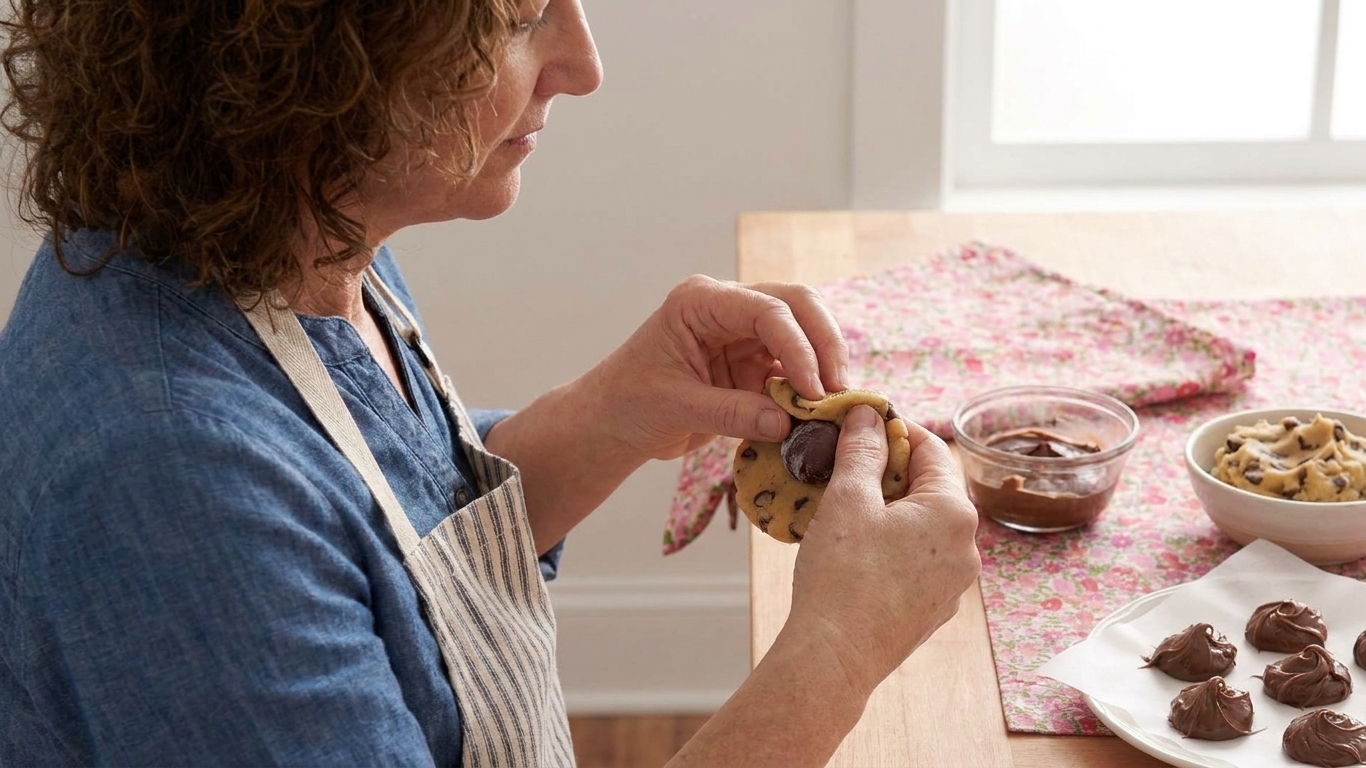
- Portion the dough and split it into two uneven pieces: about two-thirds for the bottom and one-third for the top.
- Flatten the larger piece into a thick disk in your palm.
- Place a frozen Nutella portion in the center.
- Cap with the smaller piece like a little lid.
- Pinch the seam closed all the way around.
- Roll gently between your palms just until the seam disappears and you have a smooth ball.
- Check for thin spots: if you can see a darker shadow where Nutella is close to the surface, patch it with a tiny piece of dough and smooth again.
Coverage target: aim for a thick, even layer of dough over the filling, especially on top. For large cookies, about 1/4 inch is a great rule of thumb. For smaller cookies, keep the same idea and adjust by using a little less Nutella or a little more dough so the top is not stretched thin.
Chill again
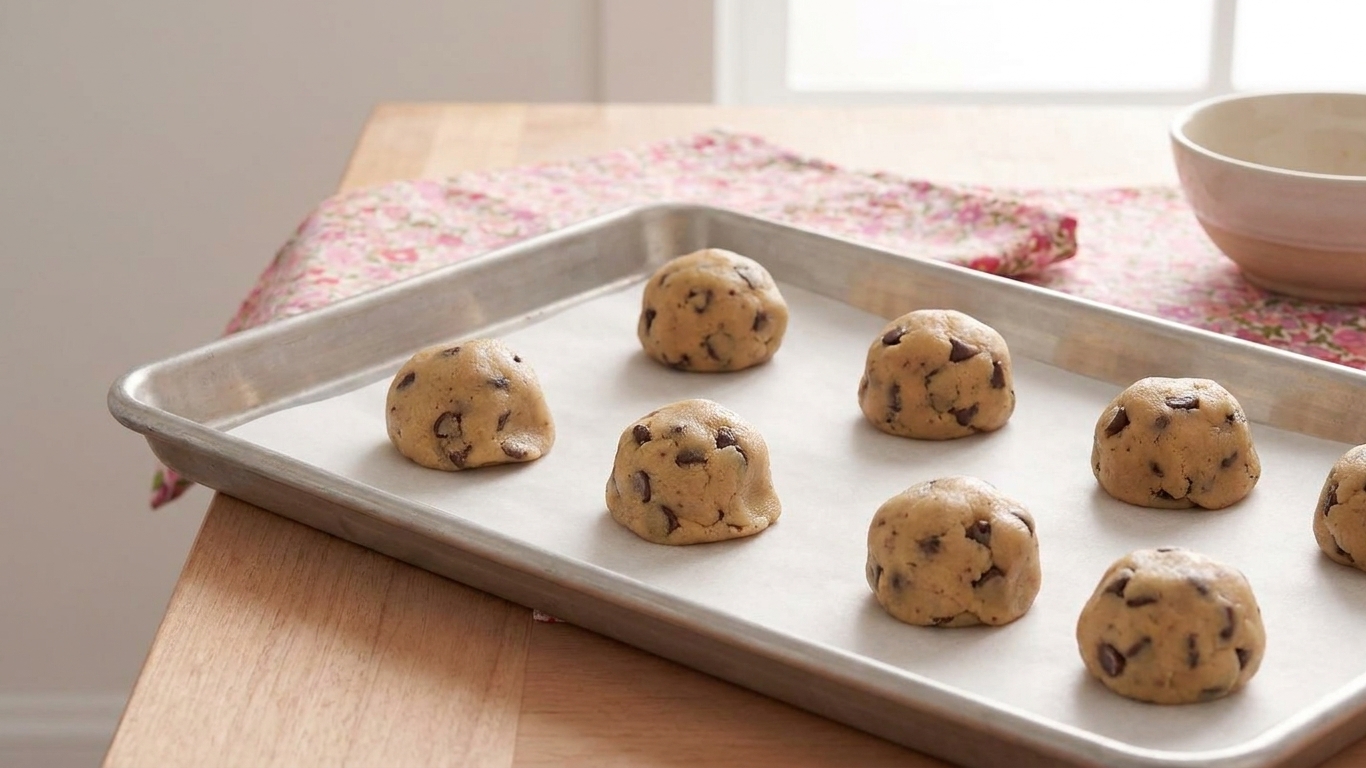
Once the cookies are stuffed and sealed, a short second chill helps them keep their shape and protects the seam.
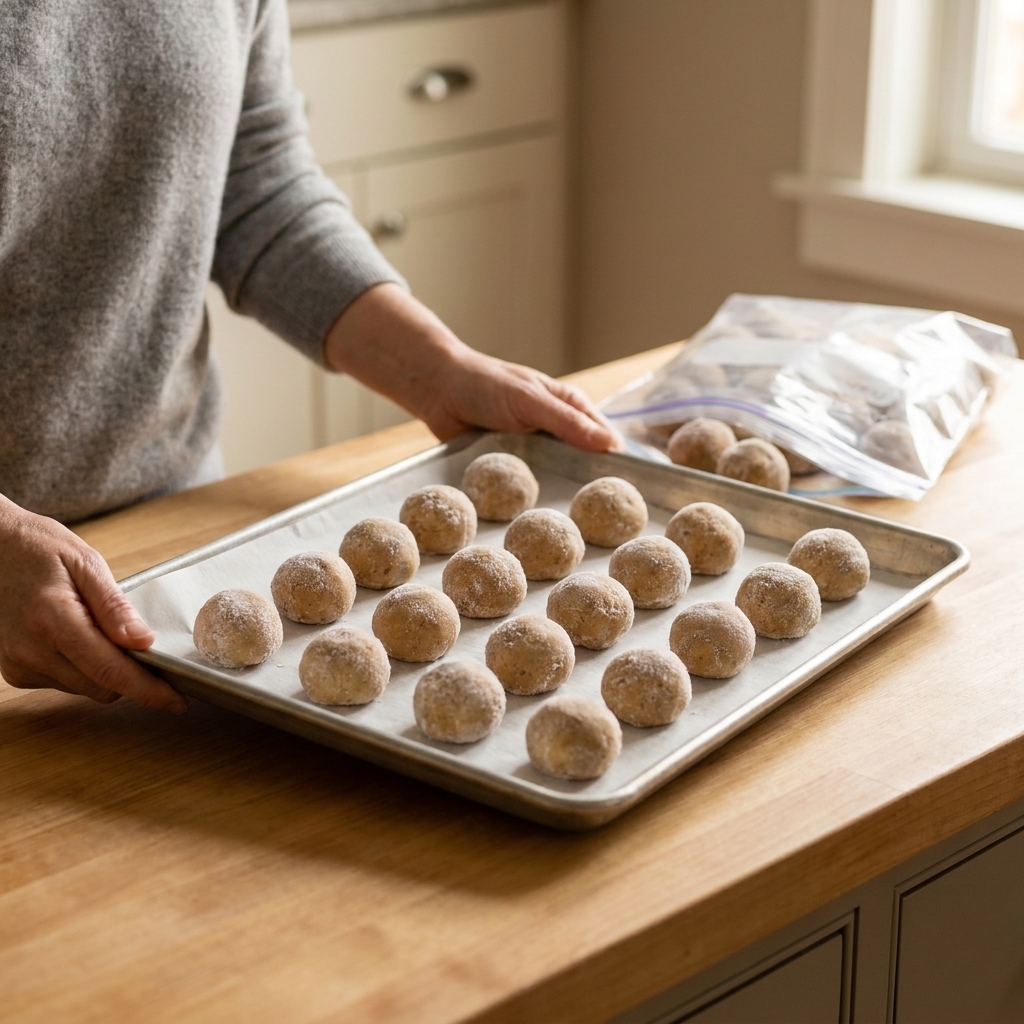
- Freeze assembled dough balls: 15 to 25 minutes on a parchment-lined tray.
- Or refrigerate: 30 to 45 minutes if freezer space is tight.
This gives the dough a head start so the cookie can set before the Nutella gets adventurous.
Baking tips
- Use cool baking sheets: If you are baking multiple batches, let pans cool between rounds or swap in a second set.
- Line with parchment: It helps prevent sticking if a tiny leak happens, and it promotes even browning.
- Do not flatten the dough: Bake as tall balls for thick, bakery-style cookies.
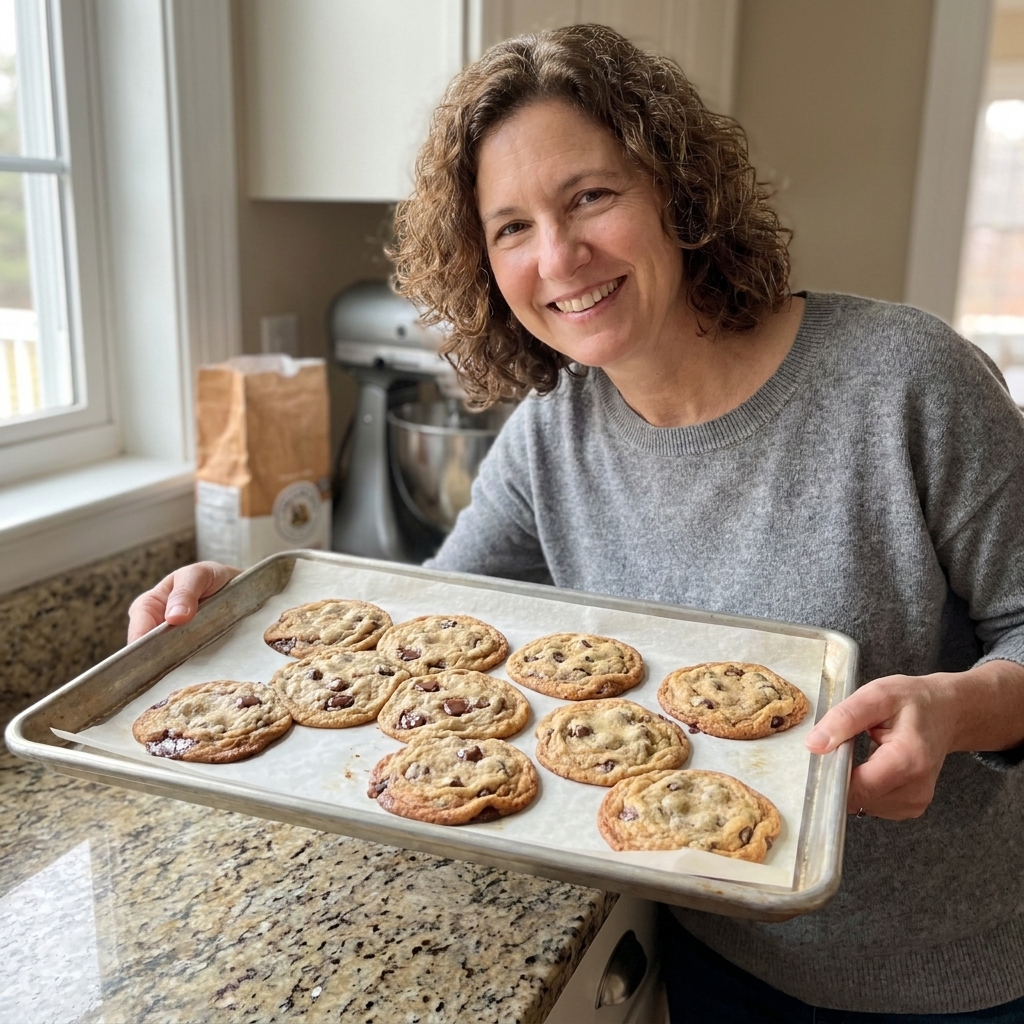
- Bake until edges are set: Centers should still look slightly underdone. They finish setting as they cool.
- Let them rest on the pan: 10 minutes. Moving too soon can split a still-soft seam.
If you want a baseline: most thick cookie doughs bake well at 350°F (175°C) for about 10 to 13 minutes. Your dough recipe is the real boss here, so use it as your primary timing and watch for set edges and light golden color.
If you love that bakery look, swirl the cookies in a large round cutter right after baking to make them thick and round, but only do this if the seam is sealed well.
Troubleshooting
Nutella leaked out
- Filling was not firm enough: Freeze longer, and keep portions in the freezer between cookies.
- Top seam was thin: Use the two-piece method and make sure the lid is thick enough.
- Not enough dough overall: Increase dough portion size or reduce Nutella to 1 teaspoon.
- Oven runs hot: Check with an oven thermometer. Too-hot ovens can melt the center fast and cause blowouts.
Cookies spread too much
- Dough too warm: Chill assembled balls before baking.
- Butter too soft at mixing: For future batches, start with cool room temperature butter, not melty butter.
Cookies baked lopsided
- Filling off-center: Make sure the Nutella portion sits right in the middle before sealing.
- Seam not evenly smoothed: Roll gently until uniform.
Make-ahead and storage
Make ahead
- Freeze Nutella portions: Up to 2 months when sealed airtight with parchment between layers to prevent sticking and odor pickup. For best flavor and texture, use within 4 to 6 weeks.
- Freeze stuffed dough balls: Freeze solid on a tray, then transfer to a freezer bag. Bake from frozen and add a few extra minutes, using visual cues (set edges, lightly golden tops) rather than the clock alone.
Storage
- Room temperature: 2 to 3 days in an airtight container.
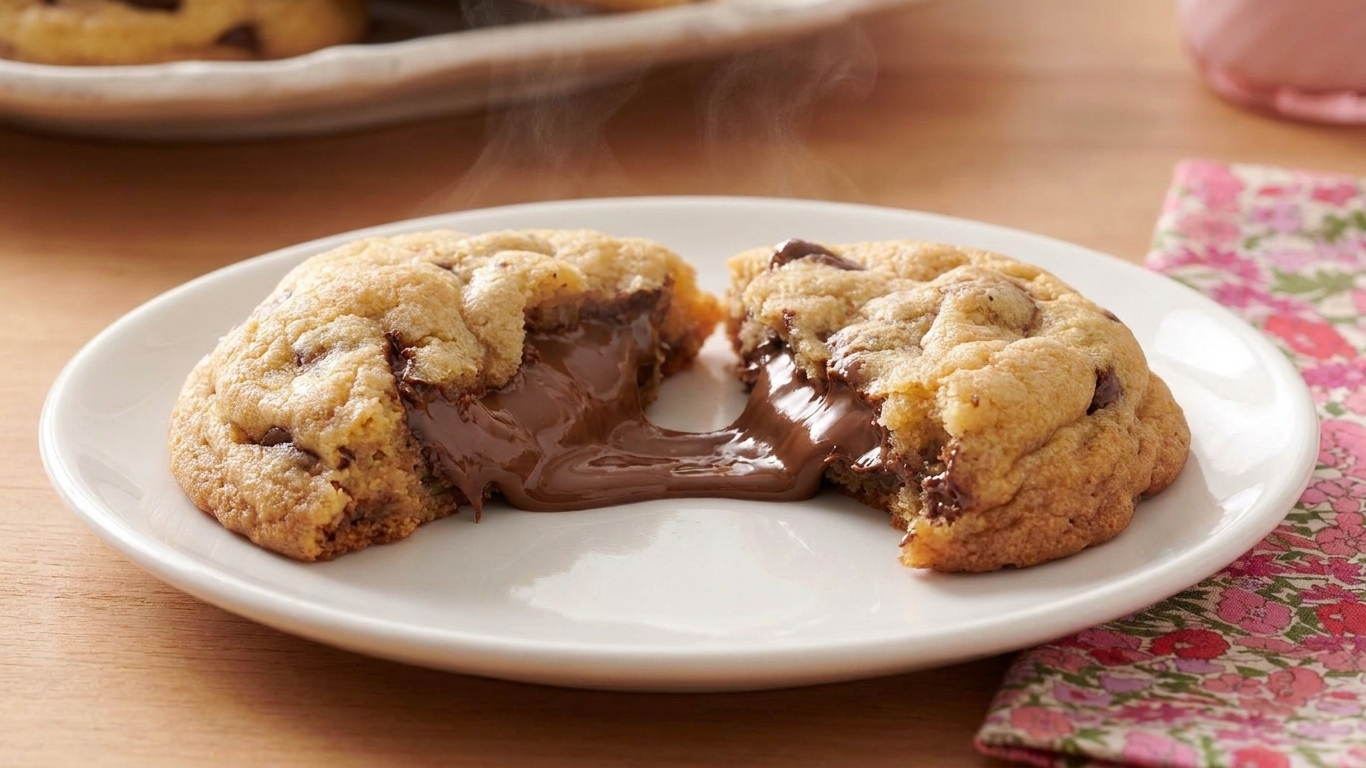
- For the gooey center: Warm a cookie in the microwave for 8 seconds, then add 2 to 3 second bursts as needed. Microwave power varies a lot.
Warm-weather note: In a hot kitchen, the centers soften fast. If your house runs warm, store cookies in a cool spot and rewarm briefly right before serving.
Beginner FAQ
Do I have to freeze the Nutella?
For clean, reliable results, yes. You can get away without it if your dough is very thick and cold, but freezing makes the process dramatically easier.
Can I use other fillings?
Absolutely. This technique works for peanut butter, Biscoff cookie butter, thick ganache, or even a square of chocolate. Anything soft benefits from freezing.
What about caramel?
Caramel is extra eager to escape. For best results, use thick caramel candies (or a very thick caramel you can portion and freeze firm), keep the portions small, and give them extra dough coverage on top.
How much Nutella should I use?
For standard large cookies, 1 to 2 teaspoons is the sweet spot. More filling increases leak risk unless you also increase dough thickness.
Why did my cookies look sealed going in, but still burst?
Usually the seam was smoothed but the dough was stretched too thin on top. Next time, use the two-piece method and patch thin spots before the second chill.
Quick zero-leak checklist
- Portion Nutella and freeze until firm.
- Use slightly chilled dough that is easy to handle.
- Seal with a pinch, then smooth (do not stop at the pinch).
- Patch thin spots before baking.
- Chill assembled dough balls before baking.
- Bake on cool pans lined with parchment.
- Cool 10 minutes before moving.
If you try this method, you will feel like you unlocked a tiny baking superpower. And once you have the seal down, you can stuff cookies with just about anything and keep your pans, and your sanity, clean.