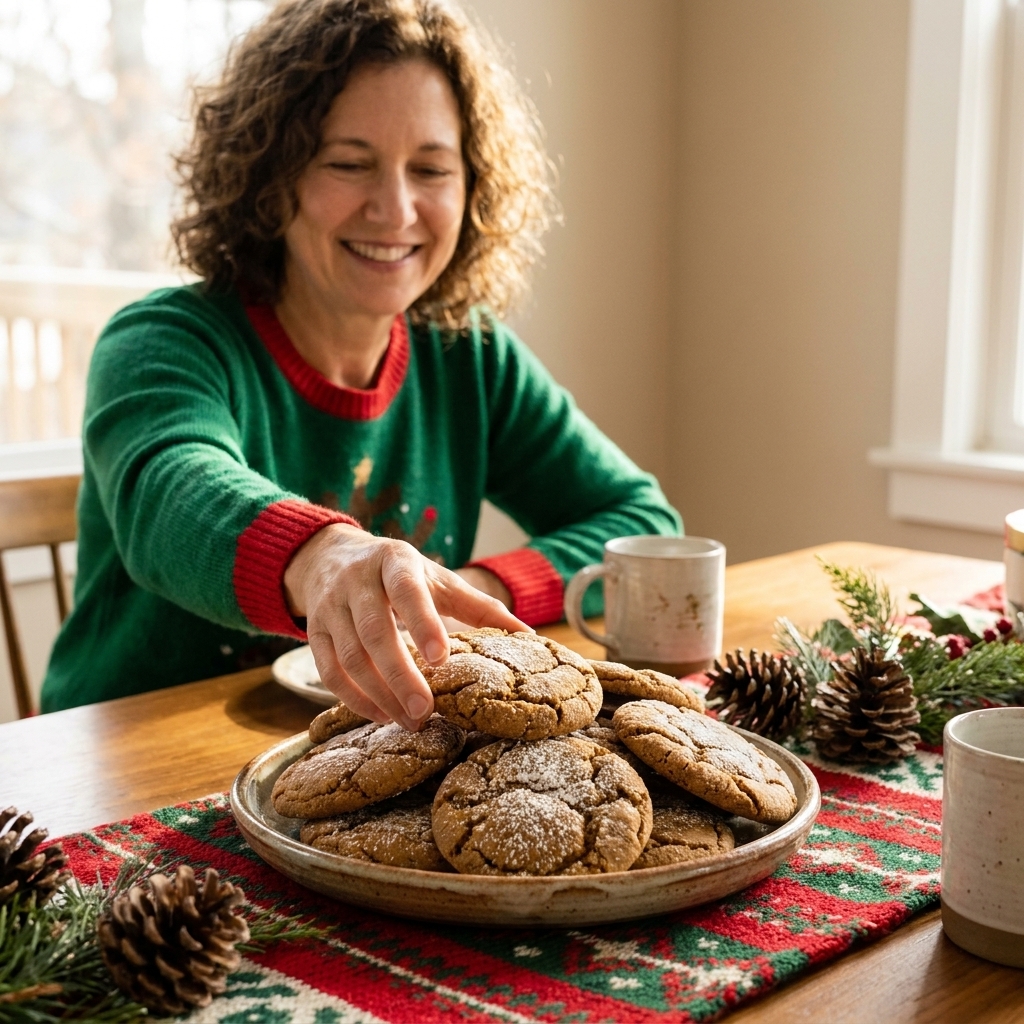
Slice-and-bake icebox cookies are my favorite kind of holiday magic because you do the “fancy” work ahead of time, stash the logs in the fridge or freezer, and then slice and bake whenever the cookie platter needs a refill. If you have ever stared at a pinwheel cookie and thought, there is no way I can make that, I promise you can. You just need the right dough texture, a little patience with chilling, and a couple of simple shaping tricks.
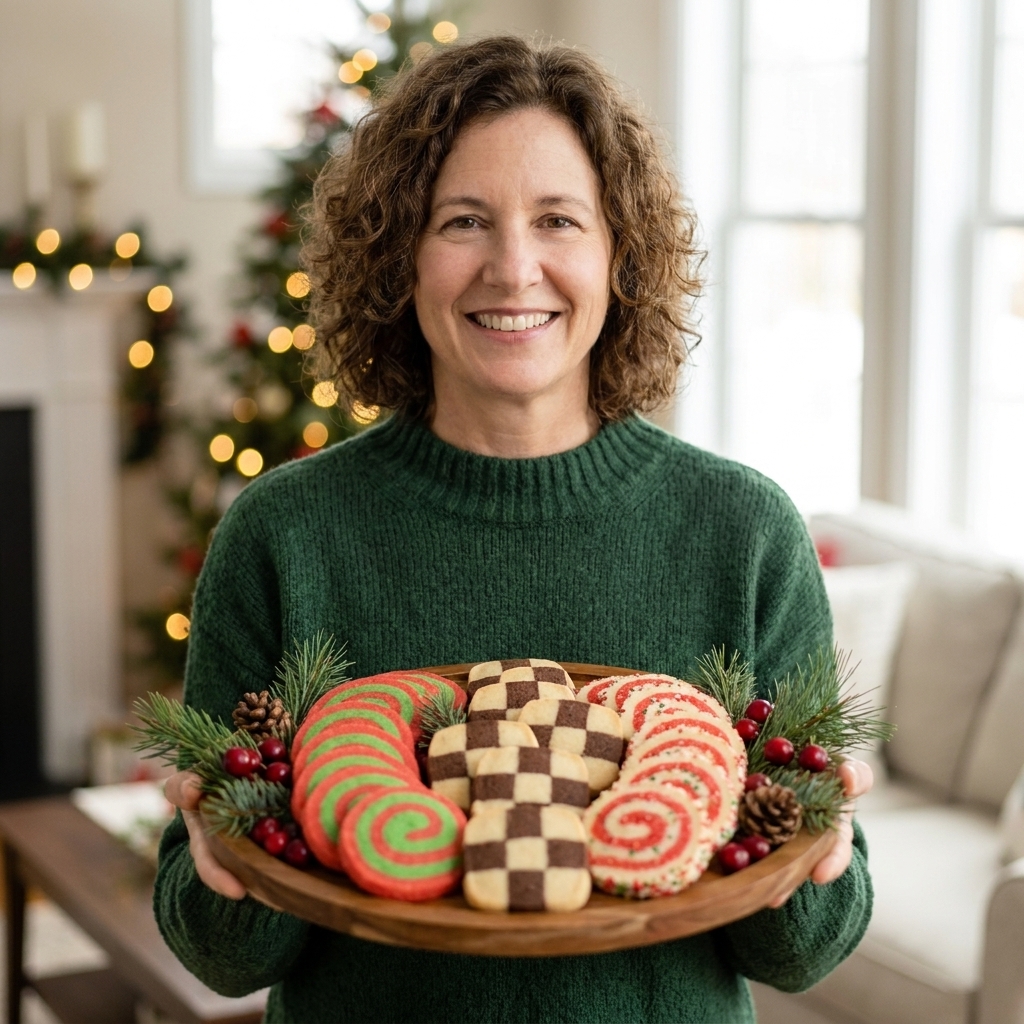
This is a technique guide, so you can use your favorite slice-and-bake dough recipe. I also included a reliable “master dough” near the end if you want a starting point. Below I will walk you through the core techniques I use at Cookie Bar Craft to get clean lines, bold color, and neat slices. Once you learn the basics, you can mix and match flavors and colors all season long.
Why icebox cookies work for holidays
- Make-ahead friendly: Dough logs hold beautifully in the fridge for days or the freezer for weeks.
- Consistent results: Cold dough spreads less, so patterns stay crisp.
- Big payoff: One base dough can become multiple designs, which is a cookie exchange lifesaver.
- Portion control: Slice thick for chewy centers or thin for crisp, snacky cookies.
Base dough for clean patterns
You can create pinwheels, checkerboards, and swirls with lots of cookie doughs, but the easiest and cleanest patterns come from a sturdy, low-spread dough. Think classic vanilla icebox, chocolate icebox, or shortbread-style slice-and-bake.
What you want in a pattern dough
- Not too soft: It should feel like modeling clay after chilling, not sticky batter.
- Not too dry: It should bend slightly before cracking, especially for pinwheels.
- Minimal leavening: Too much baking powder or soda can puff and blur edges.
- Fine sugar: Granulated is fine, but super coarse sugars can create tears in thin layers.
My quick texture test
After mixing and a short chill, pinch off a piece and roll it between your palms. If it smears and won’t hold a cylinder, chill longer. If it crumbles immediately, let it sit at room temp for 5 to 10 minutes, then knead gently to bring it back together.
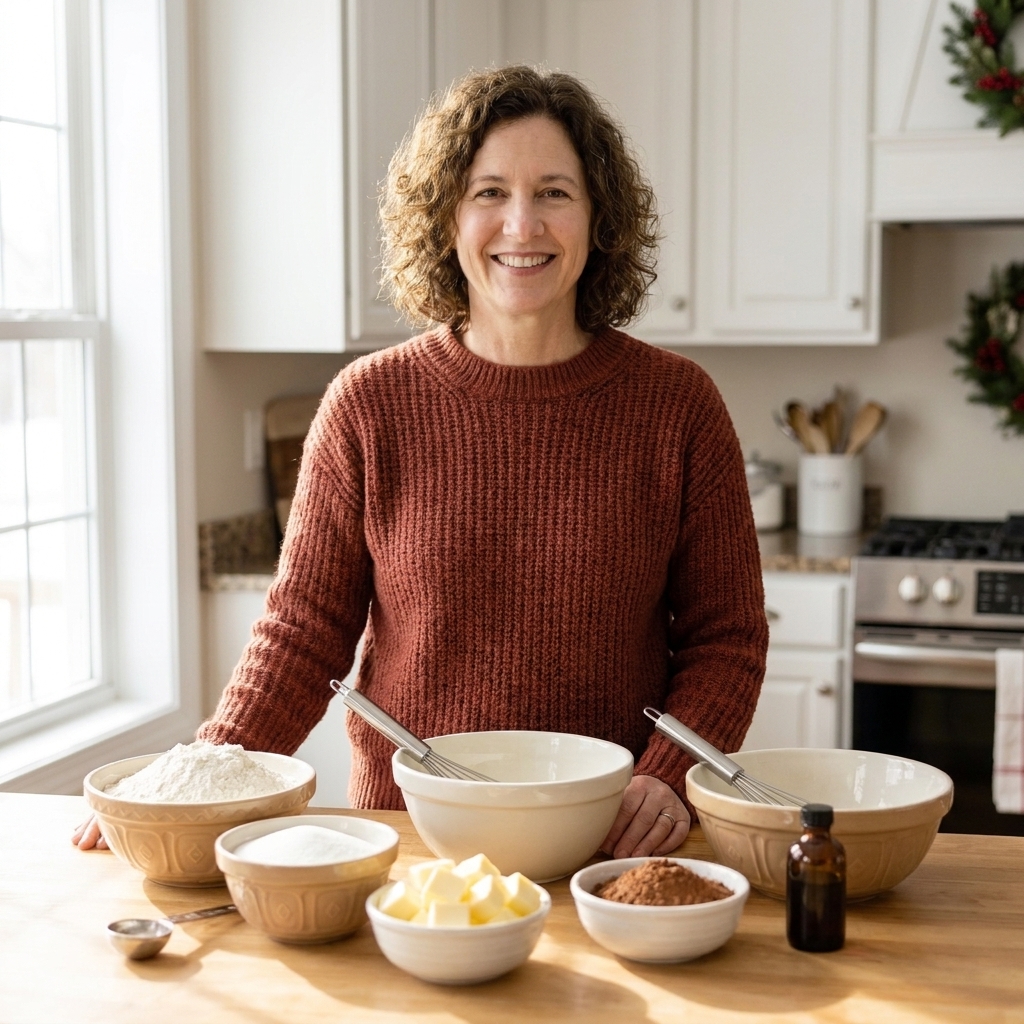
Color and flavor without wrecking texture
For vivid holiday patterns, color matters. The key is adding color without adding too much liquid.
Best coloring options
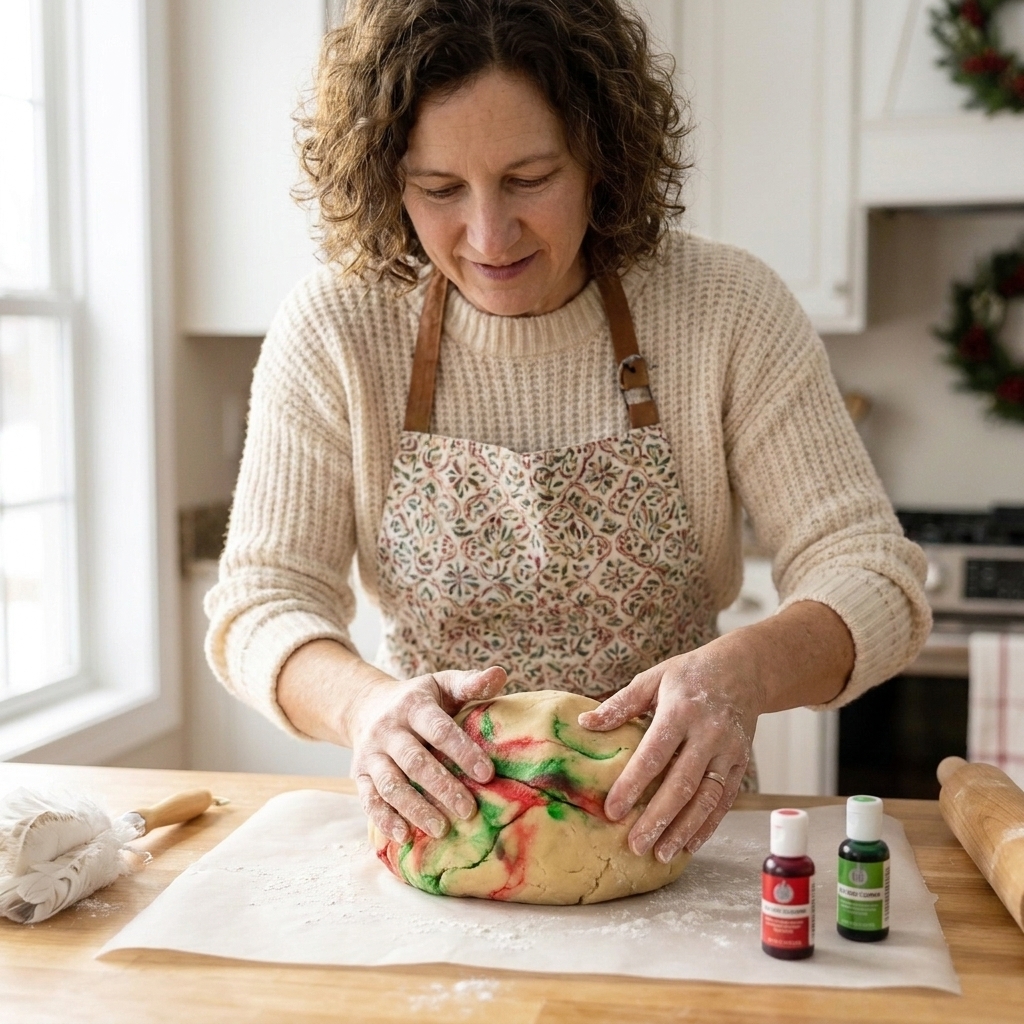
- Gel food coloring: Most reliable for bold color with minimal moisture.
- Powdered food coloring: Excellent for intense color and zero added liquid.
- Natural options (use thoughtfully): Freeze-dried berry powder for pink, matcha for green, black cocoa for deep contrast. These can dry the dough a bit, so add a teaspoon of milk if needed.
How to mix color evenly
- Divide dough into portions first.
- Add color in tiny amounts.
- Knead in a bowl or on parchment until streak-free.
- Chill each color separately, wrapped tightly.
Small tip: If you are using strong gel colors, disposable gloves help prevent color transfer between doughs. Chilling each color before you start stacking also keeps edges cleaner.
Tools that help a lot
- Parchment paper: Helps roll and lift dough without sticking.
- Ruler: For even rectangles and tidy checkerboards.
- Bench scraper: Sharp, clean cuts for crisp edges.
- Rolling pin: A straight-sided pin helps keep thickness even.
- Plastic wrap: For tight logs and smooth shaping.
Technique 1: Pinwheels
Pinwheels look showy, but they are basically a jelly roll made of cookie dough. You are layering two thin sheets, rolling tightly, and chilling well so the spiral sets.
Pinwheels step by step
- Make two doughs: Often vanilla and chocolate, or vanilla and a colored dough.
- Chill until pliable: Cold, but not rock hard. About 20 to 40 minutes is common, but it depends on dough thickness and how cold your fridge runs.
- Roll into rectangles: Between parchment, roll each portion into a rectangle about 1/8- to 1/4-inch thick. Thinner gives you more spirals and a tighter look. Thicker is chunkier and bolder.
- Stack: Peel off the top parchment and lay one rectangle onto the other. Press gently to remove air pockets.
- Trim edges: Use a ruler and bench scraper for straight sides (save scraps for baker snacks).
- Roll tight: Starting at a short end, use the parchment to help lift and roll into a snug spiral. When you get to the seam, press along the edge to seal.
- Wrap and chill: Wrap in plastic wrap and chill at least 2 hours, ideally overnight.
- Slice cleanly: Use a sharp knife, rotate the log as you slice, and wipe the blade if colors smear.
Seam insurance: If your dough feels a little dry at the seam, a very light brush of water or egg white can help it stick before you roll the final turn. You want “tacky,” not wet.
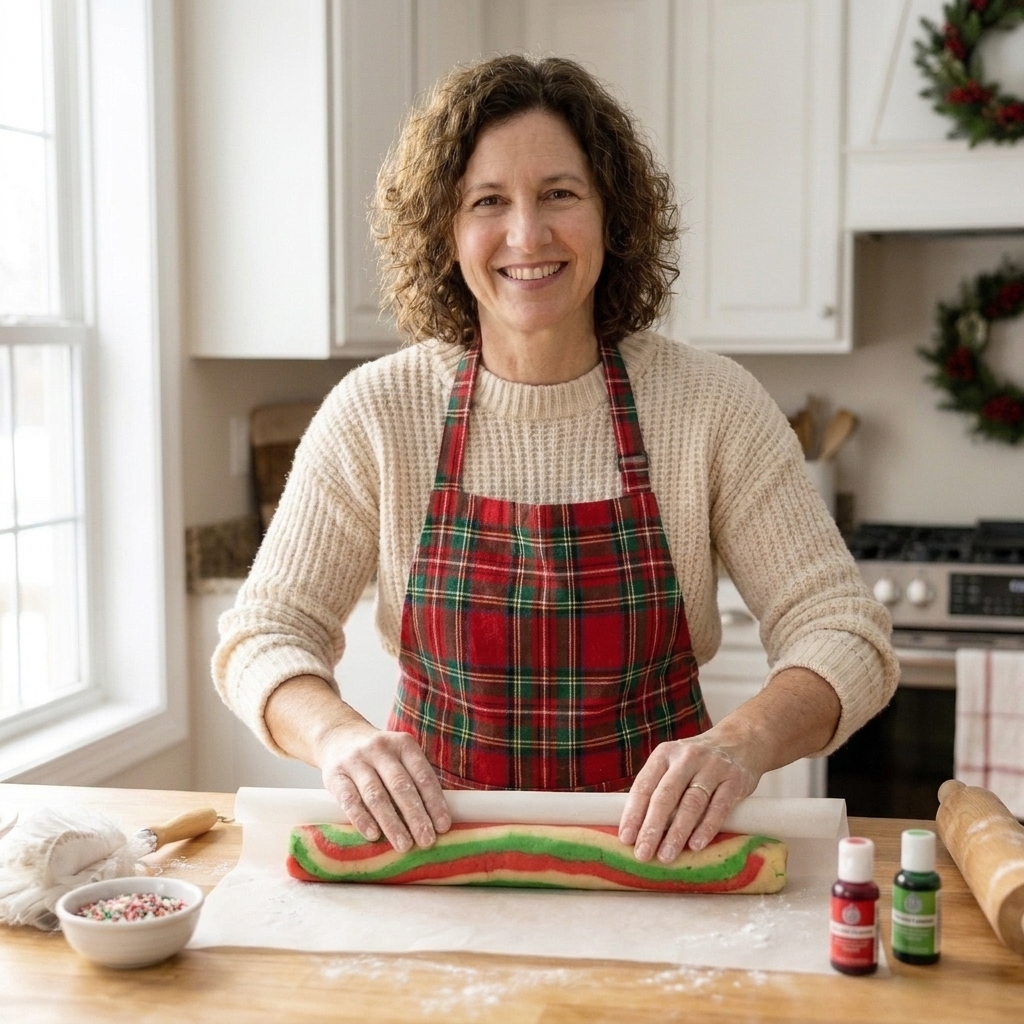
Pinwheel fixes
- Spiral has gaps from a loose roll: Roll with more tension from the very first turn, and press out air pockets before you start rolling.
- Spiral has gaps because dough cracked: Dough was too cold or too dry. Let it warm 5 to 10 minutes, then try again. Rolling a touch thicker can also help.
- Colors smear: Dough is too warm. Chill 20 minutes, wipe the knife between slices.
- Oval slices: Flat spots from chilling. Re-round the log gently on the counter before slicing. Optional pro move: during the first hour of chilling, rotate the wrapped log a quarter turn a couple of times so it firms evenly.
Technique 2: Checkerboards
Checkerboards are all about clean geometry. The secret is building with evenly sized strips and chilling at each stage so everything stays square.
Two checkerboard methods
Method A: Slabs then strips
- Roll each color into an even slab, about 1/4-inch thick.
- Trim edges straight.
- Cut into long strips of equal width (for example, 1/2-inch).
- Alternate strips to make a striped block, pressing seams gently.
- Chill the block 20 to 30 minutes.
- Slice the block crosswise into strips, then stack to form a checkerboard pattern.
Method B: Dough ropes
- Roll each color into ropes of the same thickness.
- Chill ropes briefly so they hold shape.
- Stack ropes in an alternating pattern, pressing lightly to bond.
- Square up the sides by gently pressing against the counter.
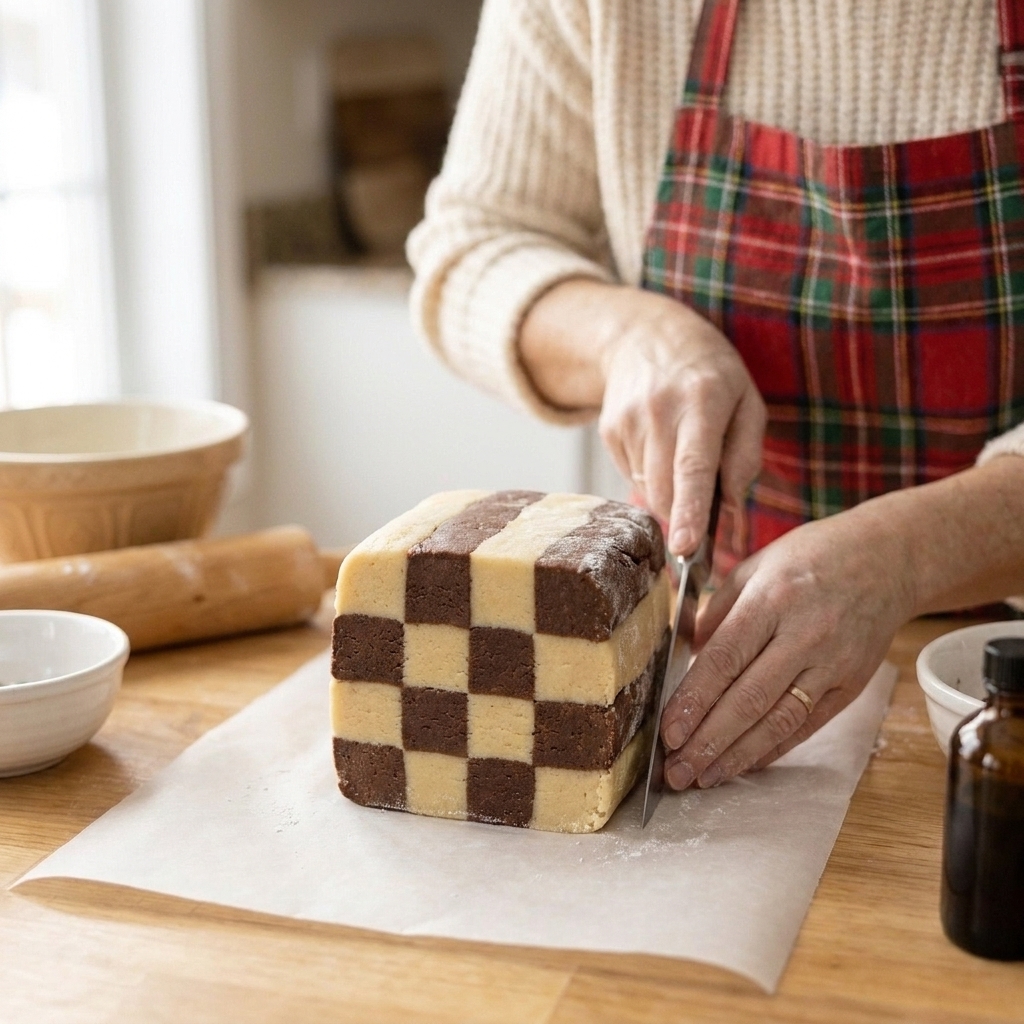
Sharp corners checklist
- Chill between steps: Warm dough rounds out.
- Use a ruler: Consistent strip widths are everything.
- Press, do not mash: Firm enough to bond, gentle enough to keep edges.
- Wrap and shape: Wrap the finished log and press the sides against the counter to re-square.
Technique 3: Swirls
Swirls are the most forgiving of the three. Think of them as pinwheels with softer boundaries, which makes them perfect for marbled holiday colors.
Two swirl styles
Style 1: Two-color twist
- Roll two dough colors into thick ropes.
- Twist the ropes together like a candy cane.
- Roll gently to smooth the outside into an even log.
- Chill until firm, then slice.
Style 2: Marble slices
- Flatten small chunks of different colors into a rough rectangle.
- Fold the dough over itself 2 to 3 times, just until streaky.
- Shape into a log, wrap, chill, and slice.
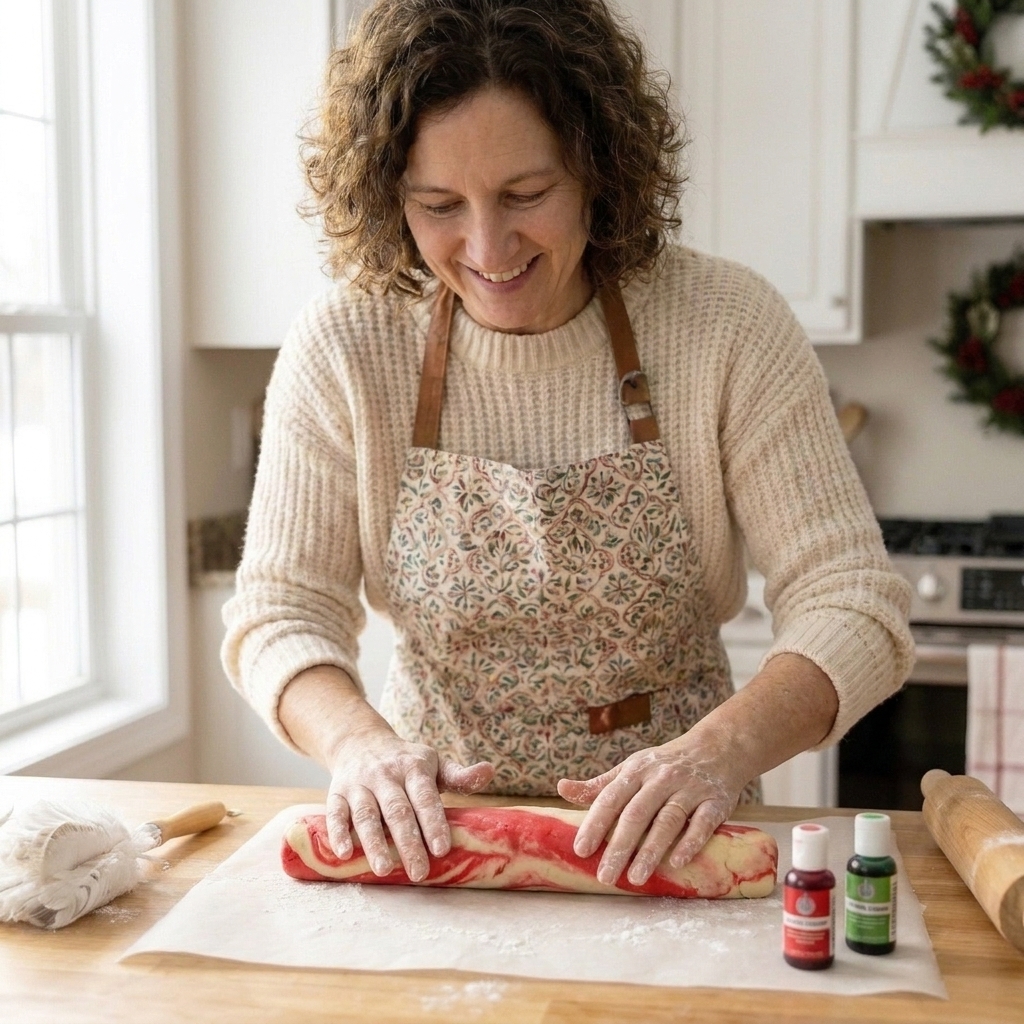
Chilling, freezing, and storage
The timeline I use
- Short chill (20 to 40 minutes): Makes dough rollable without sticking.
- Long chill (2 hours to overnight): Sets the shape so slices stay sharp.
Freezer plan
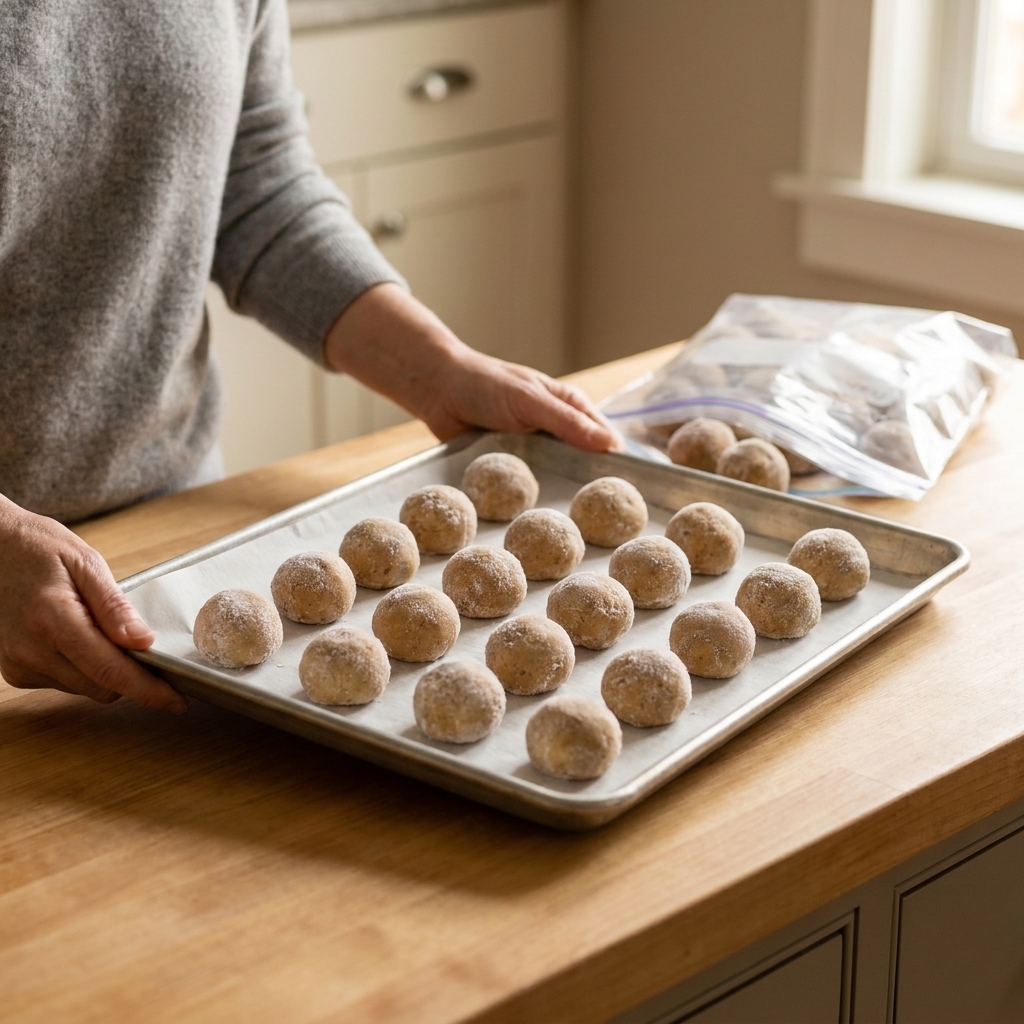
- Wrap logs tightly in plastic wrap.
- Add a second layer of foil or place in a freezer bag.
- Freeze for best quality within 2 months. Many doughs keep longer if wrapped well, but flavor and color are at their best in that window.
- To bake, thaw in the fridge overnight or on the counter 20 to 30 minutes until sliceable.
Tip: If your log gets very firm, let it sit at room temp just until the knife can pass through without cracking the dough.
Slicing clean
Clean slices are what make the pattern look intentional. Here is what works in my kitchen every single time.
- Use a sharp, thin knife: A chef’s knife works well. Serrated can tear.
- Match blade temp to the dough: A slightly warmed blade can help with chocolate-heavy doughs. For vividly colored doughs, I often prefer a cool knife (still sharp) plus frequent wiping to keep edges crisp.
- Rotate as you slice: It helps keep the log round.
- Wipe between cuts: Especially with strongly colored doughs.
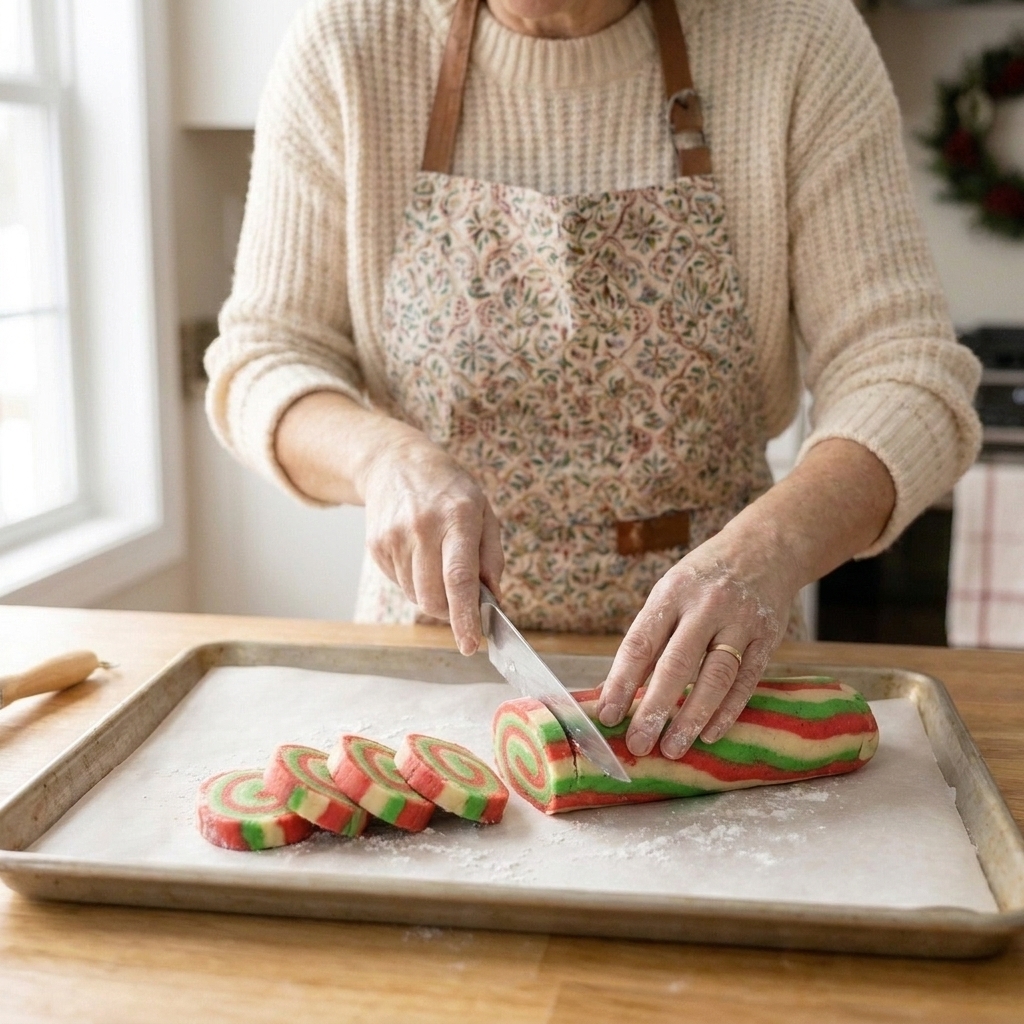
Baking for sharp designs
Pan and oven tips
- Line your pans: Parchment keeps bottoms from over-browning and makes transfer easy.
- Start with cold dough: Put sliced cookies back in the fridge for 10 minutes if your kitchen is warm.
- Do not overcrowd: Give cookies room so edges bake evenly.
Time and temperature
Most slice-and-bake icebox cookies bake well at 350°F for 10 to 12 minutes when sliced about 1/4-inch thick. Thinner slices bake faster, thicker slices take longer, and every recipe has its own sweet spot. You are looking for edges that are set and tops that look matte, not deeply browned.
Flavor and color ideas
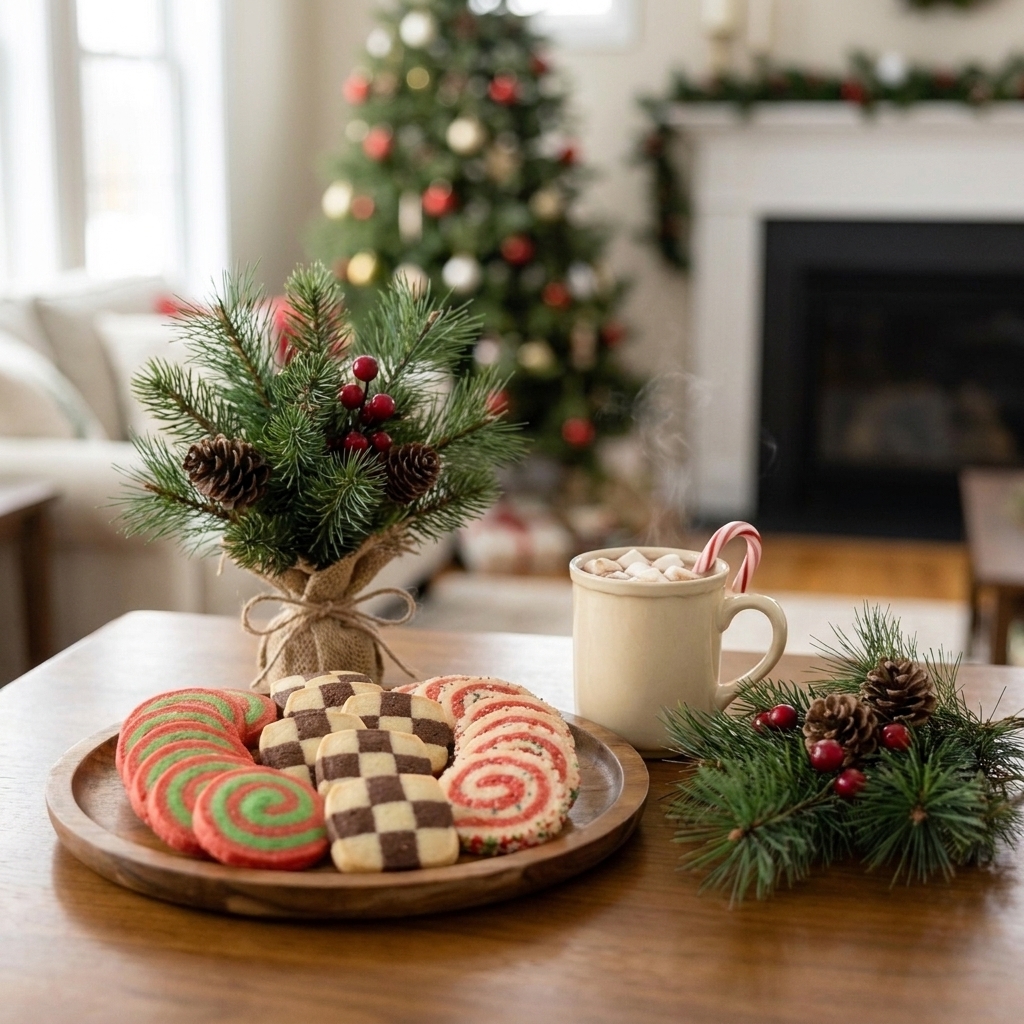
- Classic: Vanilla and chocolate pinwheels.
- Peppermint: Vanilla dough with a little peppermint plus a pink or red swirl.
- Gingerbread contrast: Ginger-spiced dough paired with vanilla or orange.
- Matcha and vanilla: A green-and-white checkerboard that feels wintry and elegant.
- Raspberry marble: Vanilla dough with freeze-dried raspberry powder kneaded in for natural pink streaks.
My one caution: Some liquid flavorings and extracts can loosen dough a bit (especially if you add more than a small splash). Start small, then chill before shaping and adjust with a tablespoon or two of flour only if the dough is truly sticky.
Master icebox dough (optional)
If you want a dependable base that holds patterns well, this one behaves nicely. From here you can divide and color it, turn part of it into chocolate, or add gentle spice.
Ingredients
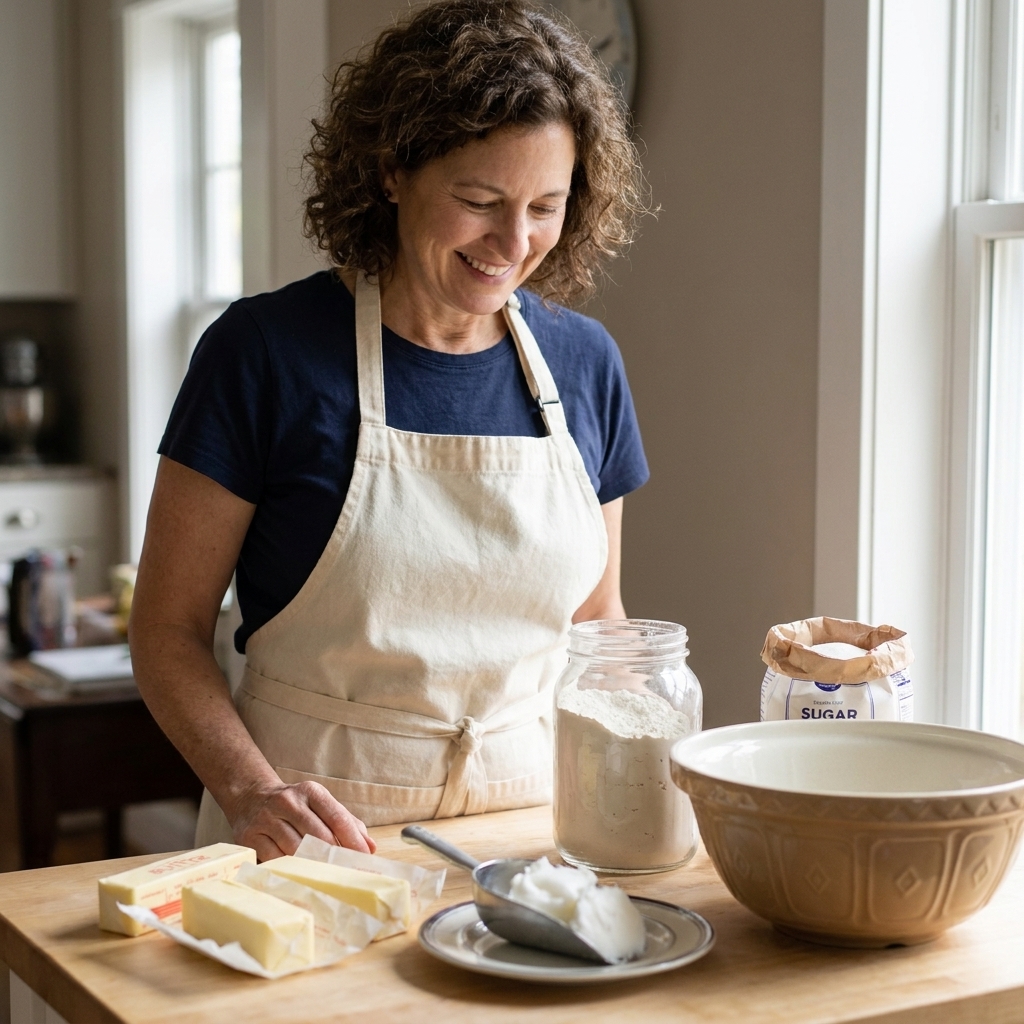
- 226 g unsalted butter, softened
- 150 g granulated sugar
- 1 large egg
- 2 teaspoons vanilla extract
- 300 g all-purpose flour
- 1/2 teaspoon fine salt
- Optional: 1/2 teaspoon baking powder for a slightly lighter bite (skip it for the sharpest edges)
How I make it
- Cream butter and sugar until smooth and fluffy, 2 to 3 minutes.
- Mix in egg and vanilla until fully combined.
- Add flour, salt, and baking powder if using. Mix just until no dry spots remain.
- Divide dough for patterns, then color or flavor as desired.
- Chill 20 to 40 minutes before rolling and shaping, then chill logs at least 2 hours before slicing.
Easy variations
- Chocolate portion: Replace 25 g flour with 25 g cocoa powder in that portion of dough.
- Peppermint: Add 1/4 to 1/2 teaspoon peppermint extract to one portion, then chill before shaping.
- Spice: Add 1 to 2 teaspoons of a warm spice blend (cinnamon, ginger, cardamom) to one portion.
Baking note: Bake at 350°F for about 10 to 12 minutes for 1/4-inch slices, adjusting as needed for your oven and slice thickness.
Quick fixes
Dough is sticky and impossible to roll
- Chill longer.
- Roll between parchment.
- Lightly flour the parchment, not the dough itself, to avoid drying it out.
Dough cracks while rolling pinwheels
- Let it warm 5 to 10 minutes.
- Roll a touch thicker.
- Press cracks together gently, then keep rolling with parchment support.
Log has a flat side after chilling
- Roll it gently on the counter to re-round.
- For checkerboards, press the sides against the counter through the plastic wrap to re-square.
Cookies spread and blur the pattern
- Chill the sliced rounds 10 to 15 minutes before baking.
- Double-check oven temperature.
- Next time, reduce leavening slightly or use a sturdier base dough.
FAQ
How far ahead can I make slice-and-bake dough?
Most logs can be refrigerated 3 to 4 days (tightly wrapped) or frozen for best quality within about 2 months. If your dough contains fresh zest or mix-ins like crushed candy, I prefer freezing for longer storage rather than leaving it in the fridge, because flavors stay brighter and textures stay cleaner.
Why are my pinwheels not centered?
Usually the first roll was loose. Start the roll extra tight at the beginning and keep gentle tension with the parchment as you go.
Can I do three-color patterns?
Yes. For pinwheels, stack three thin rectangles. For checkerboards, build a 3-by-3 or 4-by-4 grid. Just chill more often, because extra pieces warm up faster in your hands.
Do I need egg wash or sanding sugar?
Not required, but fun. You can brush the outside of the log lightly with egg white and roll in sanding sugar or sprinkles before slicing for a sparkly edge.
How I serve them
I love mixing one bold design (pinwheel), one crisp geometric cookie (checkerboard), and one softer, colorful swirl on the same platter. It looks like you spent days baking, but really you just got very cozy with your fridge.