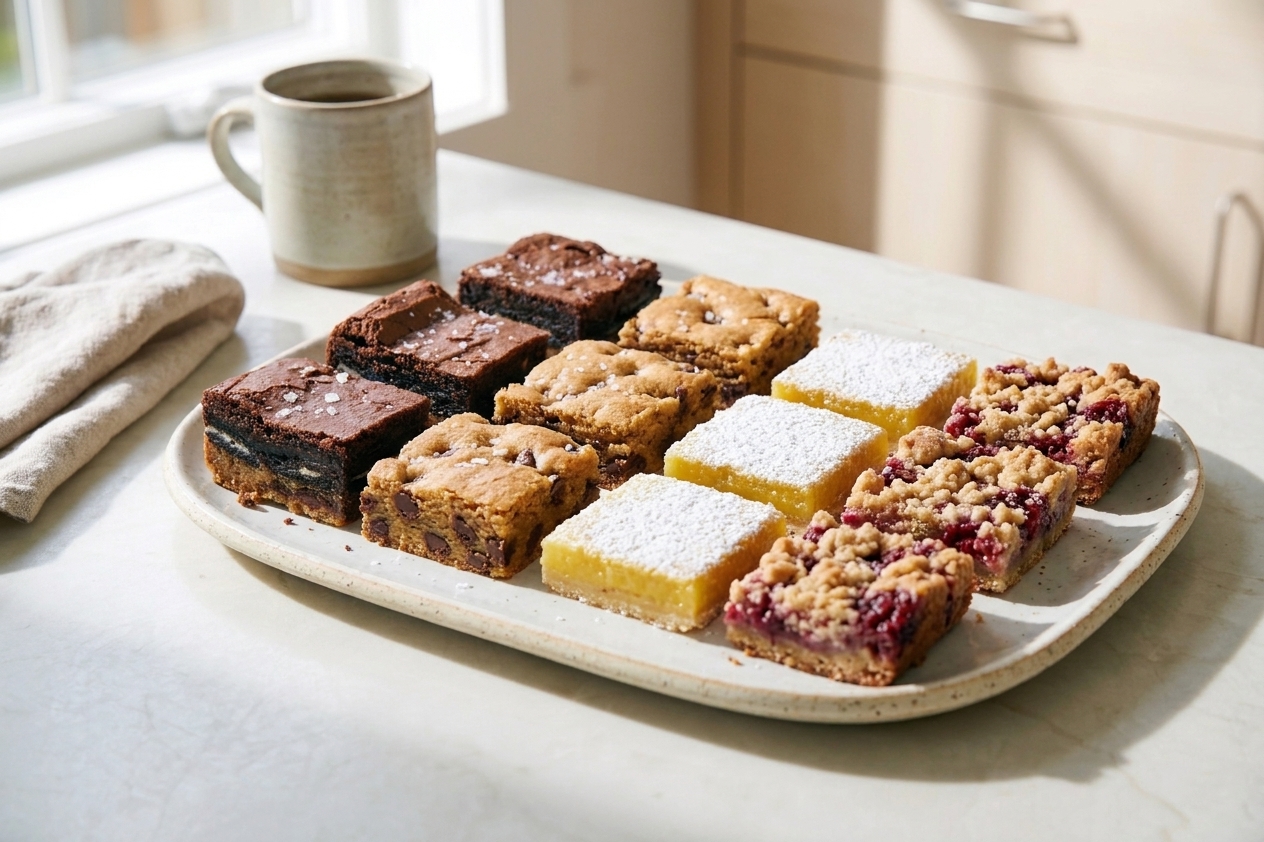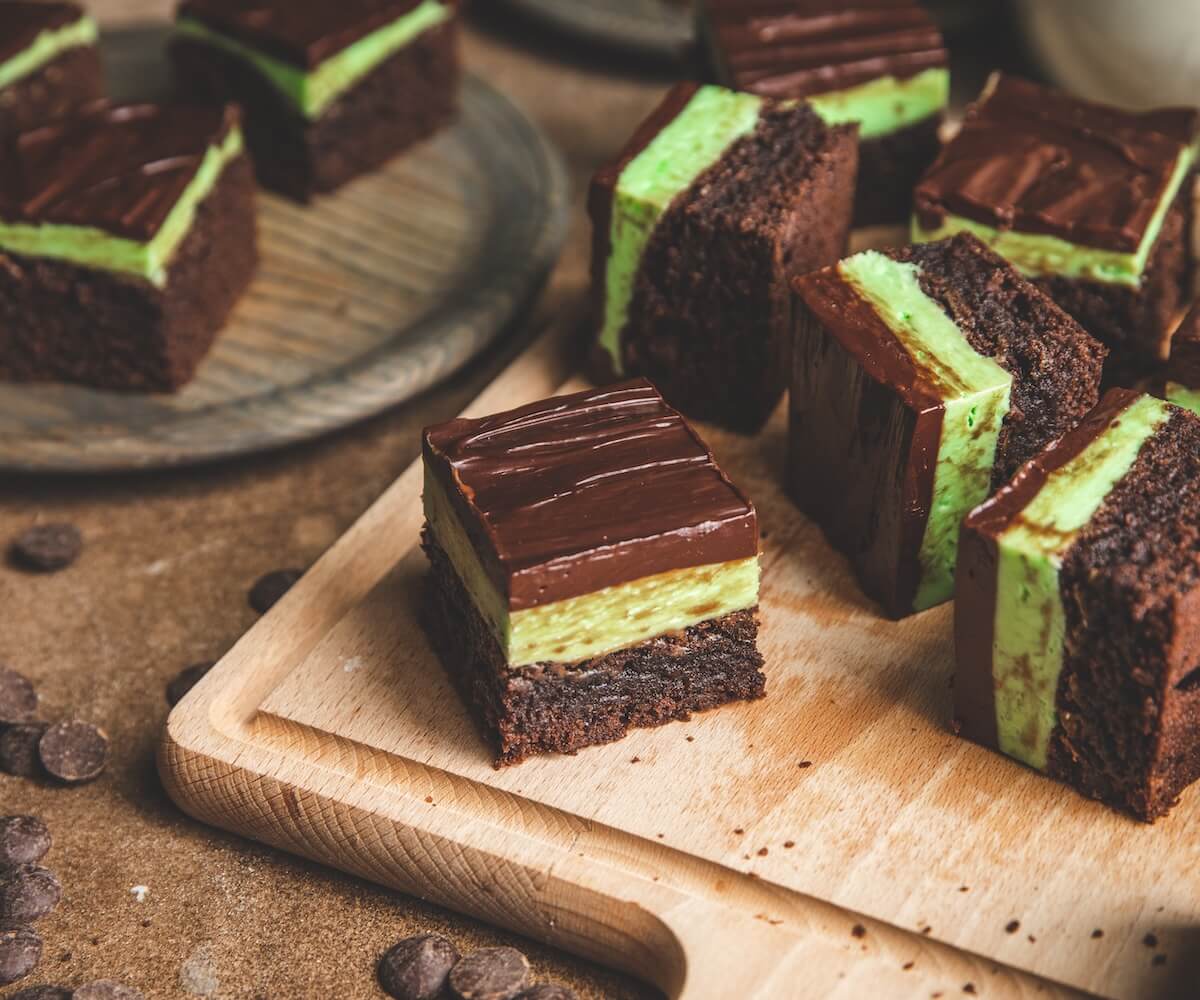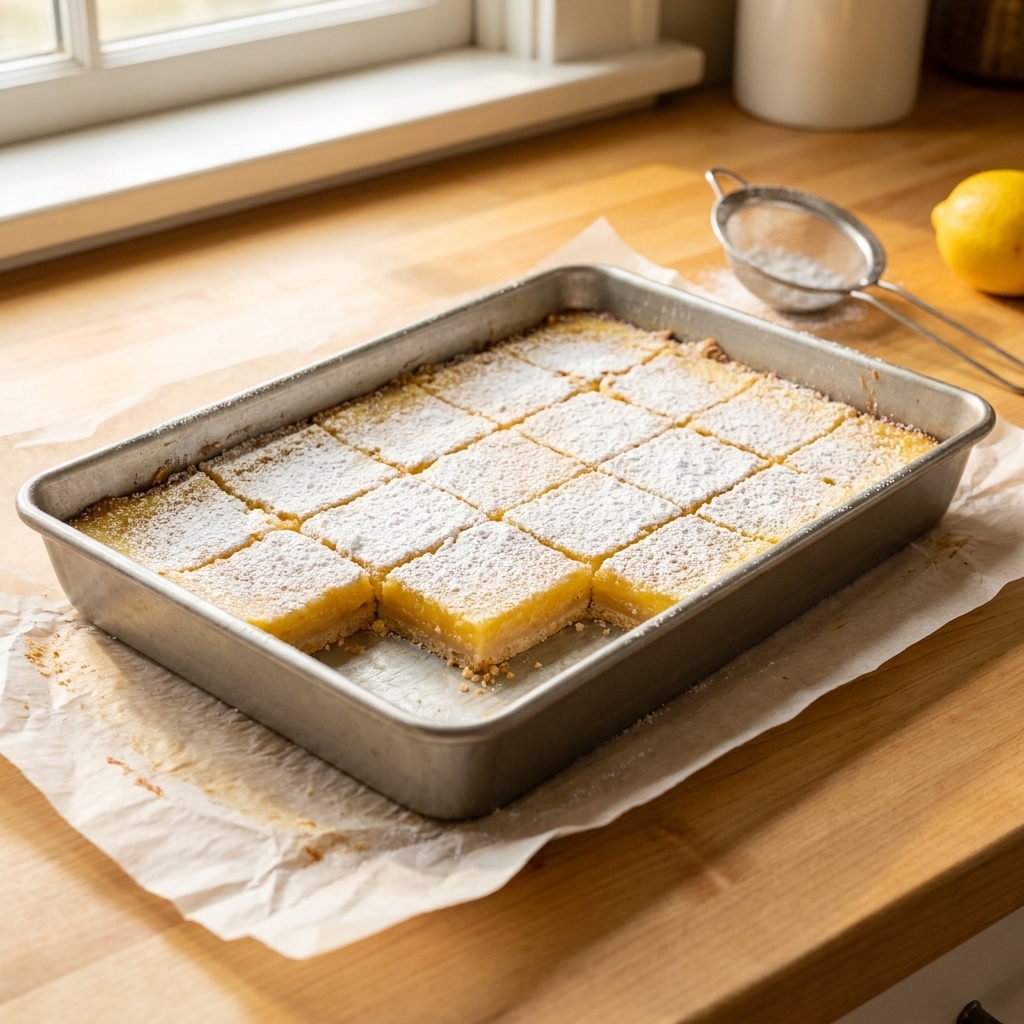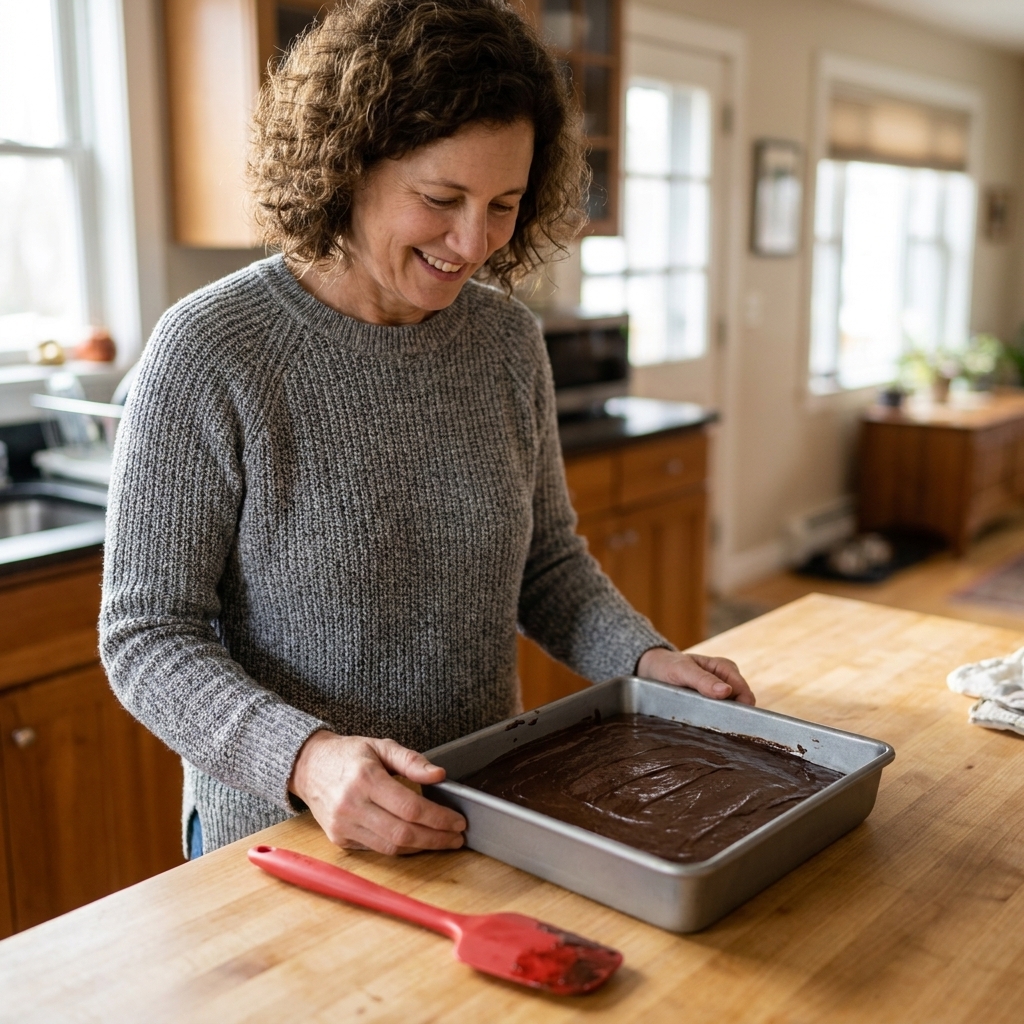
Nothing makes me feel more like a bakery pro than lifting out a pan of brownies and cutting crisp, tidy squares that actually hold their shape. Nothing makes me feel more like a frazzled home baker than dragging a knife through a gooey pan and ending up with a delicious, messy crater situation.
The good news is this is not a talent issue. It is a timing and technique issue. Whether you are slicing brownies or other dessert bars, clean cuts come down to three things you can control every single time: cooling and chilling, the right knife, and warming and wiping between cuts.
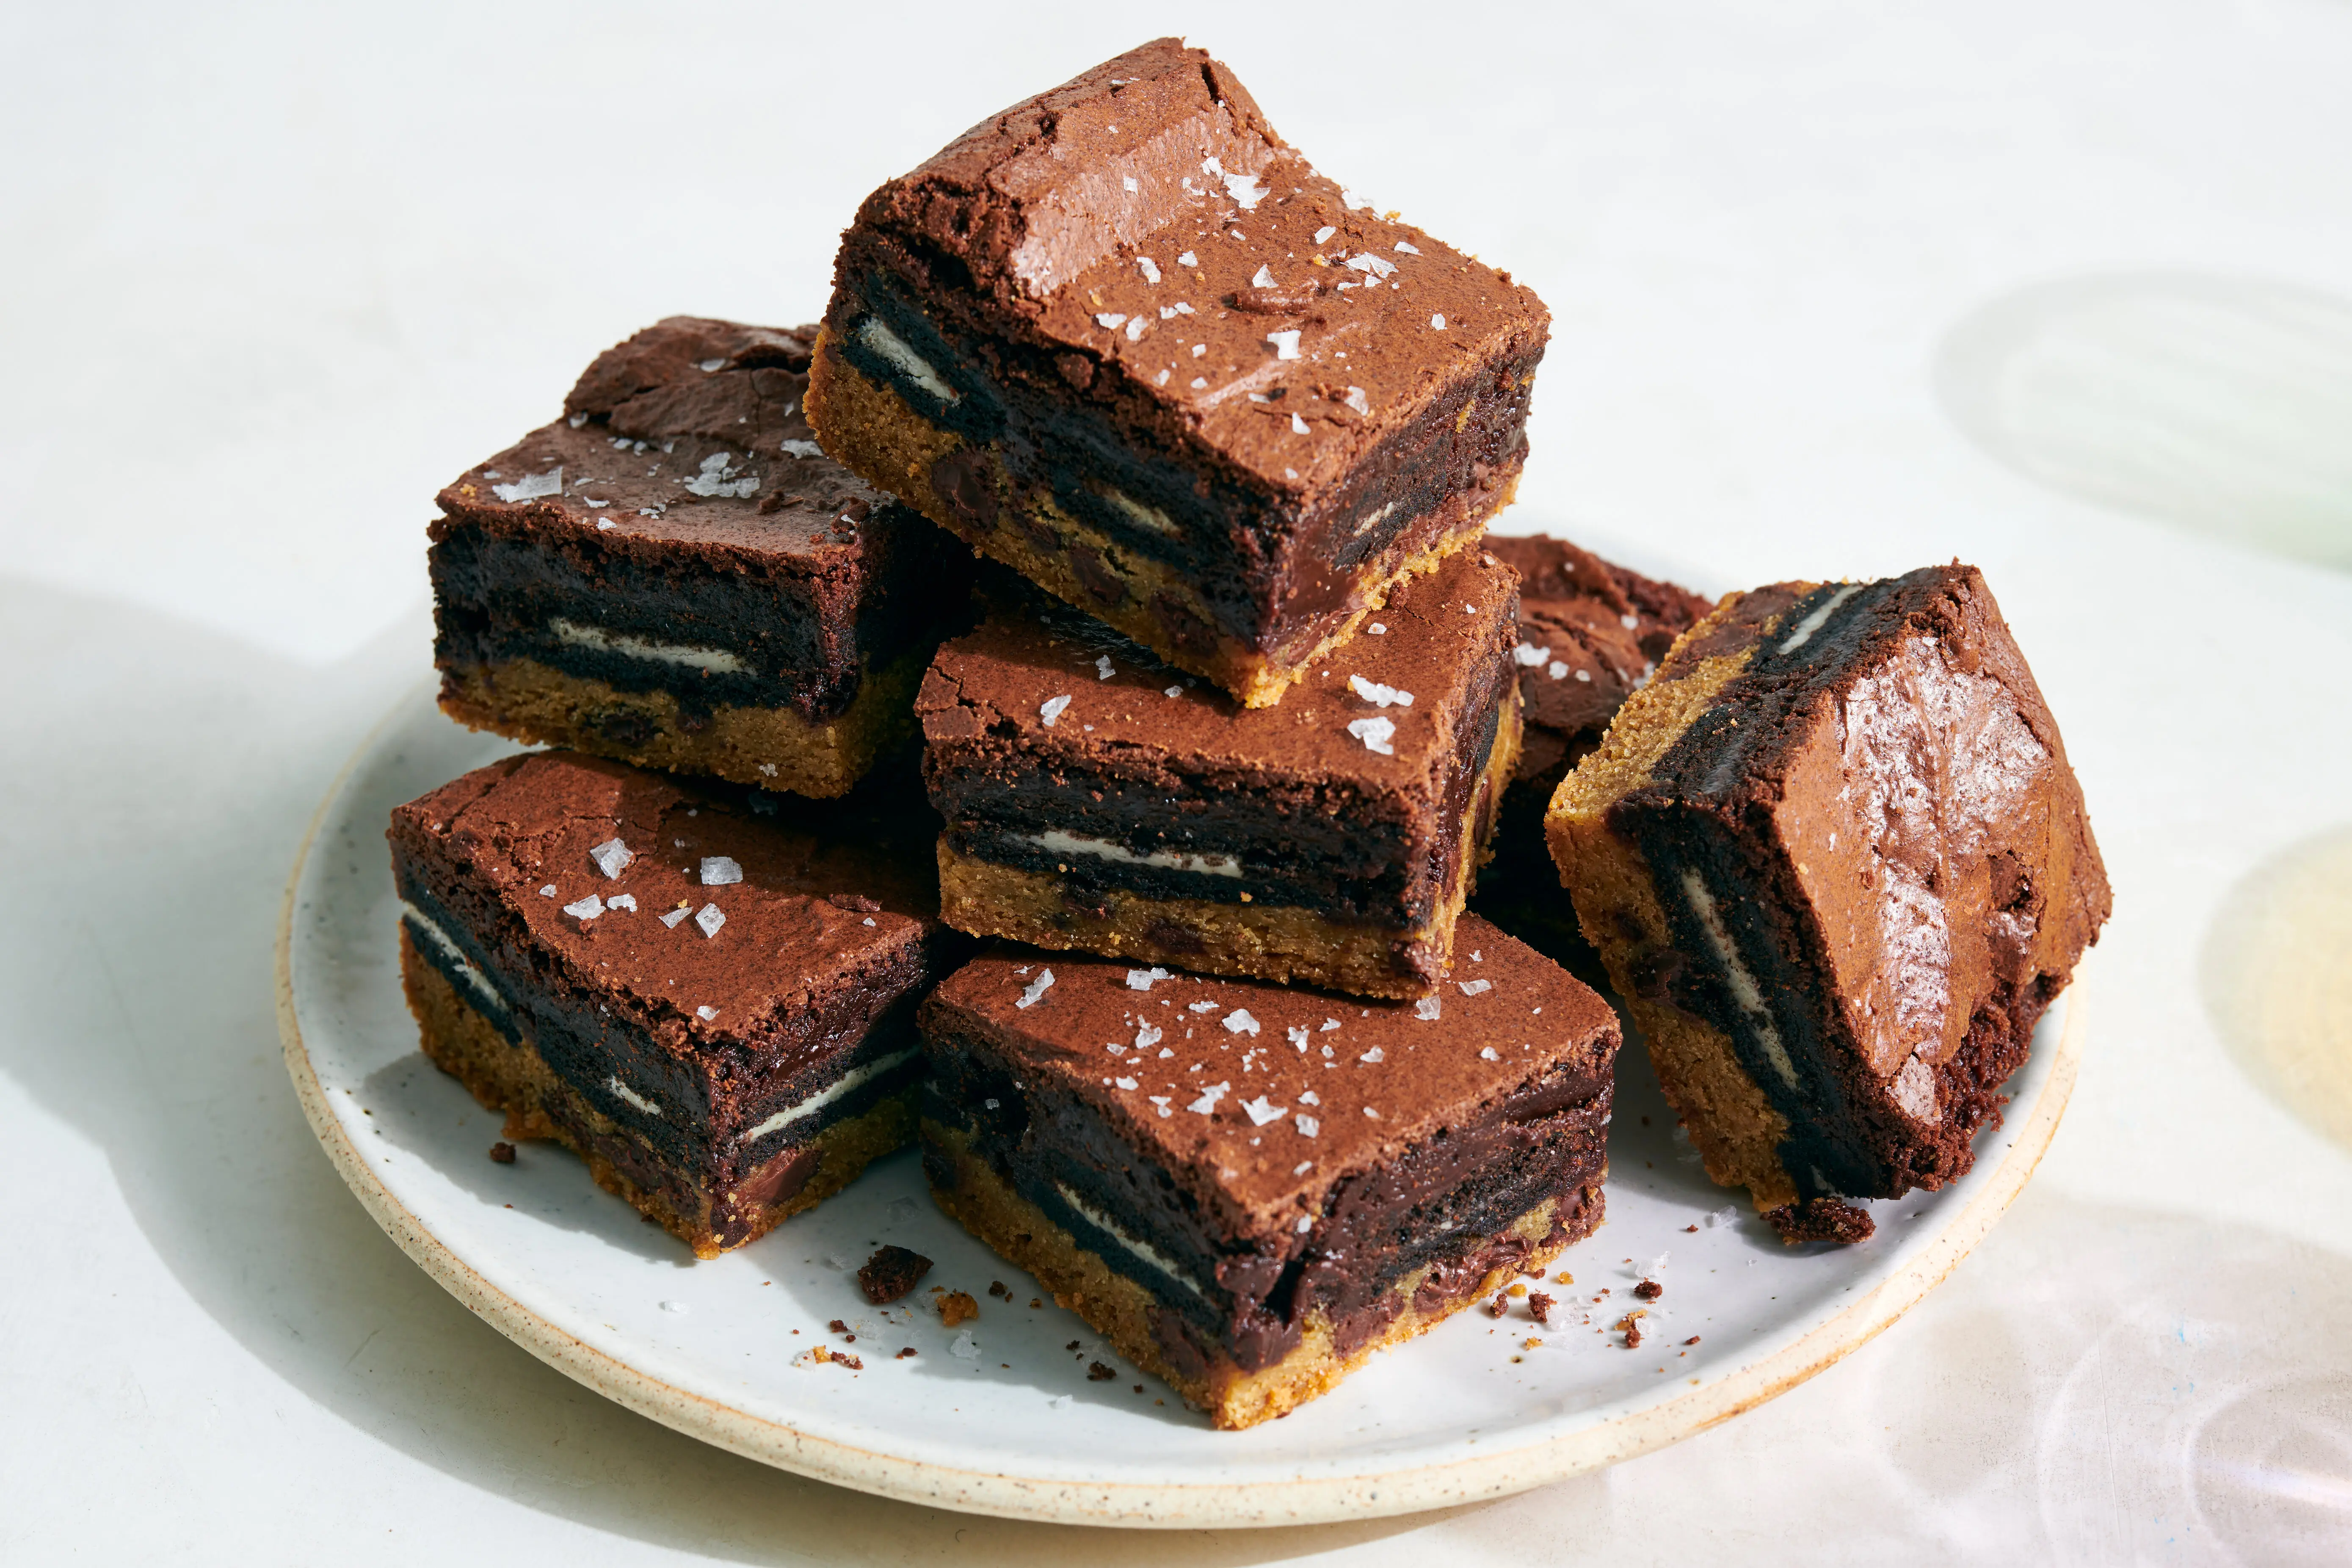
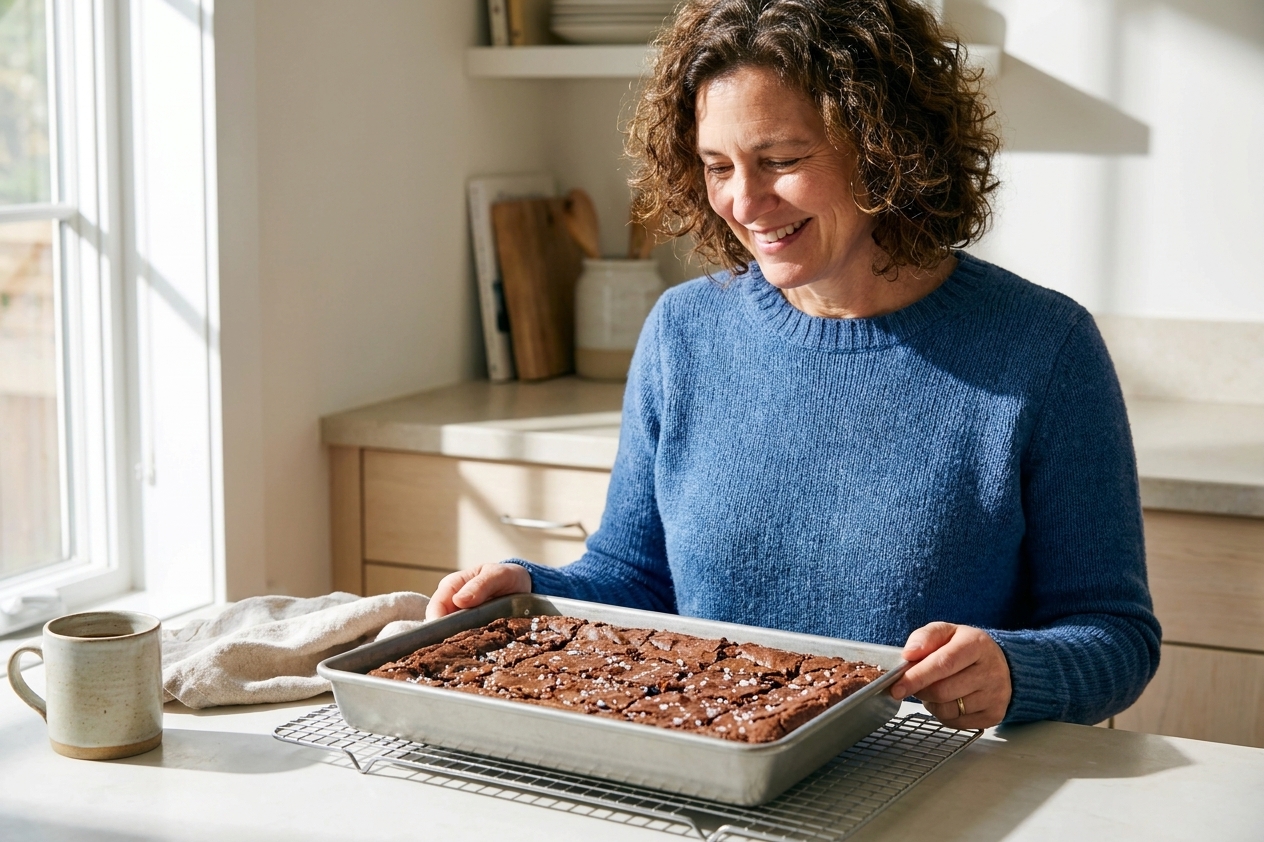
Why bars smear
When a knife smears brownie batter or drags a sticky topping, it is usually because the bar has not finished setting. Warm bars are still fluid inside, chocolate and sugar are still soft, and gooey fillings cling to the blade like glue.
Clean cuts need:
- Structure: the bar must be fully cooled so the crumb can hold.
- Firm fats: butter and chocolate slice cleaner when chilled.
- A slick blade: warmth helps the knife glide through fudgy centers and sticky layers.
- A clean blade each time: crumbs on the knife transfer to the next cut and create ragged edges.
Step 1: Cool, then chill
Cooling is not optional
If you cut warm brownies or bars, you are basically asking the center to ooze. For most 8 inch or 9 inch pans, plan on about 2 hours at room temperature, and longer for thicker, fudgier recipes.
Chilling is the secret weapon
Once the pan is fully cool, chill it. This is the biggest upgrade for clean edges.
- For fudgy brownies: chill 1 to 2 hours, or up to overnight.
- For sticky dessert bars (caramel, marshmallow, peanut butter, dulce de leche): chill 2 to 4 hours.
- For cheesecake or custard-style bars: chill overnight for best texture.
Chilling firms the fats and reduces drag. You still get a soft bite after the pieces sit for a few minutes on the counter, but you get those sharp corners while slicing.
If your bars crack because they are very cold: let the slab sit at room temperature for 5 to 10 minutes, then try again with a warmed knife and a straight-down cut.
Step 2: Line the pan
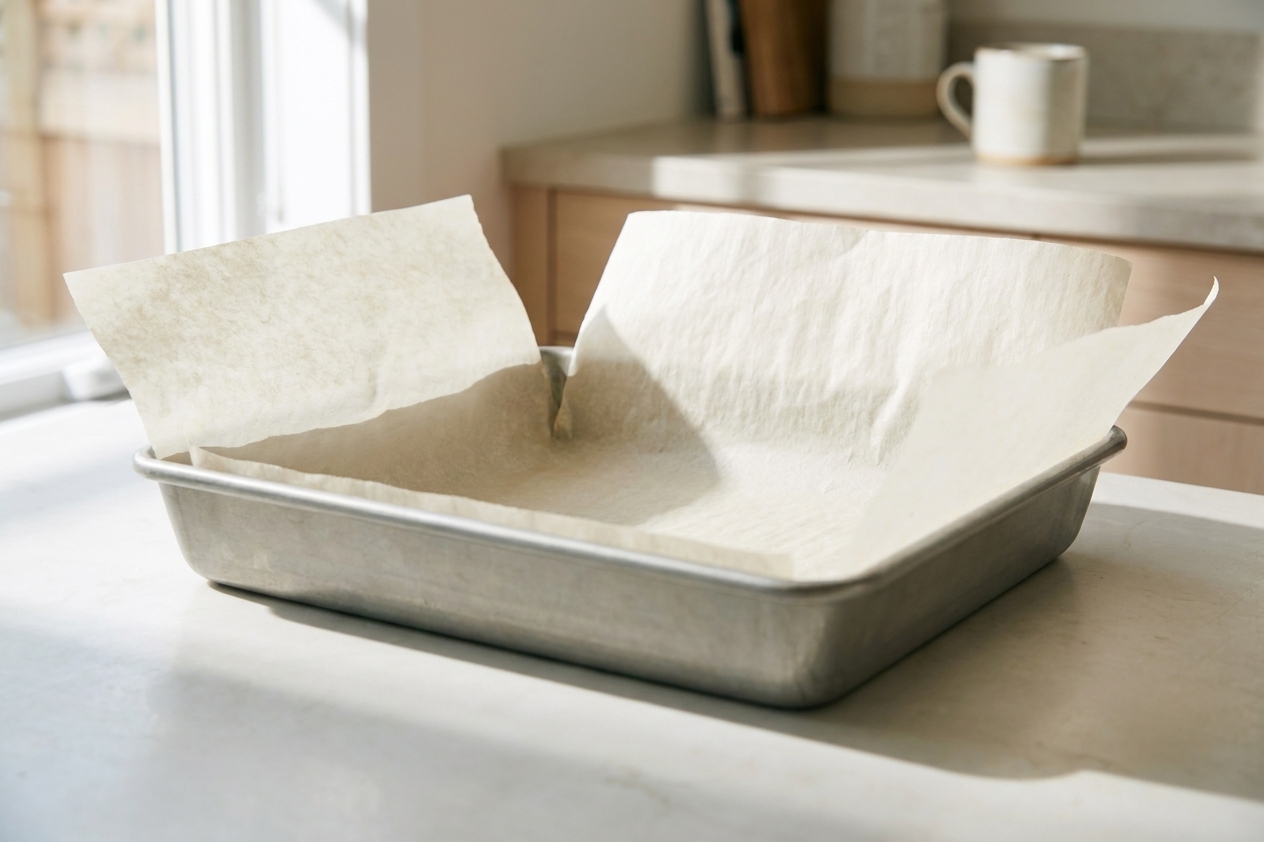
If you are not already lining your pan, this is your gentle nudge. A parchment sling makes it easier to lift the whole slab out, chill it evenly, and slice on a cutting board where you have better control.
My parchment sling method
- Cut a strip of parchment long enough to cover the bottom and hang over two sides.
- Lightly grease the pan first so the parchment stays put.
- Press parchment into corners, then add batter.
Once cooled, lift straight up, move to a cutting board, and you are in clean-cut heaven.
Step 3: Use the right knife
You do not need fancy tools, but the knife matters.
- Best all-purpose: a long chef's knife with a smooth edge.
- Great for very fudgy brownies: a large smooth slicing knife.
- Also works well: a bench scraper for straight-down cuts, especially if you want perfectly even edges.
- For thick toppings: a sturdy chef's knife gives you control.
Try not to use a serrated knife for brownies. It tends to shred the crinkly top and pull crumbs. And avoid sawing back and forth. Instead, use a firm, straight down motion, then lift.
Step 4: Warm and wipe
This is the pro move that makes your slices look like they came from a pastry case.
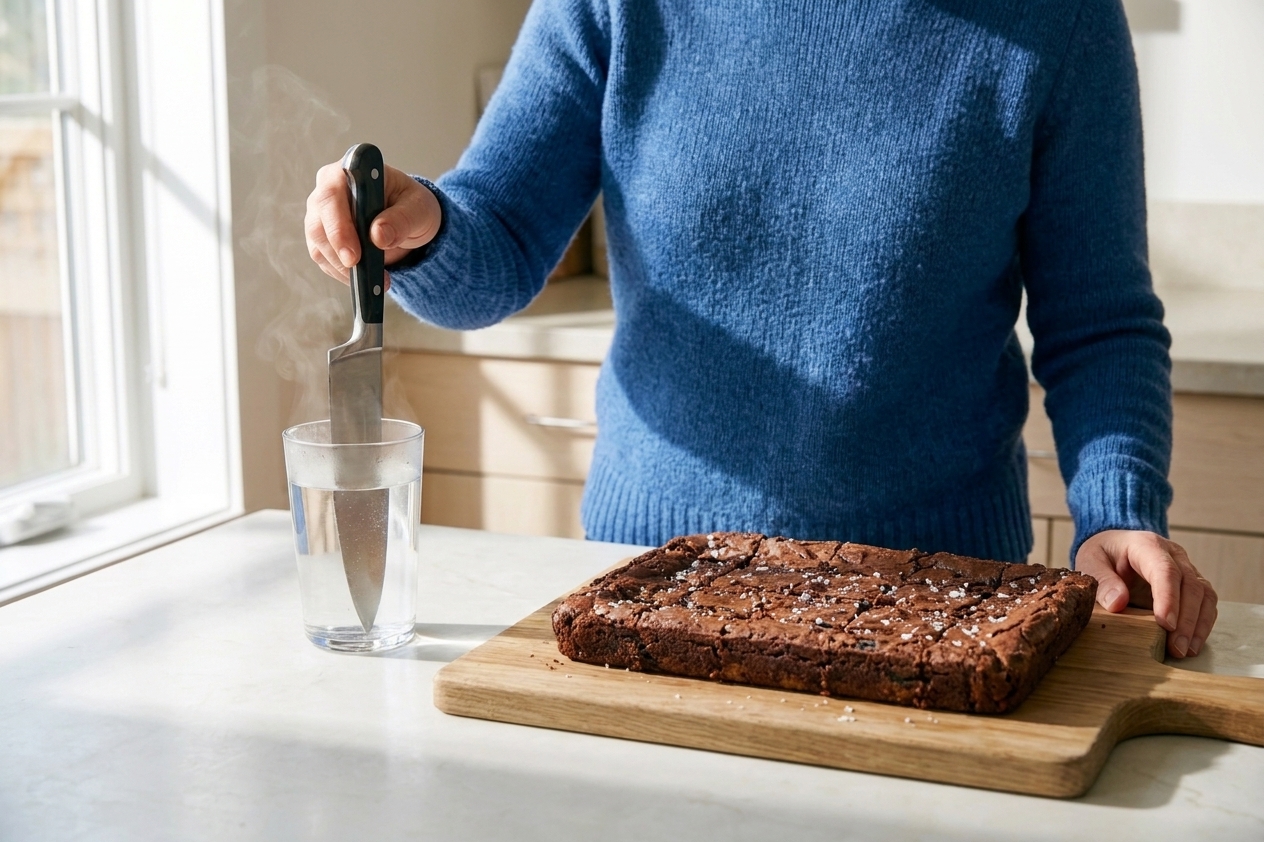
How to warm your knife
- Fill a tall glass with very hot water (tap or kettle).
- Dip the blade for 10 to 15 seconds.
- Wipe completely dry with a clean kitchen towel before cutting.
That quick heat helps the knife glide through chocolate and sticky layers instead of dragging them.
The wipe rule
Wipe after every single cut. It feels fussy, but it is the difference between clean edges and smudged edges. I keep:
- a damp towel for wiping off chocolate and caramel
- a dry towel for drying the warmed knife
Yes, two towels. This is my little bakery routine and it works.
Step 5: Mark and slice
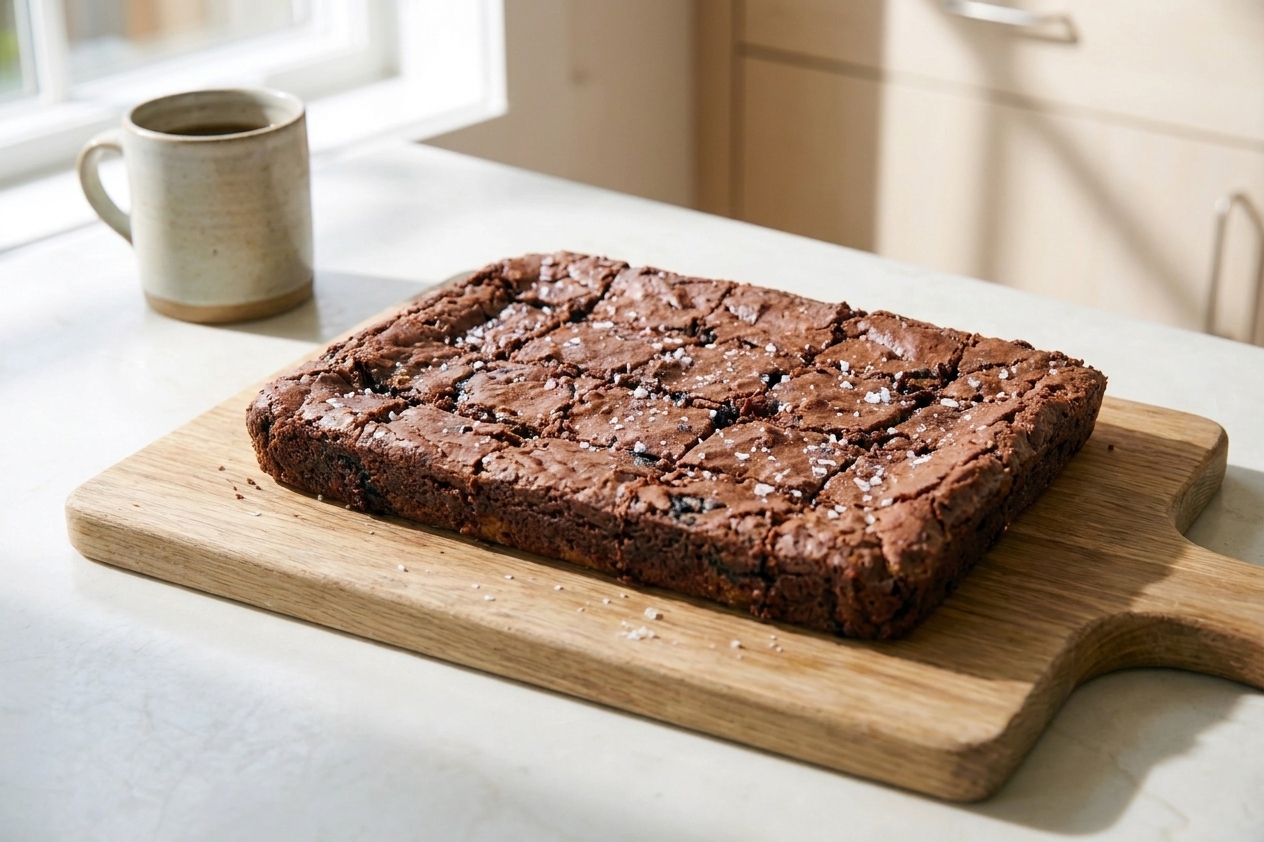
If you want truly even squares, do a quick score first. I like to use a ruler (or the flat edge of a bench scraper) and make tiny marks along the top crust.
Easy portion guides
- 8 x 8 pan: 9 pieces (3 x 3) or 16 pieces (4 x 4)
- 9 x 9 pan: 9 pieces (3 x 3) or 16 pieces (4 x 4)
- 9 x 13 pan: 12 pieces (3 x 4), 15 pieces (3 x 5), or 24 pieces (4 x 6)
Once marked, line up your knife, press straight down, lift straight up. Warm, wipe, repeat.
Extra-sticky bars
Some bars are just clingy. For those, add one more trick: nonstick insurance.
Two options that actually help
- Light oiling: wipe the knife with the tiniest film of neutral oil, then warm and wipe as usual. This helps with caramel and marshmallow.
- Hot water method only: for peanut butter and ganache-topped bars, warming the blade is often enough without oil.
If your topping is soft, do not rush it. Chill longer than you think you need. I would always rather wait 30 more minutes than fight a marshmallow swirl.
Quick fixes
The top crust is cracking
- Let the slab sit 5 to 10 minutes at room temperature if it is very cold.
- Use a smooth chef's knife.
- Press straight down, do not saw.
The center is smearing
- The bars are not fully cooled. Give them more time on the counter, then chill.
- Your knife is warm but not being wiped clean. Wipe after each cut.
The bars are sticking to the pan
- Next time, use parchment with overhang.
- For today: chill until firm, then run a thin knife along the edges to loosen before lifting.
My clean-cut routine
- Cool completely in the pan.
- Chill until firm.
- Lift out with parchment and move to a cutting board.
- Mark portions.
- Warm knife in hot water, wipe dry.
- Cut straight down.
- Wipe blade clean after every cut, re-warm as needed.
If you only adopt one habit from this whole article, make it the wipe-between-cuts rule. It is the small thing that makes a big visual difference.
FAQ
Should I cut brownies cold or at room temperature?
Cut them cold for the cleanest edges, then let the pieces sit 10 to 20 minutes before serving if you prefer a softer bite.
Can I use dental floss to cut brownies?
For very soft bars, unflavored dental floss can work surprisingly well, especially for cheesecake bars or super gooey caramel layers. Pull straight down and keep the floss taut. I still prefer the hot-knife method for classic brownies because I find it keeps the top looking the most intact.
What if I want sharp, bakery-perfect edges for photos?
Chill overnight, cut with a hot, wiped knife, and trim a very thin strip off the outer edges of the slab first. Those outer pieces are still delicious, but trimming gives you the cleanest squares for a platter or photos.
Do silicone pans slice cleanly?
They can, but they are harder to stabilize. If you use silicone, set it on a baking sheet before baking, and chill thoroughly before lifting the bars out. A parchment sling in a metal pan is still my favorite for clean cuts.
If you try this routine the next time you bake brownies or sticky dessert bars, you will feel the difference immediately. Clean edges, tidy corners, and not a smear in sight. And if you do end up with one slightly messy piece, consider it the baker's sample. I always do.