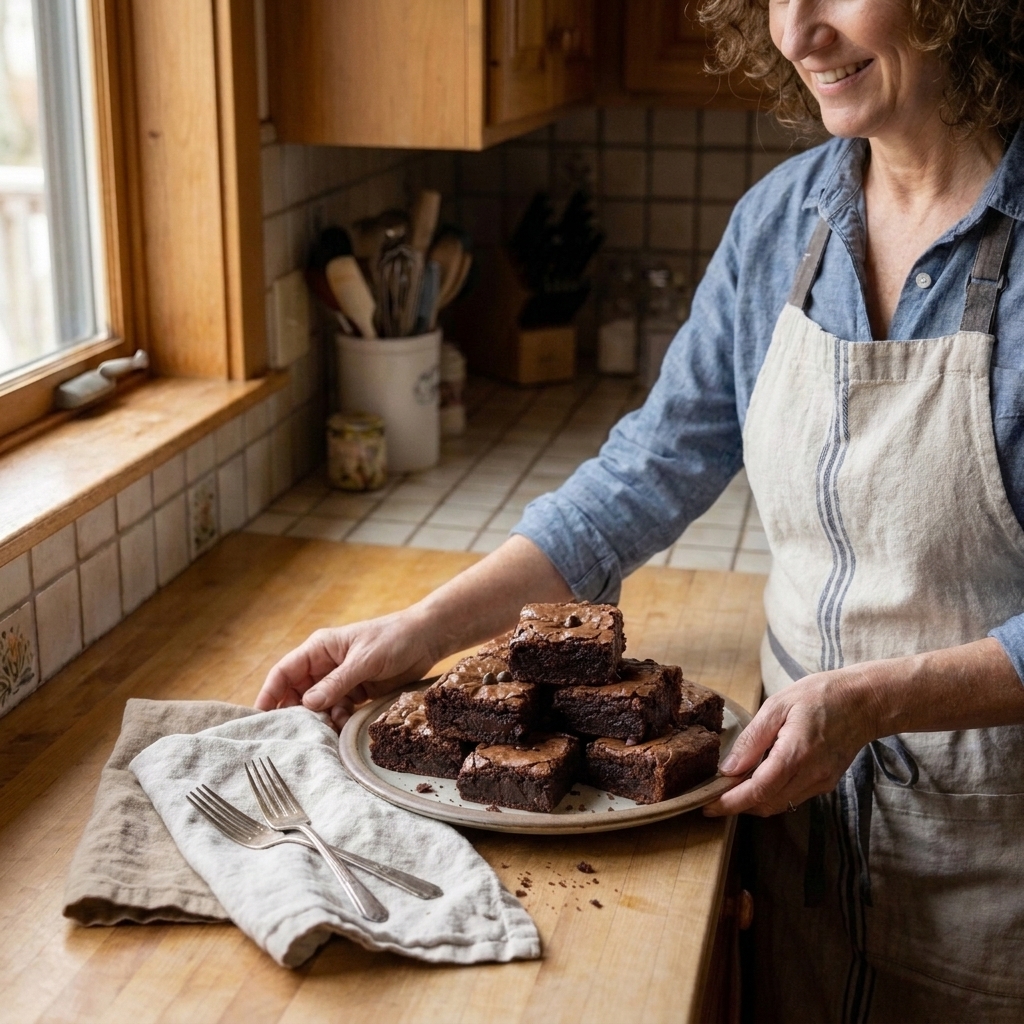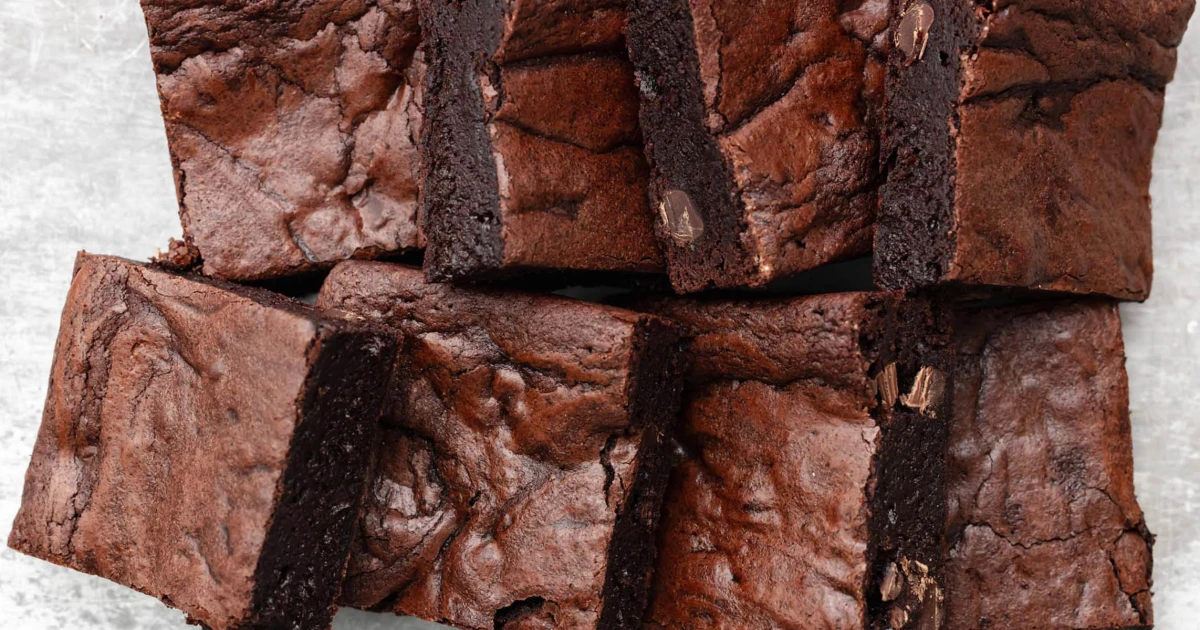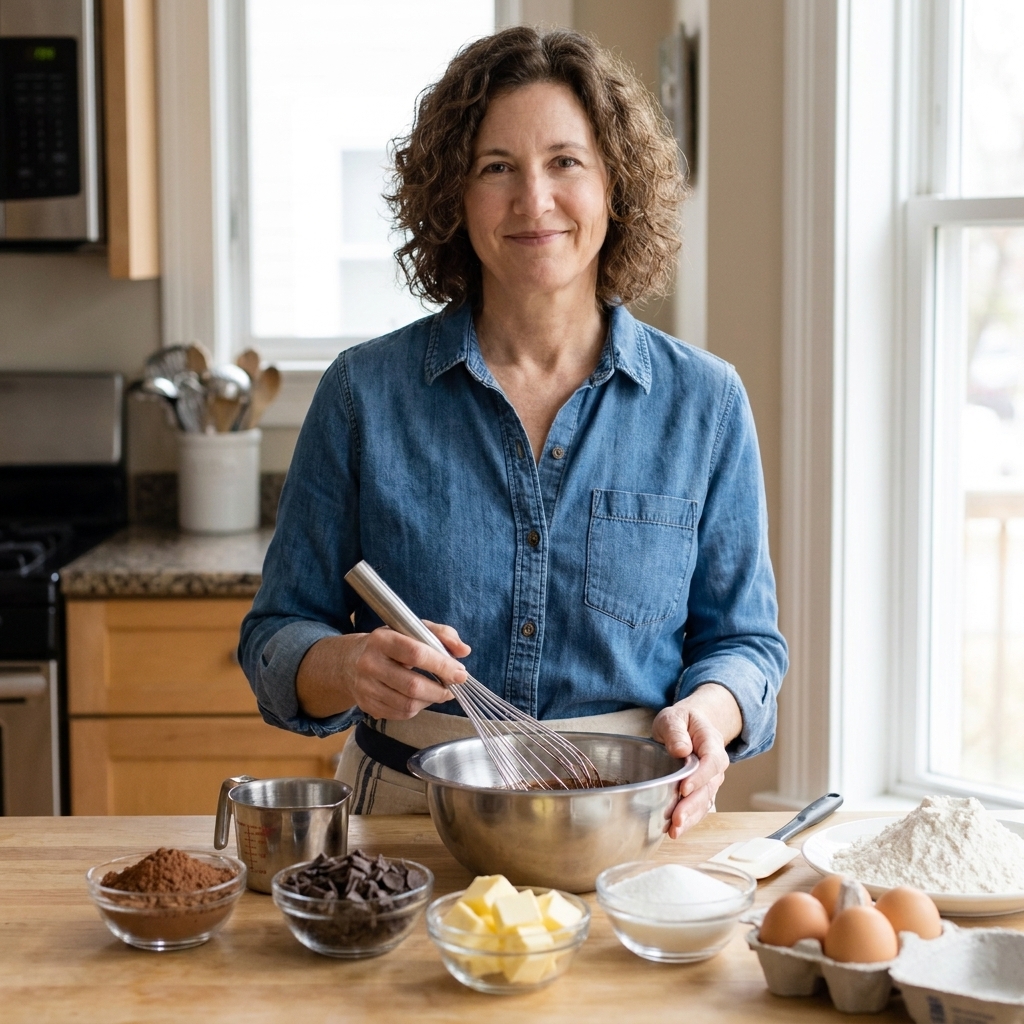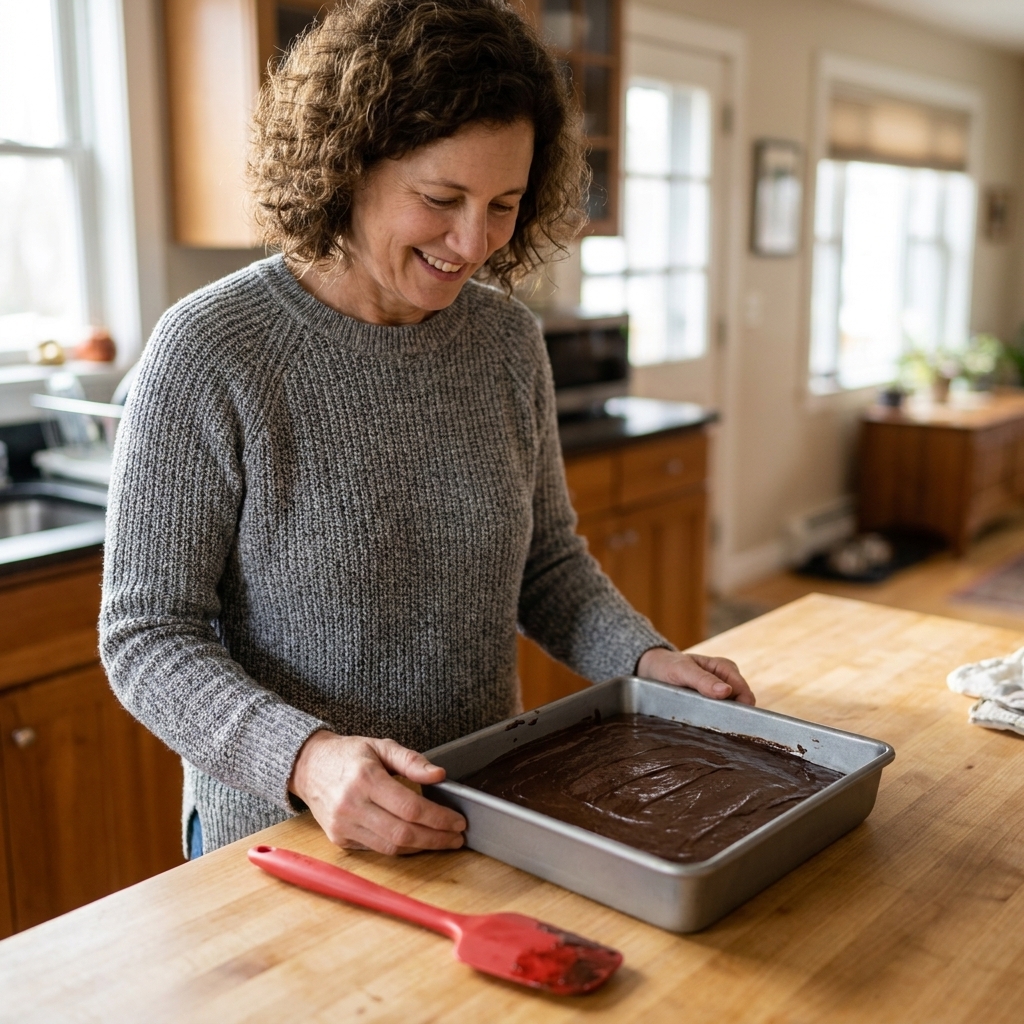
If your favorite brownie is all about that dense, fudge-forward bite, going gluten-free can feel a little scary. The good news is brownies are often one of the easier bakes to convert because they do not rely on gluten the way a lofty cake does. Your real enemies are grittiness, dryness, and crumbly edges.
I have tested this conversion for years for neighborhood cookie exchanges, school bake sales, and family weekends when someone shows up gluten-free last minute. Below is my go-to method for converting almost any classic brownie recipe while keeping the texture rich, chewy, and unapologetically fudgy.
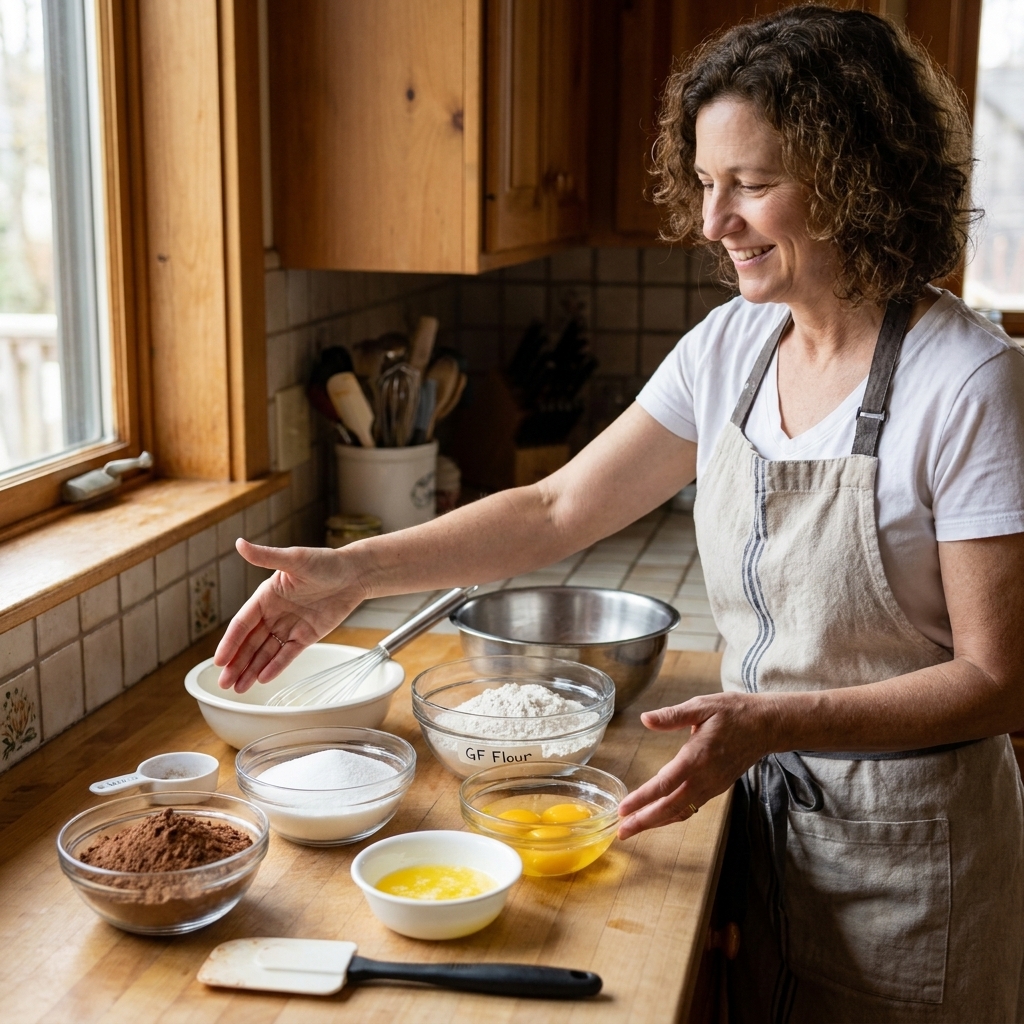
Start with the right brownie
Before you swap anything, take a quick look at what you are converting.
- Fudgy brownies usually have more fat (butter or oil) and chocolate, and less flour. These convert beautifully to gluten-free because flour is not the star.
- Cakey brownies use more flour and often extra leavening. These can go gluten-free too, but they need a more careful flour choice and sometimes an extra binder.
If your recipe is already fudgy, you are in the sweet spot. Most of the time, a smart flour blend plus one small hydration tweak is all you need.
The flour rule
For brownies, my best conversion rule is simple:
Replace the wheat flour by weight with a fine, starch-forward gluten-free flour blend.
Gluten-free flours do not behave like wheat flour cup-for-cup because the particles, starch content, and absorption vary wildly. Using a kitchen scale keeps your batter consistent and prevents the most common GF brownie issue: dry, sandy squares that taste like they are trying too hard.
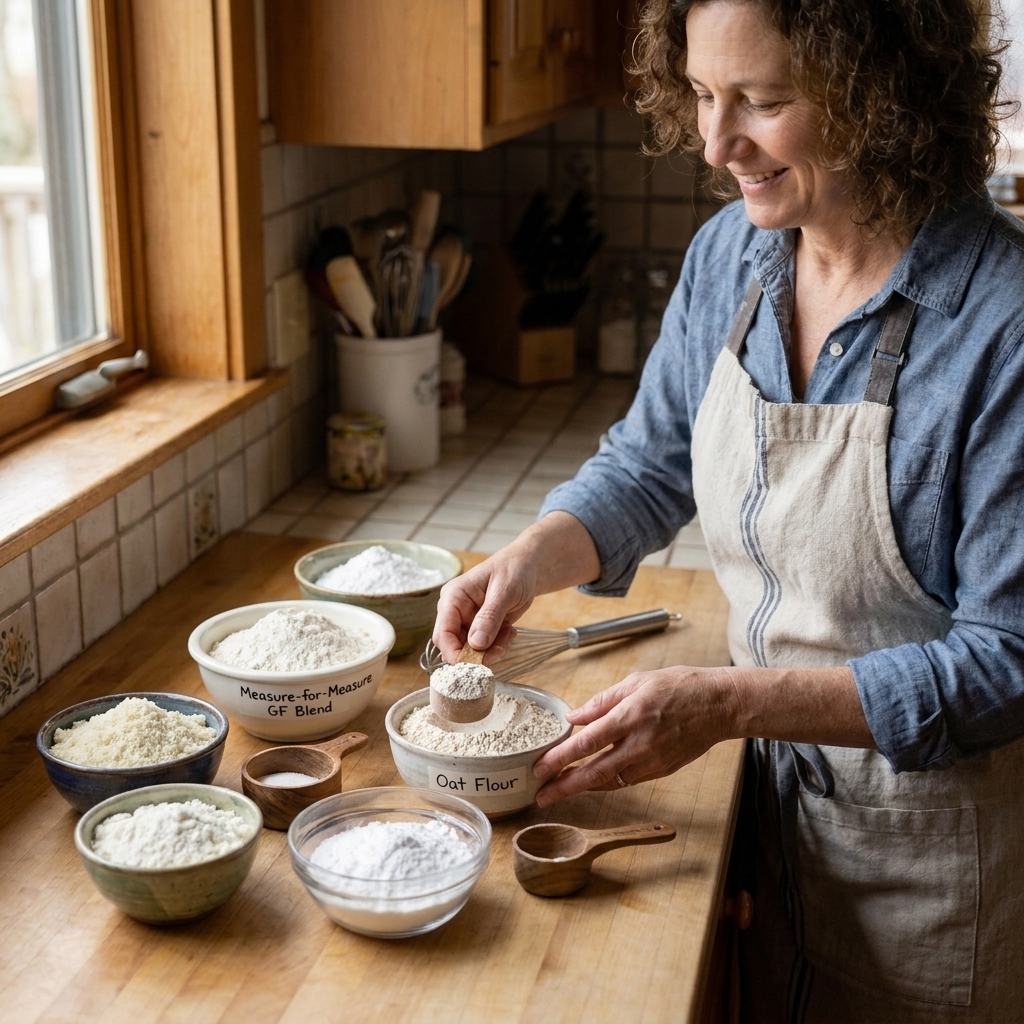
Best blends for brownies
For a classic boxed-mix style chew and shiny top, these are the most reliable choices in my kitchen.
- Measure-for-measure blend with xanthan gum: The easiest path. Look for a blend labeled “1:1” or “measure for measure.” Xanthan helps bind and reduces crumbling.
- GF all-purpose blend without gum: Still works great for brownies, but you may want to add a small amount of binder (I will show you when below).
- Oat flour (certified gluten-free): Gives a wonderfully chewy, almost blondie-like softness. Best when combined with a starch or a blend, not usually as a full replacement on its own unless the recipe is very fudgy.
Flours I avoid as a full swap
- Coconut flour: Too thirsty. It will turn brownie batter into spackle unless the recipe is specifically built for it.
- Almond flour as the only flour: Delicious, but it tends to make brownies more tender and sometimes a little greasy-feeling unless balanced with starch.
- Bean-based flours: They can taste “beany” and read grainy in a brownie unless carefully formulated.
Hydration fixes
Here is what surprises most bakers: gluten-free brownie batter often needs a little more time rather than more ingredients.
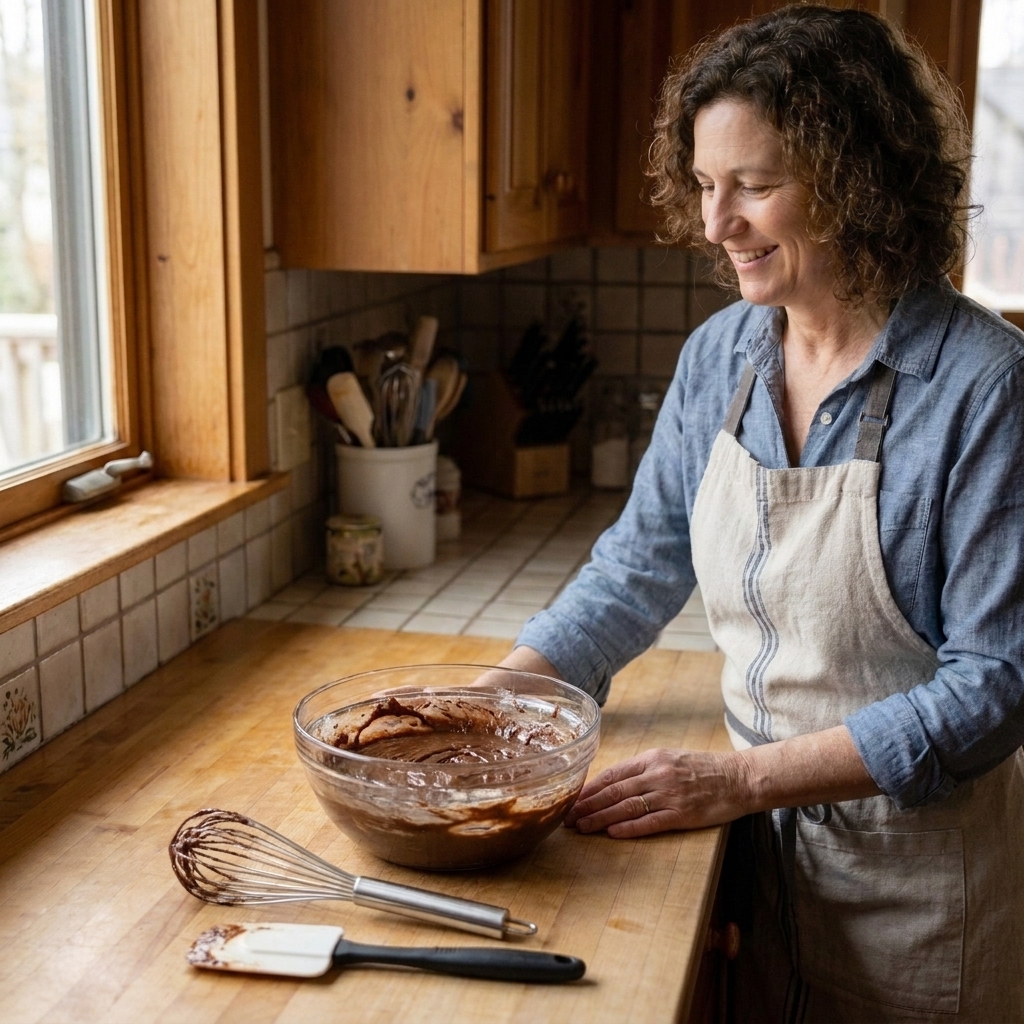
Trick 1: Rest the batter
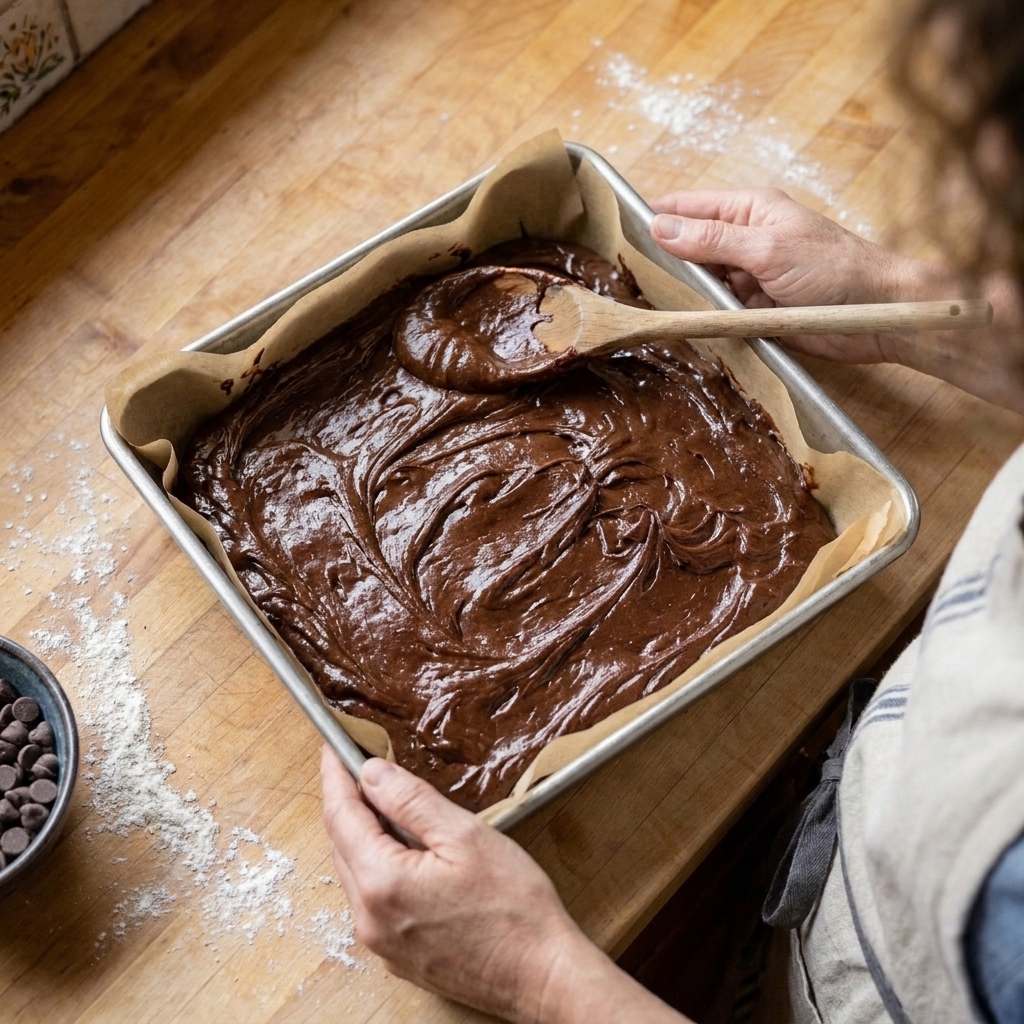
After mixing, let the batter sit for 10 to 20 minutes before baking. This gives the starches time to hydrate and softens any rice flour grit that can sneak into GF blends.
When I am impatient, I can taste it. When I rest the batter, the brownies come out smoother and more cohesive.
Trick 2: Add a tiny splash of moisture
Gluten-free blends can be thirstier than wheat flour. If your batter seems thicker than usual (think scoop-and-plop instead of thick ribbon), add 1 to 2 tablespoons of one of the following:
- Hot coffee or espresso (my favorite with cocoa-based brownies)
- Milk or buttermilk
- Water
Add it gradually. Brownie batter should be thick, but it should still spread in the pan without a wrestling match.
Trick 3: Use brown sugar (or a spoonful of honey) for chew
If your original recipe is all white sugar, swapping about 25 percent of it to brown sugar can boost moisture retention and chewiness. You can also add 1 tablespoon honey or corn syrup for that bakery-style bend, especially in recipes that tend to bake up a bit cakey.
One note: these swaps can slightly deepen the flavor and make the crackly top a little softer or thicker, which I consider a fair trade for extra chew.
Binders
Some gluten-free flour blends already include xanthan gum. If yours does, skip adding more. Too much gum can make brownies oddly springy.
If your blend has no gum
Use one of these options for structure without losing that rich bite. Binder needs vary by blend and brand, so I recommend starting small.
- Xanthan gum: Start with 1/8 teaspoon per 1/2 cup (60g) GF flour. For most brownie recipes, that is plenty.
- Psyllium husk powder: Start with 1/2 teaspoon per 1/2 cup (60g) GF flour. Measure carefully, and make sure it is powder, not whole husk, since they behave differently. Too much can read a little gelled.
- Extra egg yolk: Add 1 yolk if your recipe already uses at least 2 eggs. Yolks add richness and binding power without making brownies cakey.
If I am converting a super-fudgy recipe with very little flour, I often do not add any binder at all. The eggs and chocolate do the heavy lifting.
Mixing and baking tweaks
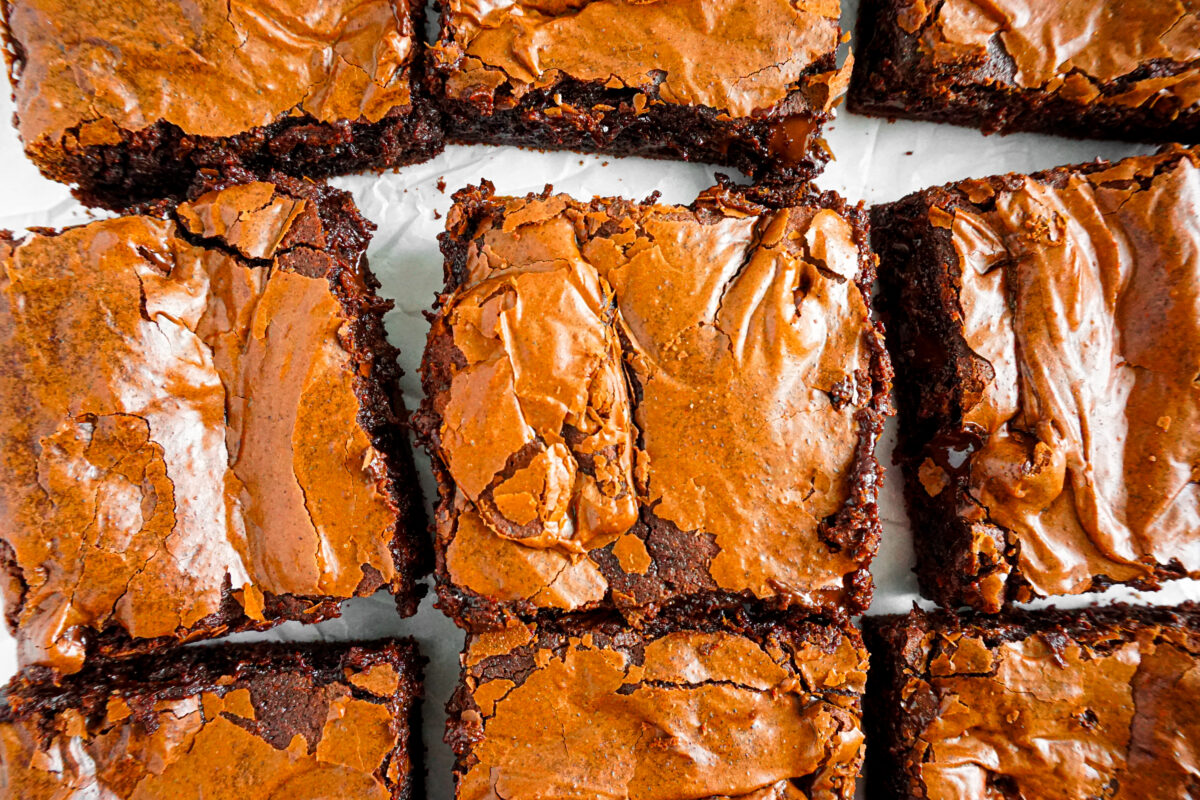
That shiny, papery top is mostly about dissolved sugar plus well-whipped eggs that form a thin, glossy layer as the brownies bake. A well-emulsified batter helps, too. Going gluten-free does not have to steal it.
For a crackly top
- Whisk eggs and sugar vigorously for 30 to 60 seconds until the mixture looks slightly thickened and glossy.
- Add warm melted butter (not scorching hot) and whisk again so the batter emulsifies instead of separating.
- Stir in flour last just until no dry streaks remain. Overmixing is not about gluten here. It is about incorporating too much air and shifting your texture cakey.
Pan and bake tips
- Line your pan with parchment. Gluten-free brownies can be a touch more delicate when warm, and parchment makes lifting and slicing so much cleaner.
- Underbake slightly for fudginess. Pull when a toothpick comes out with moist crumbs, not wet batter.
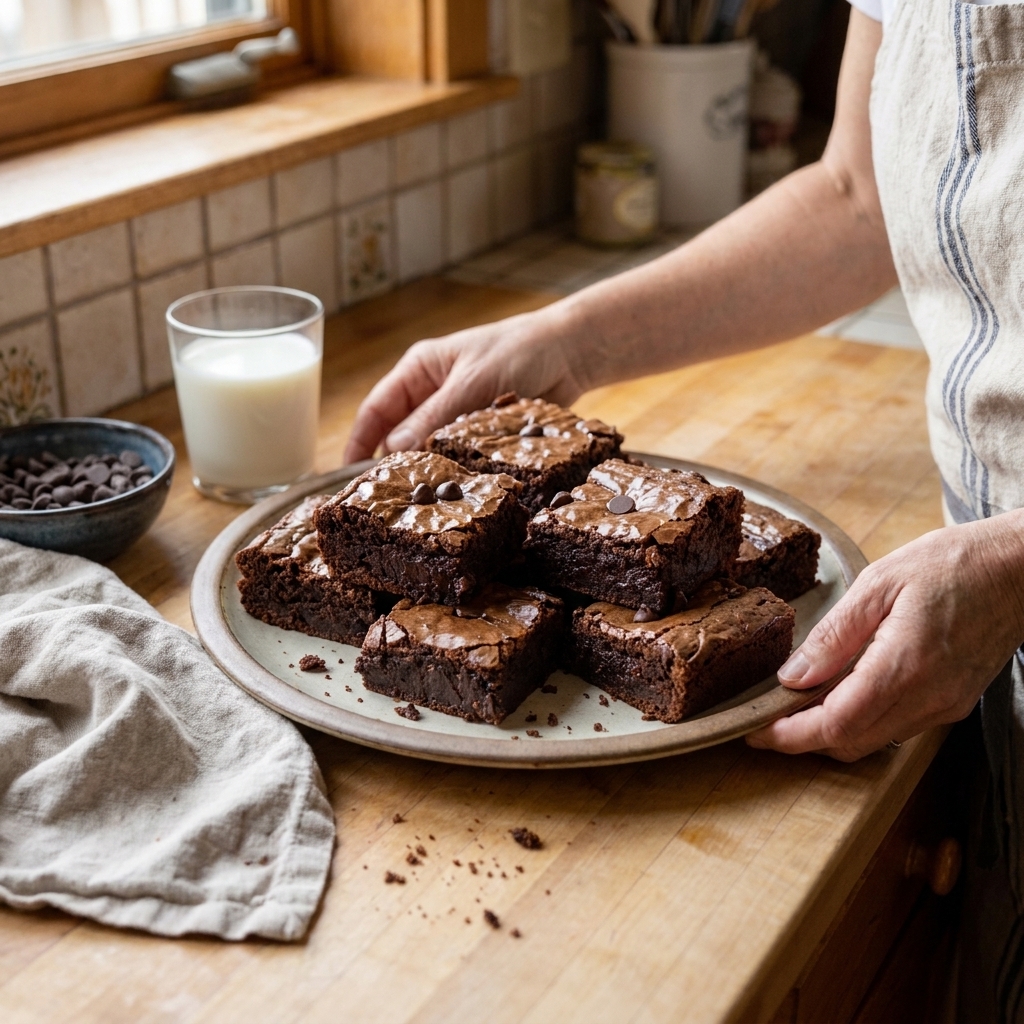
- Cool completely before slicing. This is hard. I know. But it is the difference between gooey squares and a pan of brownie rubble.
Conversion checklist
If you want a simple checklist for converting a standard 8x8 or 9x9 pan brownie recipe, start here and adjust based on the batter.
- Weigh the flour in your original recipe (example: 75g all-purpose flour).
- Replace by weight with a fine gluten-free 1:1 blend (use 75g GF blend).
- Rest the batter 10 to 20 minutes.
- Check consistency. If it looks thicker than your normal brownie batter, add 1 tablespoon hot coffee or milk.
- If your blend has no gum, start with 1/8 teaspoon xanthan gum (most brownie recipes only need a pinch).
- Bake and slightly underbake. Cool fully before slicing.
This method keeps the recipe tasting like itself, which is always my goal when converting.
Example conversion
Here is what this looks like in real life with a very typical pan of brownies.
Original recipe: 75g (about 1/2 cup) all-purpose flour in an 8x8 pan recipe.
- Swap: Use 75g gluten-free 1:1 blend.
- If the blend includes xanthan gum: Do nothing extra. Mix, rest, bake.
- If the blend does not include xanthan gum: Add 1/8 teaspoon xanthan gum (or choose 1 yolk instead if you want extra richness).
- After resting: If the batter feels stiff, add 1 tablespoon hot coffee or milk and stir.
- Bake: Pull when the center gives moist crumbs on a toothpick, then cool completely.
Once you do this once, you will start to recognize the batter cues that matter more than any brand name on the bag.
Troubleshooting
“They are gritty.”
- Rest the batter longer (up to 30 minutes).
- Try a different blend that is finer and less rice-forward.
- Make sure your sugar is fully dissolved (whisk eggs and sugar well).
“They are dry or crumbly.”
- Weigh your flour. Scooping GF flour can pack in too much.
- Reduce bake time by 2 to 5 minutes.
- Add 1 extra egg yolk or 1 tablespoon oil next time.
- Use a bit of brown sugar for moisture retention.
“They sank in the middle.”
- They may be underbaked. Check oven temperature with an oven thermometer.
- Let them cool completely. Warm brownies always look more sunken.
- Avoid too much added liquid. Stick to 1 to 2 tablespoons max.
“They taste gummy.”
- Skip extra xanthan if your blend already includes it.
- Measure binder carefully. With brownies, a little goes a long way.
- Cool longer before judging texture. Gumminess often tightens into chew as it sets.
FAQ
Can I just swap gluten-free flour cup-for-cup?
You can if your blend is truly labeled 1:1, but I still recommend weighing for best results. Brownies are sensitive to small changes in flour amount, and gluten-free flour density varies a lot.
Do I need xanthan gum for brownies?
Not always. If your blend includes it, you are set. If it does not, a tiny amount can help, but eggs and chocolate provide plenty of structure in many fudgy recipes.
How do I keep gluten-free brownies fudgy the next day?
Store tightly covered at room temperature for 2 to 3 days. For extra insurance, press plastic wrap directly against the cut edges. Gluten-free brownies dry out faster once sliced.
Can I make these dairy-free too?
Usually yes. Swap butter for a neutral oil or dairy-free butter. Oil tends to make brownies even fudgier, so it is a friendly swap for gluten-free conversions.
Any cross-contamination tips?
If you are baking for someone with celiac disease or high sensitivity, make sure your ingredients are certified gluten-free where it matters most (especially oat flour, cocoa, chocolate, and any mix-ins). Use clean parchment, a clean pan, and avoid shared containers that might have been double-dipped with a wheat-flour measuring cup.
The bottom line
To convert your favorite brownie recipe to gluten-free without losing that rich, chewy texture, focus on three things: a fine 1:1 flour blend, a short batter rest, and slight underbaking. Do those, and you will get brownies that nobody will clock as gluten-free unless you tell them.
If you want, tell me what your original recipe looks like (flour amount, pan size, and whether it is cocoa-only or melted chocolate) and I will suggest the exact blend and tweaks I would use in my own kitchen.