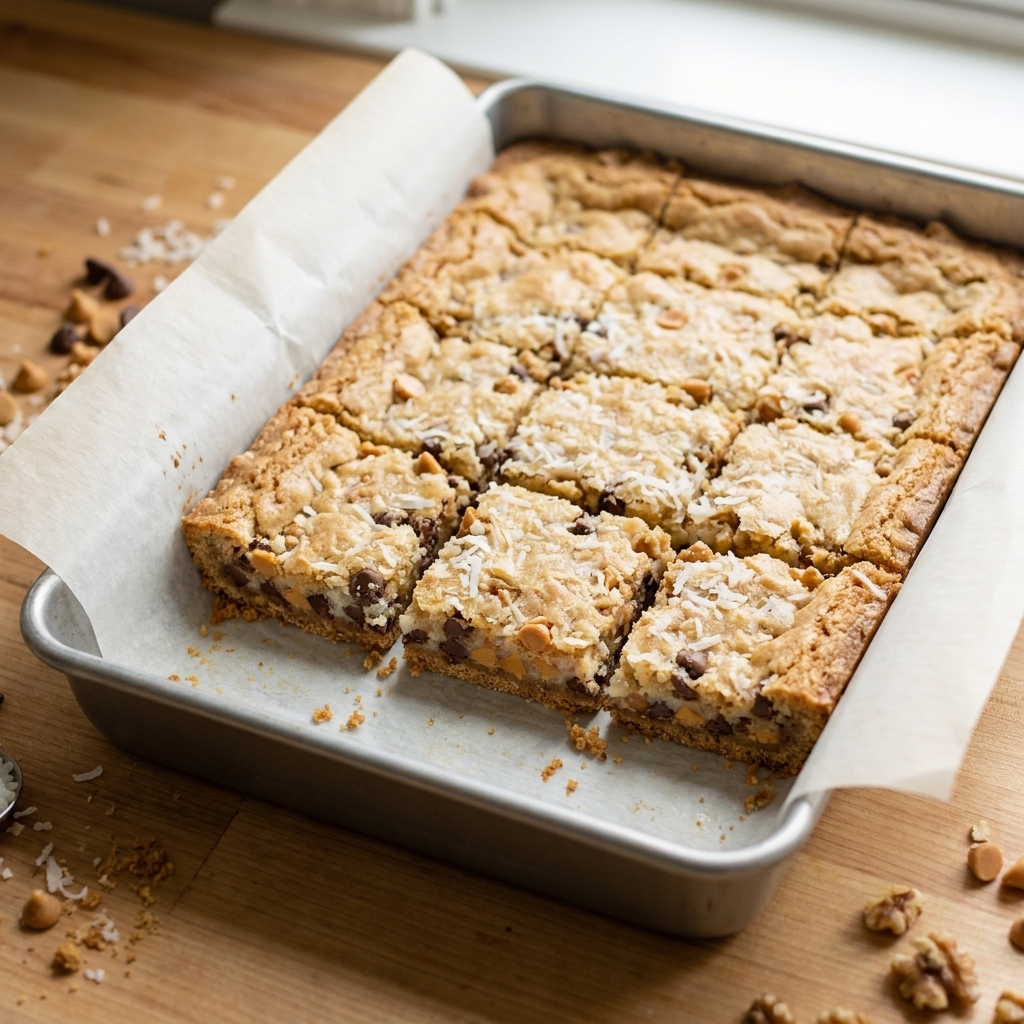
Why magic bars fall apart (and how we fix it)
7-layer magic bars look forgiving, but the structure is actually a little engineering project. When bars crumble, it is most often one of these issues:
- The crust is too loose, so it shatters when you lift a square.
- The crust is under-bound from an off butter-to-crumb ratio, uneven mixing, or not enough compression, so it bakes up dry and sandy instead of cohesive.
- Condensed milk coverage is uneven, leaving dry pockets that never glue together.
- Heavy toppings are piled high without being pressed into the condensed milk “glue.”
- They are cut warm, which pulls the layers apart like a tug-of-war.
The goal is simple: build a compact, well-bonded slab that still has that classic gooey top. I am going to walk you through the exact order and the small moves that make a huge difference.
The structural blueprint: what each layer is doing
Think of each layer as having a job. If you know the job, you will instinctively assemble them the right way.
- Graham crust: the foundation. It needs to be tight, evenly thick, and lightly pre-set before it gets weighed down.
- Chocolate and butterscotch chips: “rebar” that melts and then resets to help bind the top.
- Coconut: a textured blanket that helps hold chips in place and encourages the condensed milk to spread instead of pooling.
- Nuts: texture and weight. They need to be anchored so they do not tumble off during slicing.
- Sweetened condensed milk: the binder. It flows into gaps and caramelizes, gluing everything into one cohesive bar.
If you have ever dumped everything in and hoped for the best, you are not alone. The trick is to build in contact between layers and control moisture so the crust stays crisp.
Ingredients (and why the details matter)
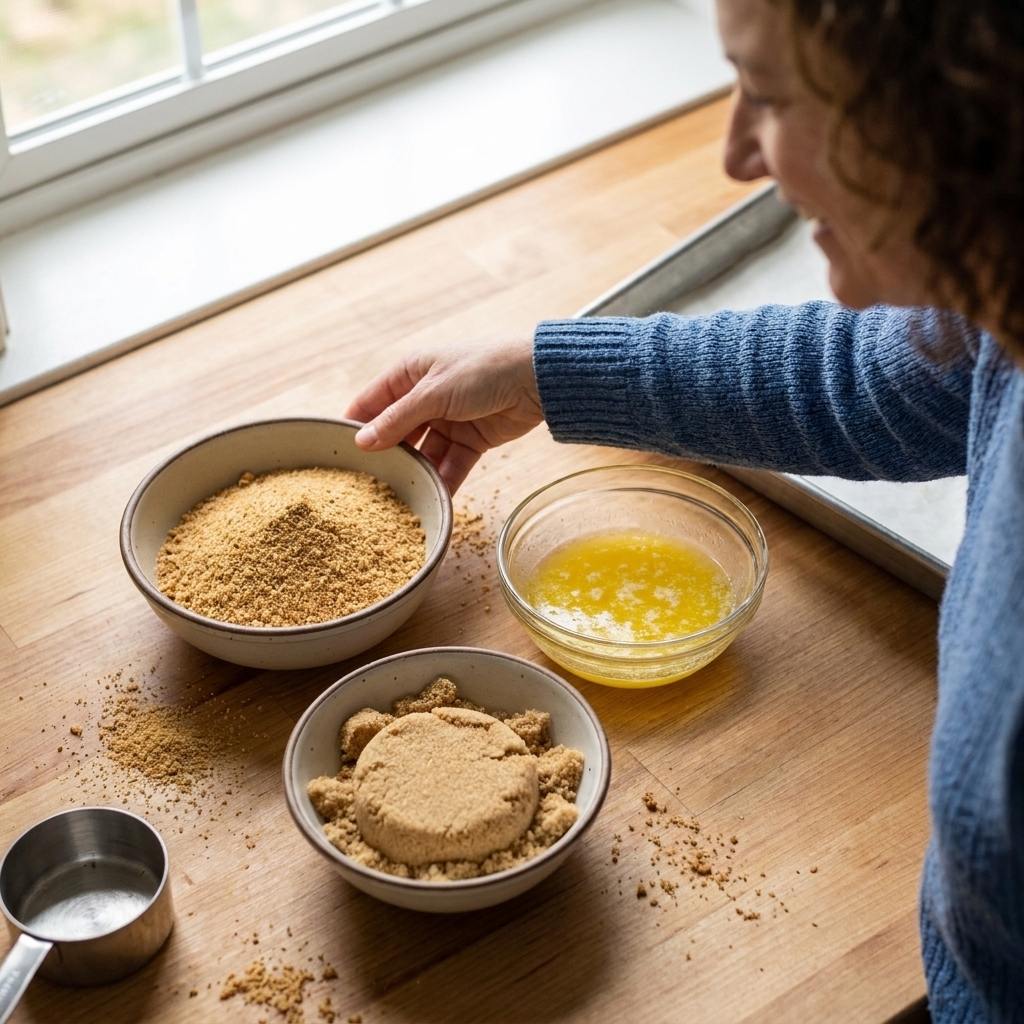
- Graham cracker crumbs: finely crushed, not chunky. Bigger pieces create weak points. For a 9x13 pan, plan on about 2 cups (about 200 g) crumbs.
- Brown sugar: a little helps the crust set and stay cohesive. About 1/4 cup (about 50 g) is plenty.
- Butter: fully melted and still warm so it coats every crumb. About 1/2 cup (113 g) is the sweet spot for most crumb brands.
- Chocolate chips + butterscotch chips: classic combo. Mini chips melt more evenly and bond better.
- Sweetened shredded coconut: it toasts nicely and helps the condensed milk cling across the surface.
- Chopped nuts: walnuts or pecans. Chop them, do not leave big halves.
- Sweetened condensed milk: full-fat, standard can (14 oz or 396 g). This is the glue, so do not swap in evaporated milk.
- Pinch of salt: optional but highly recommended for balance.
Pan note: I am assuming a 9x13-inch metal pan for the cleanest set. Glass pans can bake a little more gently and may need a few extra minutes. Either way, rely on the doneness cues: a golden top and a center that looks set when you gently jiggle the pan.
Step-by-step: assembling bars that hold together
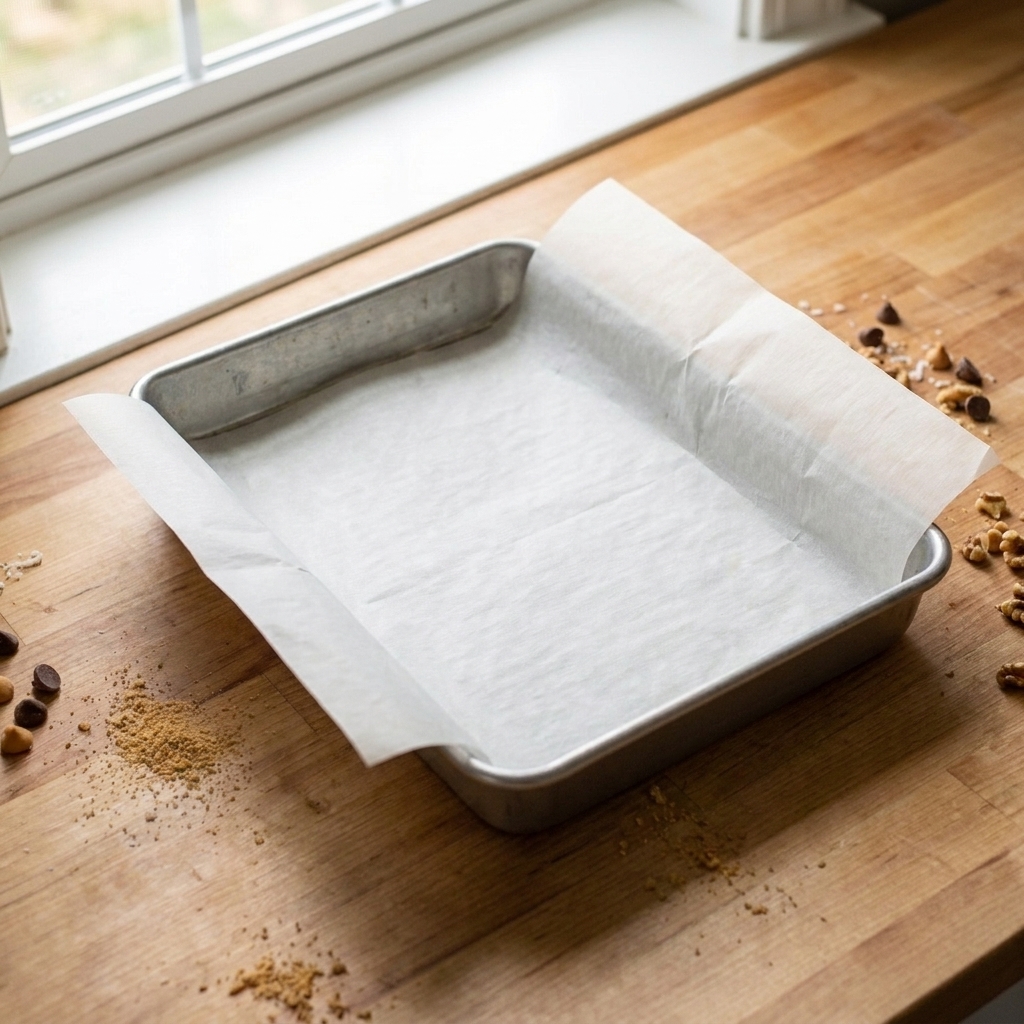
1) Prep the pan for clean removal
Line your pan with parchment so it overhangs on two sides like a sling. Lightly butter or spray the pan first so the parchment stays put. This alone prevents a lot of cracking because you will not be prying bars out with a knife.
2) Build a crust that behaves
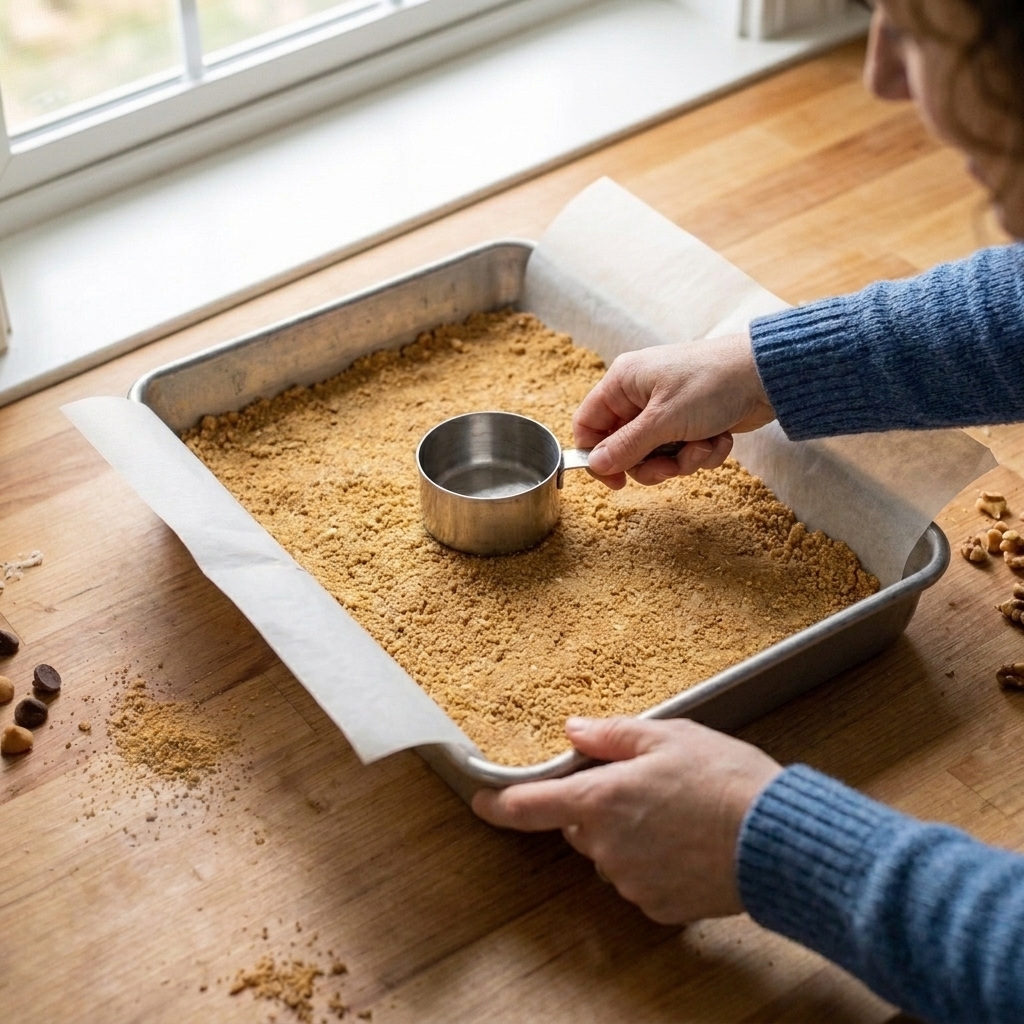
Mix graham crumbs with warm melted butter and brown sugar until every crumb looks evenly moistened. Then press it in firmly and evenly. Use the flat bottom of a measuring cup and really tamp it down, especially around the edges where bars like to crumble first.
Pro move: Bake the crust for 8 to 10 minutes at 350°F (175°C). You are not trying to brown it deeply, just set the base so it stays crisp under the condensed milk.
3) Add chips while the crust is still warm
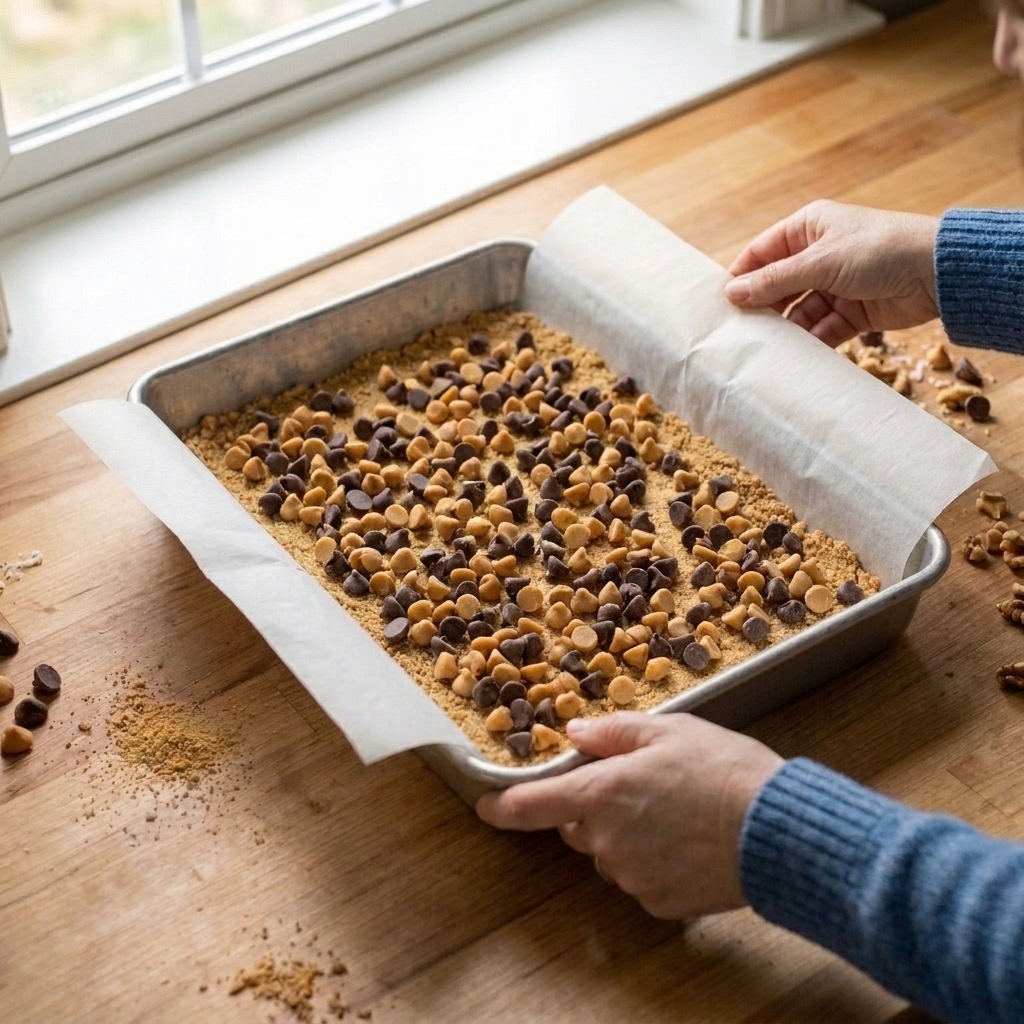
Sprinkle the chocolate chips and butterscotch chips evenly across the warm crust. Warmth helps them slightly melt at the bottom, which improves bonding later.
4) Coconut goes next for stability
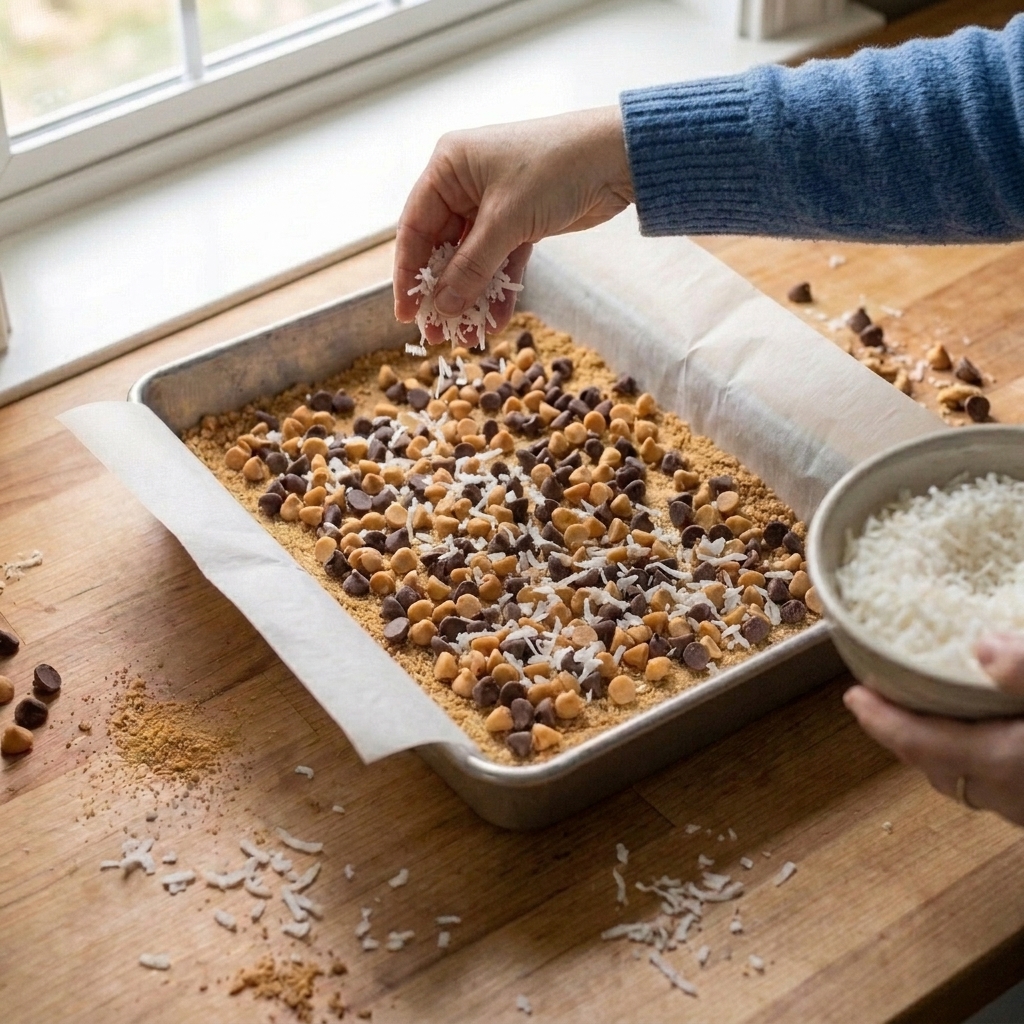
Cover the chips with an even layer of coconut. This adds texture that helps keep the chips from shifting, and it gives the condensed milk plenty of surface to grab so it spreads more evenly.
5) Add nuts, then level and embed
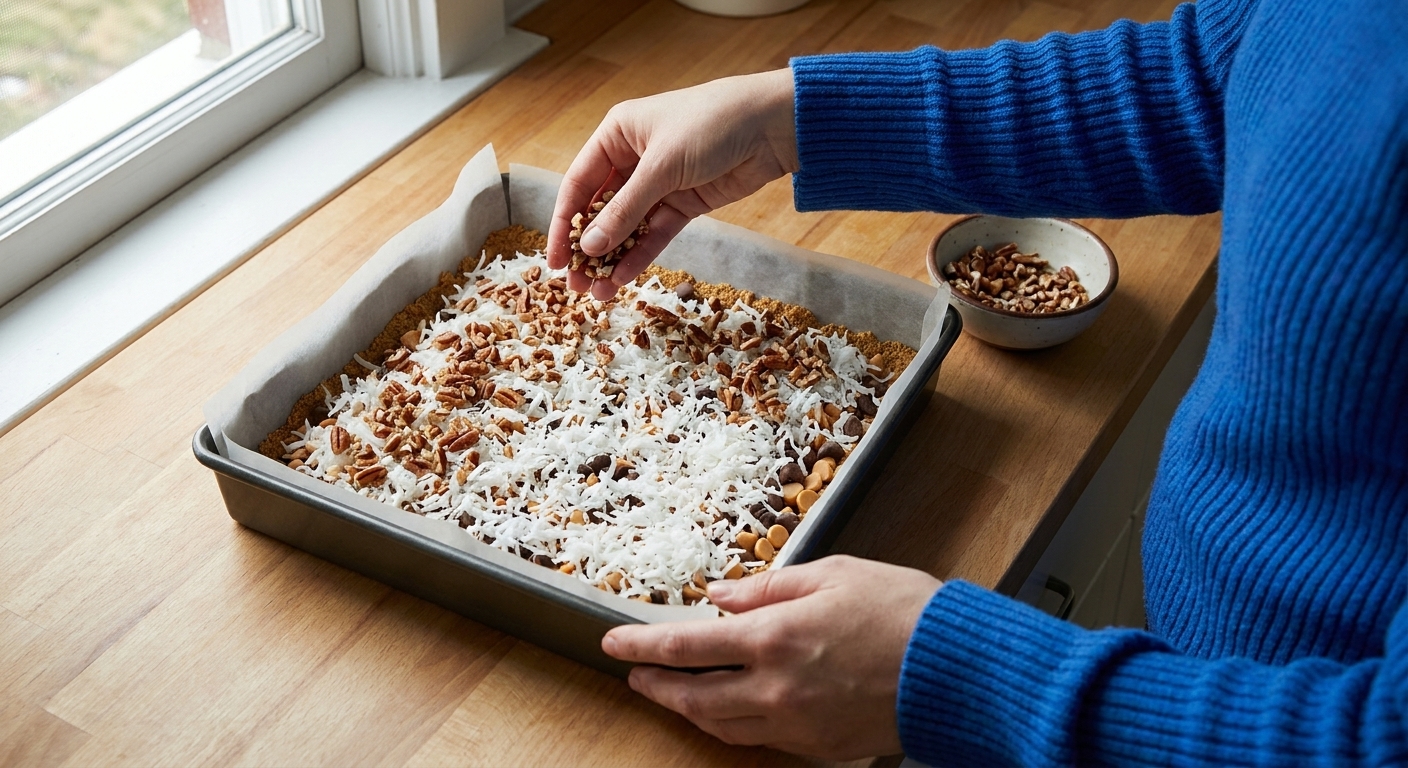
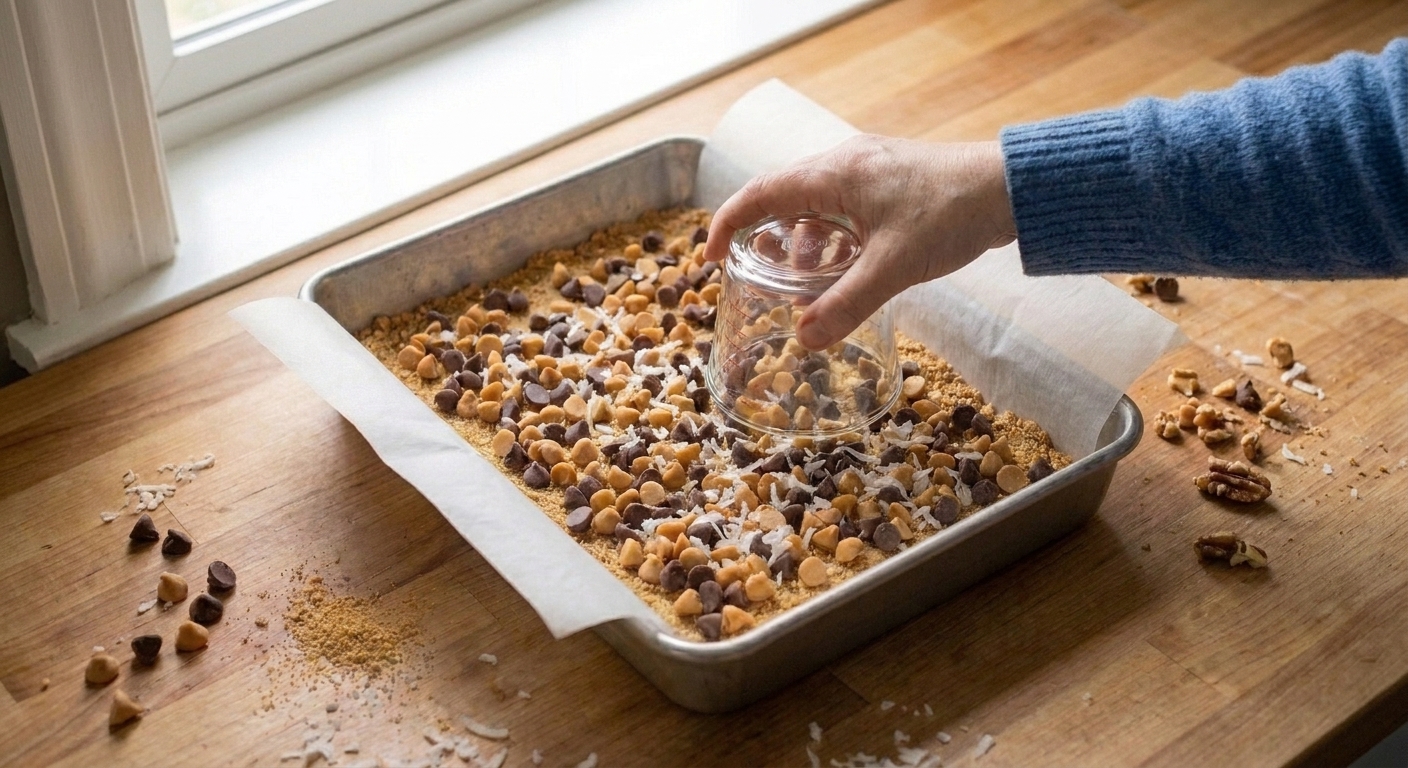
Sprinkle chopped nuts evenly. Then take your measuring cup and do a gentle, firm press across the entire surface, just enough to level and embed the toppings. You are not compacting it into a brick. You are making sure the toppings have contact with the layers below so the condensed milk can glue it all together.
6) The condensed milk pour: slow, steady, and complete
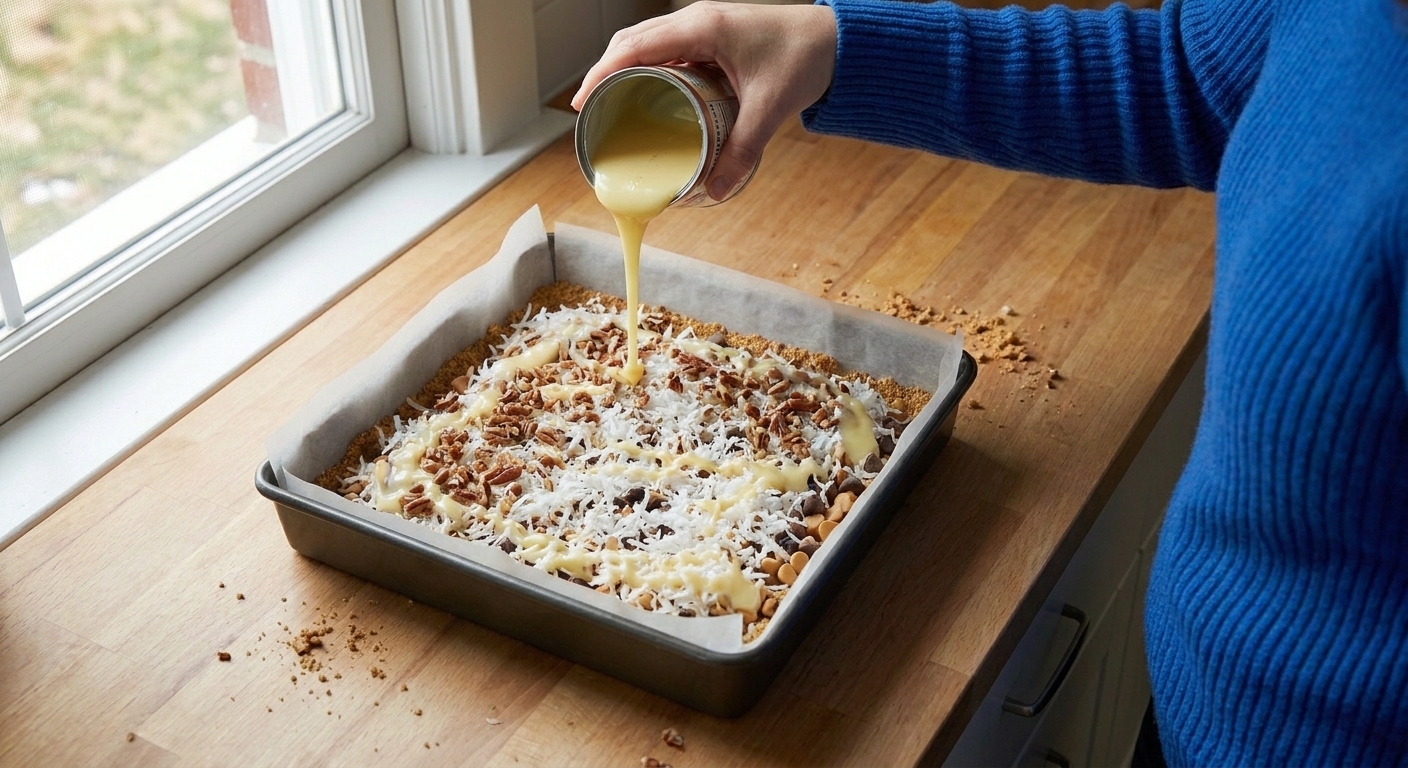
Drizzle condensed milk slowly in thin ribbons across the entire pan, reaching the corners. If you dump it in the center, you will get a gooey middle and dry edges, and dry edges are where crumbling begins.
Tip: Once poured, let the pan sit for 2 minutes. This gives the milk a moment to sink into gaps before baking.
7) Bake until the center is set, not soupy
Bake at 350°F (175°C) for about 25 to 30 minutes, until the top is golden and the center looks set when you gently jiggle the pan. The edges will be deeper golden than the center.
Do not overbake chasing a dark top. Overbaking makes the condensed milk candy-hard, which can cause cracking and shattering during cutting. If the top is browning too fast, tent loosely with foil for the last few minutes.
The cool-down is part of the recipe
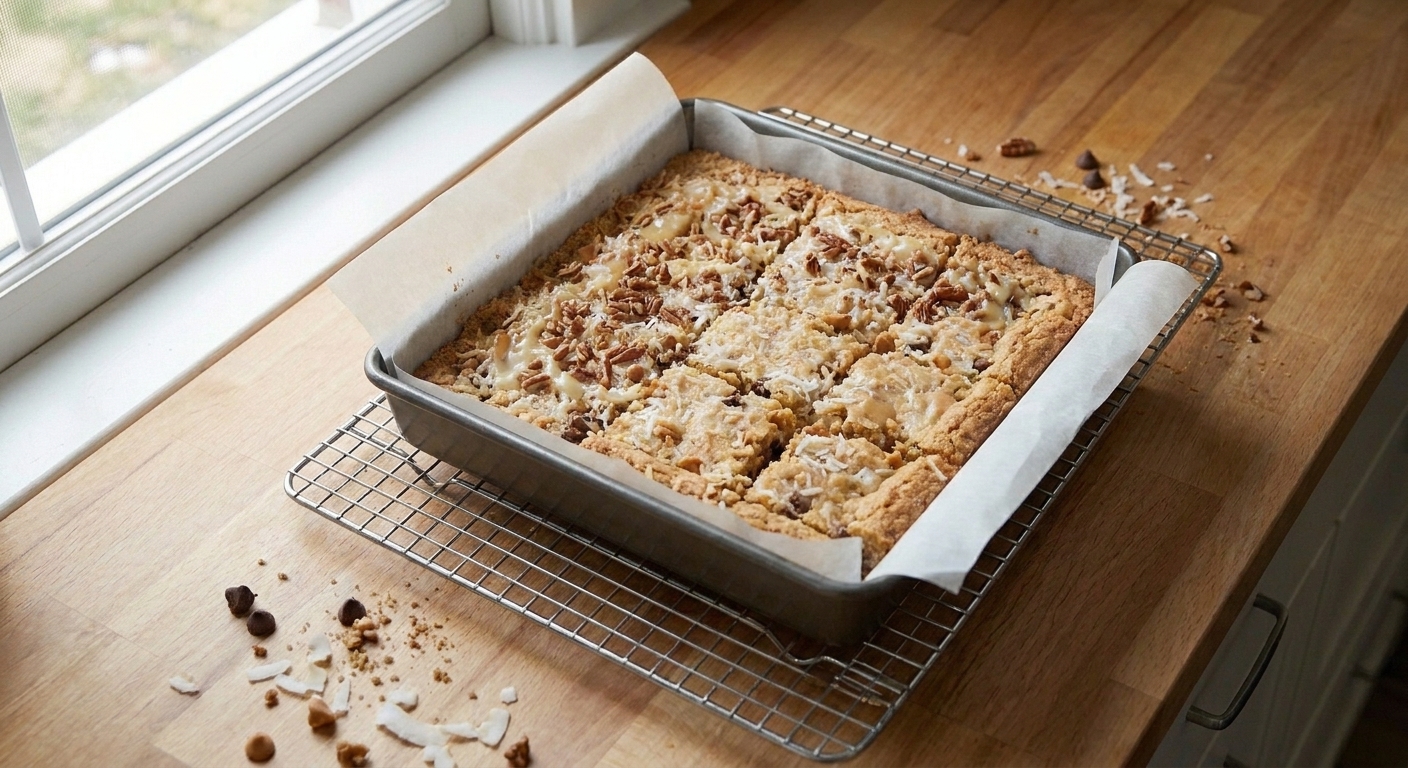
If you want clean slices, you have to let the sugars set.
- Cool in the pan until room temperature.
- Chill 1 to 2 hours for the cleanest cuts and sharpest layers.
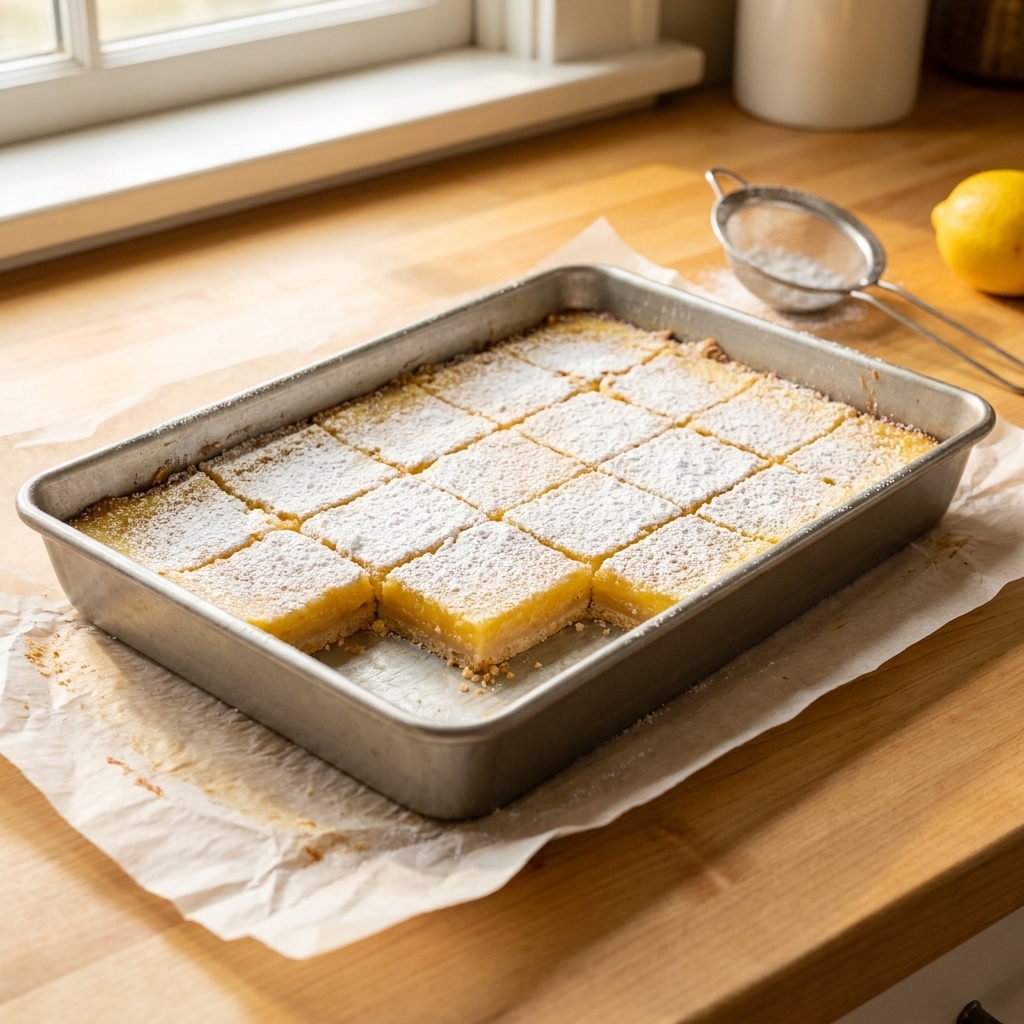
- Lift using the parchment sling, then cut on a board.
Realistic timeline: plan on about 3 to 4 hours from oven to neat squares (including cooling and chilling).
My favorite cutting method: use a large chef’s knife, run it under hot water, wipe dry, then make one confident cut. Repeat the hot rinse and wipe every couple of cuts.
How to keep the crust crisp (even with all that goo)
That crisp base is totally doable. Here is what actually matters:
- Prebake the crust. This sets the butter-sugar matrix so it does not soak as easily.
- Press firmly. Loose crumbs invite seepage.
- Use a metal pan when you can. It bakes more decisively, which helps the bottom set.
- Cool completely before covering. Trapped steam is the enemy of crispness.
If you are storing them, keep the bars in an airtight container with parchment between layers. For the crispest base, store at room temperature for 1 to 2 days. After that, the refrigerator is great for texture and clean bites, but it will soften the crust slightly over time.
They also freeze well. Freeze in a single layer until firm, then wrap tightly. Thaw in the fridge to minimize condensation on top.
Common problems and quick fixes
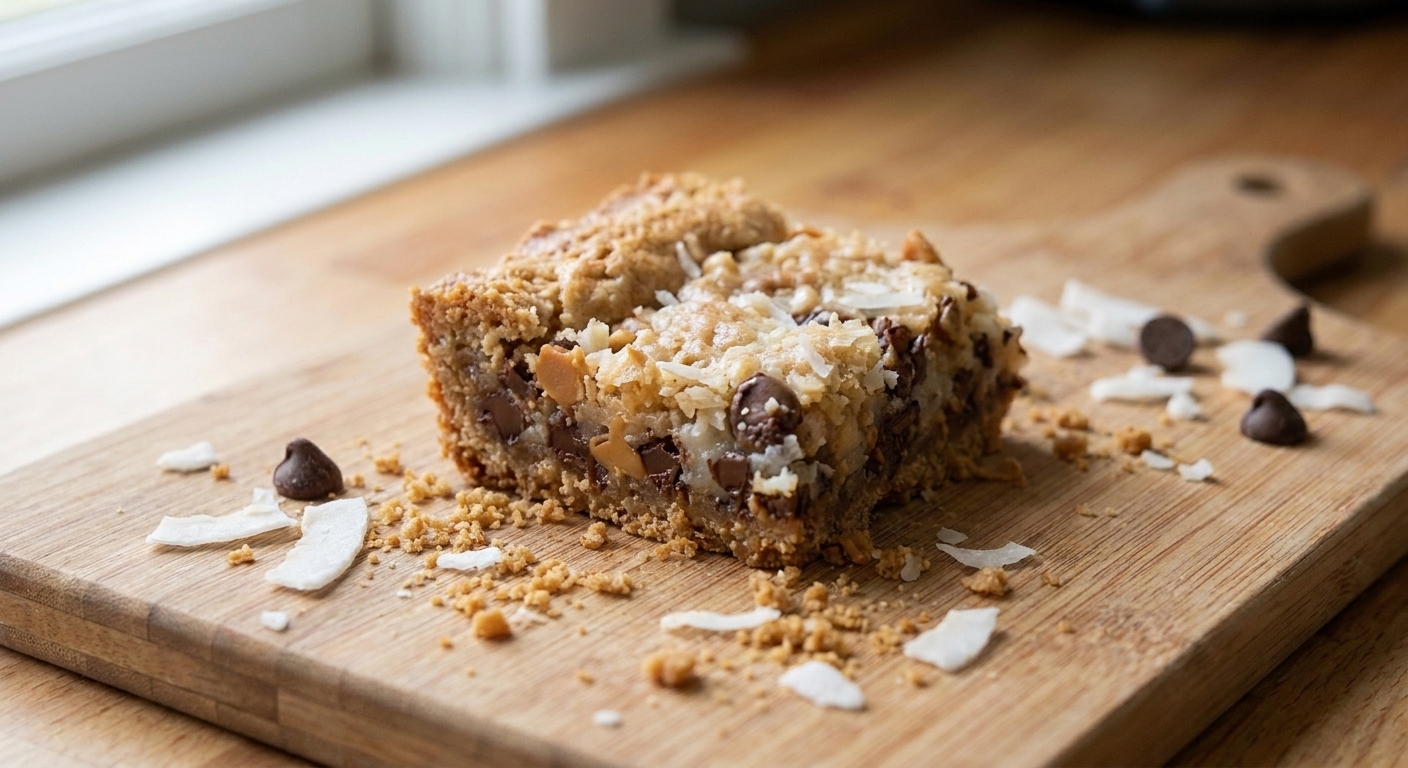
My bars crumble when I pick them up
- Cause: crust not pressed enough, crust not prebaked, or dry pockets from uneven condensed milk coverage.
- Fix next time: press more firmly, prebake, drizzle condensed milk all the way to the corners, and chill before cutting.
The middle is gooey and will not set
- Cause: underbaked or condensed milk pooled in the center.
- Fix next time: drizzle in ribbons and bake until the center looks set with a gentle jiggle (typically 25 to 30 minutes).
The top layer slides off the crust
- Cause: toppings were not embedded, so the condensed milk never bonded into the lower layers.
- Fix next time: level and embed the toppings before pouring condensed milk, then let it sit for 2 minutes.
My crust is greasy
- Cause: too much butter, or butter not fully mixed into crumbs.
- Fix next time: measure butter carefully and stir until there are no dry pockets.
Smart variations that still slice clean
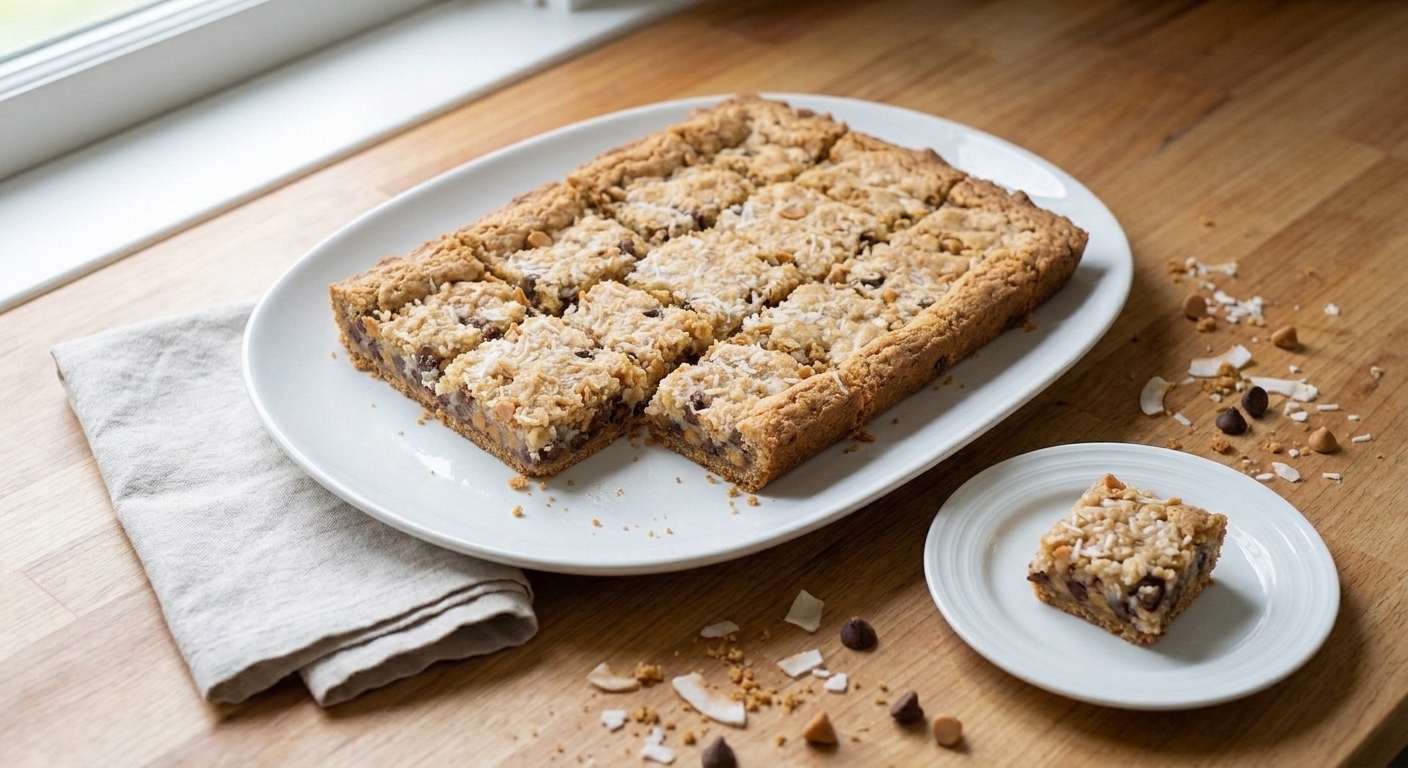
- Peanut butter lovers: swap butterscotch chips for peanut butter chips. Level and embed the topping layer well since PB chips melt softer.
- S’mores vibe: use crushed chocolate grahams in the crust and add a small handful of mini marshmallows in the last 5 minutes of baking. Keep it a small handful so the top does not become unstable.
- Holiday twist: replace half the chocolate chips with white chocolate chips and add 1/2 teaspoon cinnamon to the crust.
- Nut-free: skip the nuts and add extra coconut for texture. Still level and embed the surface before the condensed milk pour.
My go-to “structural integrity” checklist
- Parchment sling for lifting
- Warm, fully mixed butter in the crust
- Press crust firmly and evenly
- Prebake crust 8 to 10 minutes
- Even layers, chopped nuts, no giant pieces
- Level and embed toppings before condensed milk
- Drizzle condensed milk in ribbons to the corners
- Bake about 25 to 30 minutes, until center is set
- Cool completely, then chill before slicing
If you follow those steps, you will get bars that feel gooey in the best way, but still cut into confident squares you can actually hold.
FAQ
Do I have to prebake the crust?
You do not have to, but if you care about a crisp base and clean slices, it is my number one recommendation. It is the easiest way to prevent a soggy, crumbly bottom.
Can I use foil instead of parchment?
You can, but parchment releases better and is less likely to tear the crust. If you use foil, grease it well and be extra gentle when lifting.
Why do recipes say not to mix the layers?
Because the layers are doing different jobs. Mixing breaks up the crust and prevents the condensed milk from flowing into the right gaps. Layering plus a gentle press gives you bonding without turning the whole pan into a sticky granola bar.
How long should I chill before cutting?
At least 1 hour. Two hours is even better for razor-straight edges. If you are in a hurry, 30 minutes in the freezer helps, but do not forget them in there or the crust can get rock hard.