If your kitchen looks like a mini chocolate shop exploded after Easter, you are in the right place. Leftover candy is basically pre-chopped mix-ins begging to be turned into dessert bars. The trick is using the right bar base (brownie vs blondie), adding candy at the right moment (inside vs on top), and making a few small structure choices so you get pretty slices instead of candy chaos.
I tested my way through a lot of candy-stuffed pans over the years, and these are my favorite ways to use up chocolate eggs, jelly beans, peanut butter cups, and all the random goodies that show up in the basket.
Quick setup note: Use your favorite boxed mix or go-to from-scratch recipe. Any time I say “bake as directed,” I mean: follow your base recipe’s pan size, oven temp, and bake time. The candy method stays the same.
Before you start: 5 rules
1) Chop smarter, not smaller
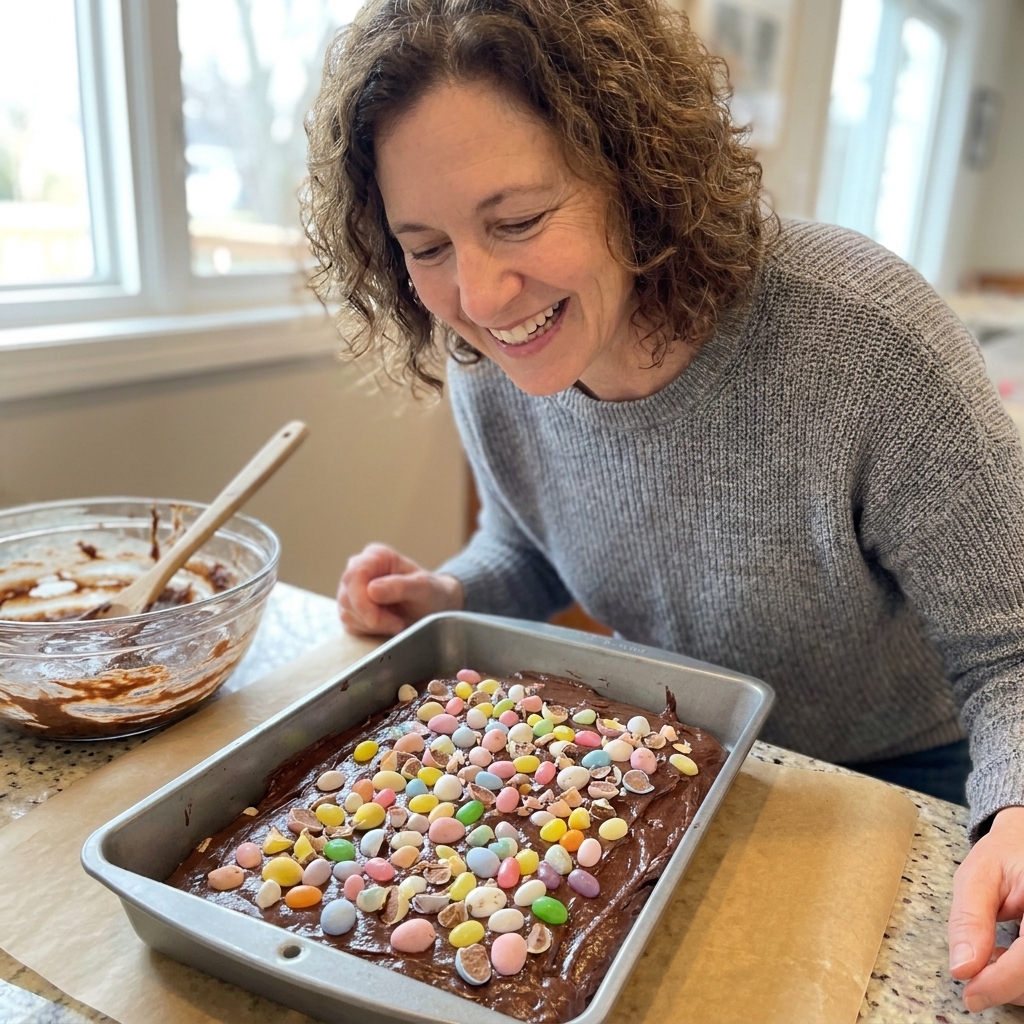
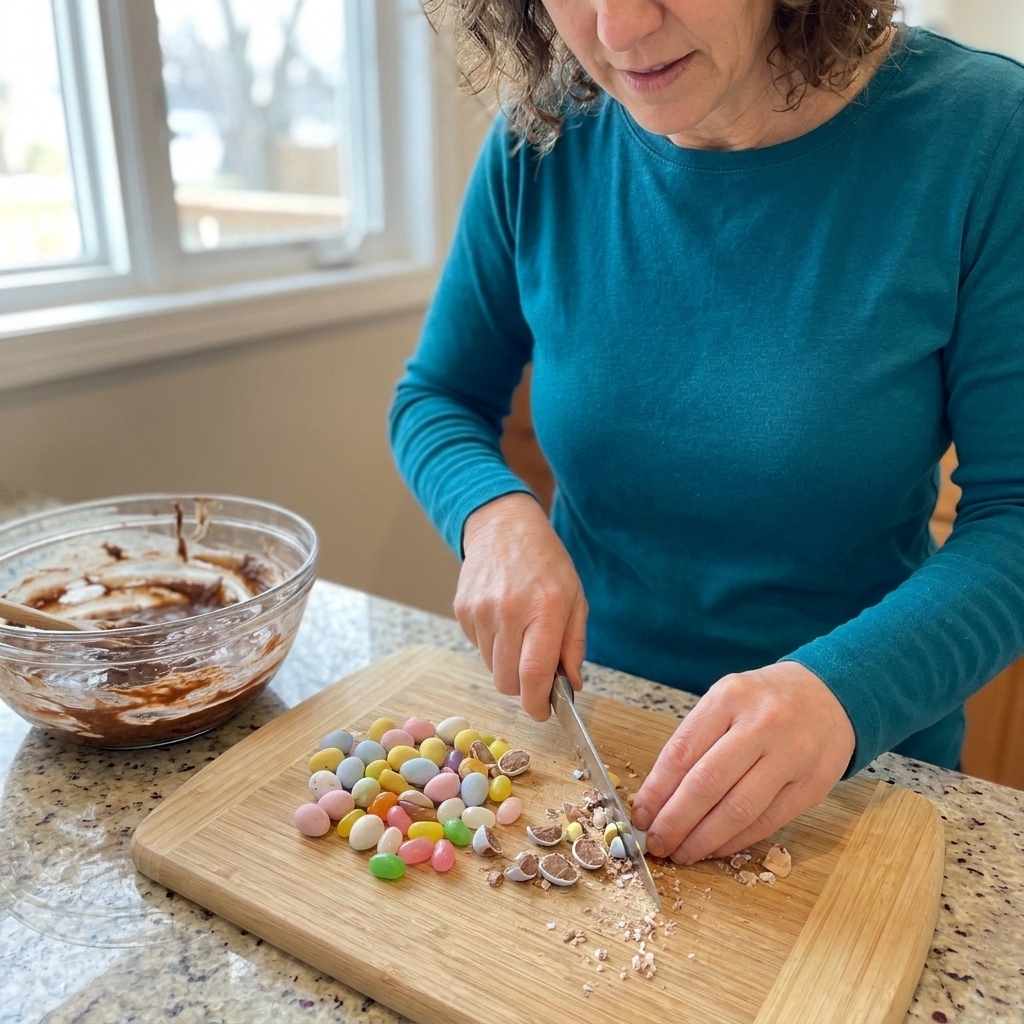
For mix-ins, aim for pieces about the size of a chocolate chip. Anything too tiny disappears into the crumb. Anything too big creates craters and messy cuts. For hollow chocolate eggs, press down gently with your palm to crack, then chop.
2) Add top candy late
Jelly beans, pastel M&M style candies, and candy-coated chocolate can crack or bleed if they bake the full time. If you want them on top, add them when your bars are mostly set, then finish baking.
3) Dry sticky candy (it can help)
Jelly beans and gummies can turn into gluey pockets. Tossing them with 1 to 2 teaspoons of flour or cornstarch right before adding can help, but results vary by brand and how fresh the candy is. Either way, keep sticky candy mostly as a topping or a middle stripe rather than fully stirred throughout.
4) Layer melty stuff
Peanut butter cups, caramel-filled eggs, and truffles melt fast. For cleaner slices, press most pieces into the batter so they sit slightly under the surface, about 1/3 of the way down. Or layer them between two thinner spreads of batter. Candy left fully exposed tends to dry out, scorch, or stick.
5) Cool, then chill for clean cuts
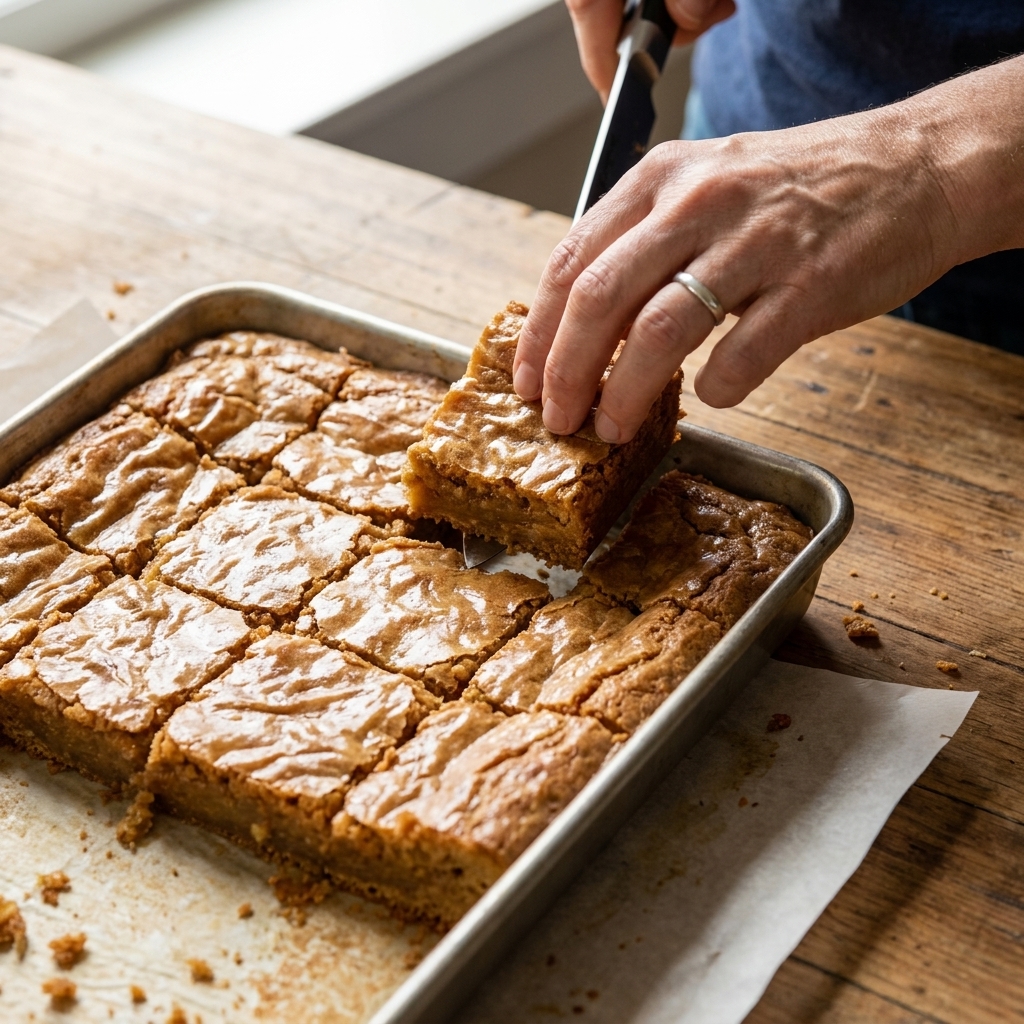
If you want photo-ready squares, cool your pan to room temp, then refrigerate 1 to 2 hours. Use a long knife wiped clean between cuts.
Pick your base
Any bar base works, but candy behaves differently depending on the batter.
- Fudgy brownies: best for peanut butter cups, chocolate eggs, malted candy, mini eggs, and anything chocolate-forward.
- Chewy blondies: best for jelly beans (as a topping), white chocolate eggs, sprinkles, and candy-coated chocolates.
- Cookie bars: best for chunkier mix-ins and candy that you want to stay distinct, because the dough holds pieces in place.
15 candy bar ideas
1) Peanut Butter Cup Fudge Brownies
How: Spread half your brownie batter in the pan. Add a layer of chopped peanut butter cups (quarters work well). Top with remaining batter, then press a few extra pieces in so they sit just under the surface. Bake as directed.
Sadie tip: Freeze peanut butter cups for 10 minutes before chopping for cleaner edges.
2) Hollow Chocolate Egg Lava Pocket Brownies
How: Crack hollow chocolate eggs into big shards. Pour brownie batter into the pan, then tuck shards into the batter so they sit just under the surface. Bake as directed.
Why it works: Those thin shells melt into dramatic chocolate puddles without drying out the crumb.
3) Mini Egg Blondies
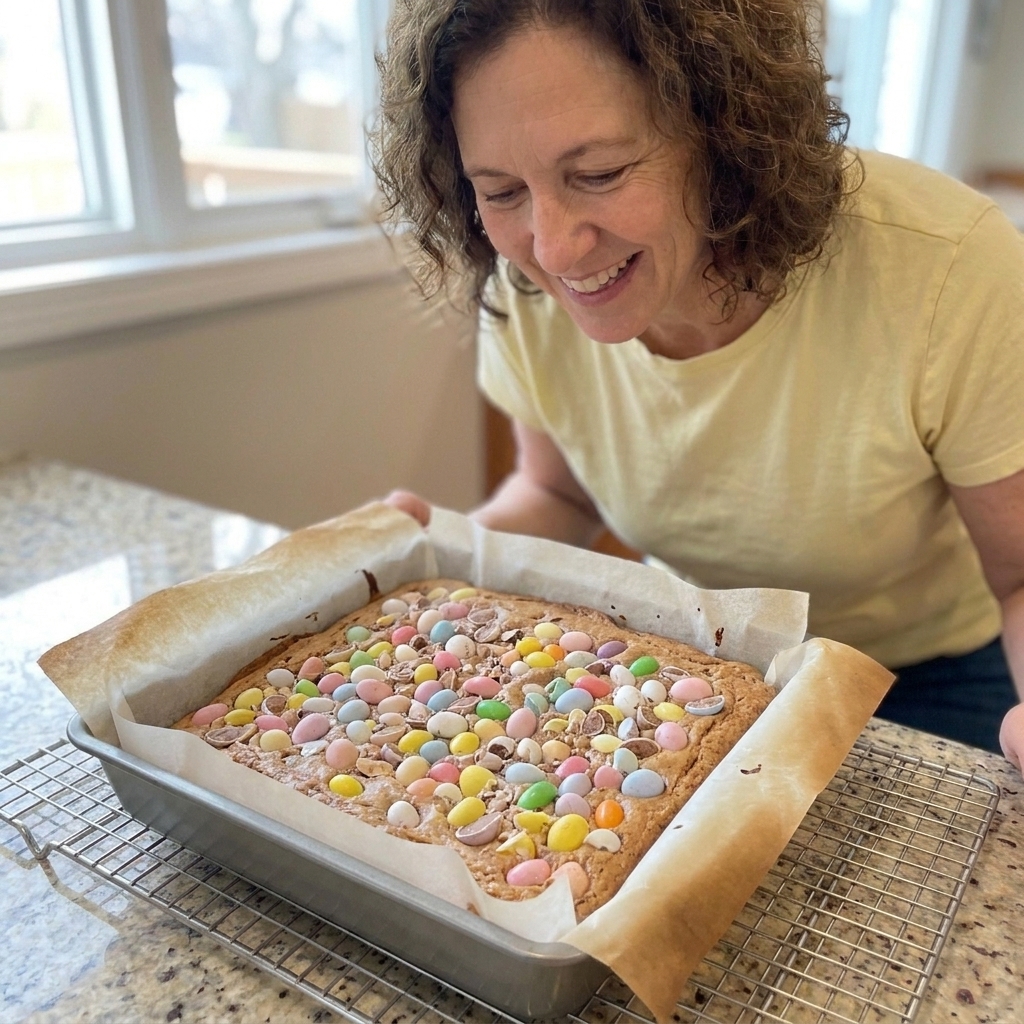
How: Stir chopped mini eggs into blondie batter (reserve a handful). Spread in pan and sprinkle reserved pieces on top. Add the top pieces during the last 10 minutes if you want brighter color. Bake as directed.
4) Bunny Bait Cookie Bars
How: Use a vanilla or brown sugar cookie bar dough. Fold in candy-coated chocolates and chopped chocolate bunnies. Finish with pastel sprinkles and extra candy pressed in lightly so it does not burn. Bake as directed.
Structure tip: Keep total mix-ins to about 1 to 1 1/2 cups for a typical 8-inch pan so the dough still bakes through.
5) Caramel Egg Brownies with Salt
How: Chop caramel-filled eggs. Spread batter, dot chopped eggs across the surface, then use a knife to gently nudge them under. Sprinkle flaky salt right after baking.
Sadie tip: Do not fully stir caramel eggs into batter. They sink, scorch at the edges, and weld themselves to the pan.
6) Jelly Bean Confetti Corner Blondies
How: Bake blondies plain until they are just set in the center, then press jelly beans into one corner or along one edge only. Return to oven for 5 to 8 minutes.
Why: Concentrating them keeps slicing easier and prevents sticky bean streaks throughout every bite.
7) Chocolate Bunny Smores Bars
How: Make a graham cracker crust (or press graham pieces into cookie bar dough). Add a thin layer of batter, then chopped chocolate bunny, then mini marshmallows on top for the last 5 minutes.
Tip: If you want marshmallows toasted, broil 30 to 60 seconds at the end. Stay close.
8) Malted Milk Ball Brownies
How: Fold chopped malted milk balls into brownie batter. Sprinkle a few whole pieces on top after baking so they stay crunchy.
Texture note: Baked malt balls soften. Topping after baking gives you the best contrast.
9) Robins Egg Cookie Bars
How: Use a classic chocolate chip cookie bar base. Swap some chips for chopped speckled eggs. Finish with a few halved eggs pressed in lightly on top. Bake as directed.
10) Coconut Nest Blondies
How: Stir toasted coconut into blondie batter. After baking, press three mini eggs into each square while the pan is still warm so they stick.
Sadie tip: Toast coconut first. Untoasted coconut can taste waxy next to candy.
11) Peanut Butter Cup Blondies with Drizzle
How: Blondies plus chopped peanut butter cups is always a win. Drizzle melted chocolate over cooled bars for a bakery finish.
Slice cleaner: Chill 20 minutes after drizzling to set the top before cutting.
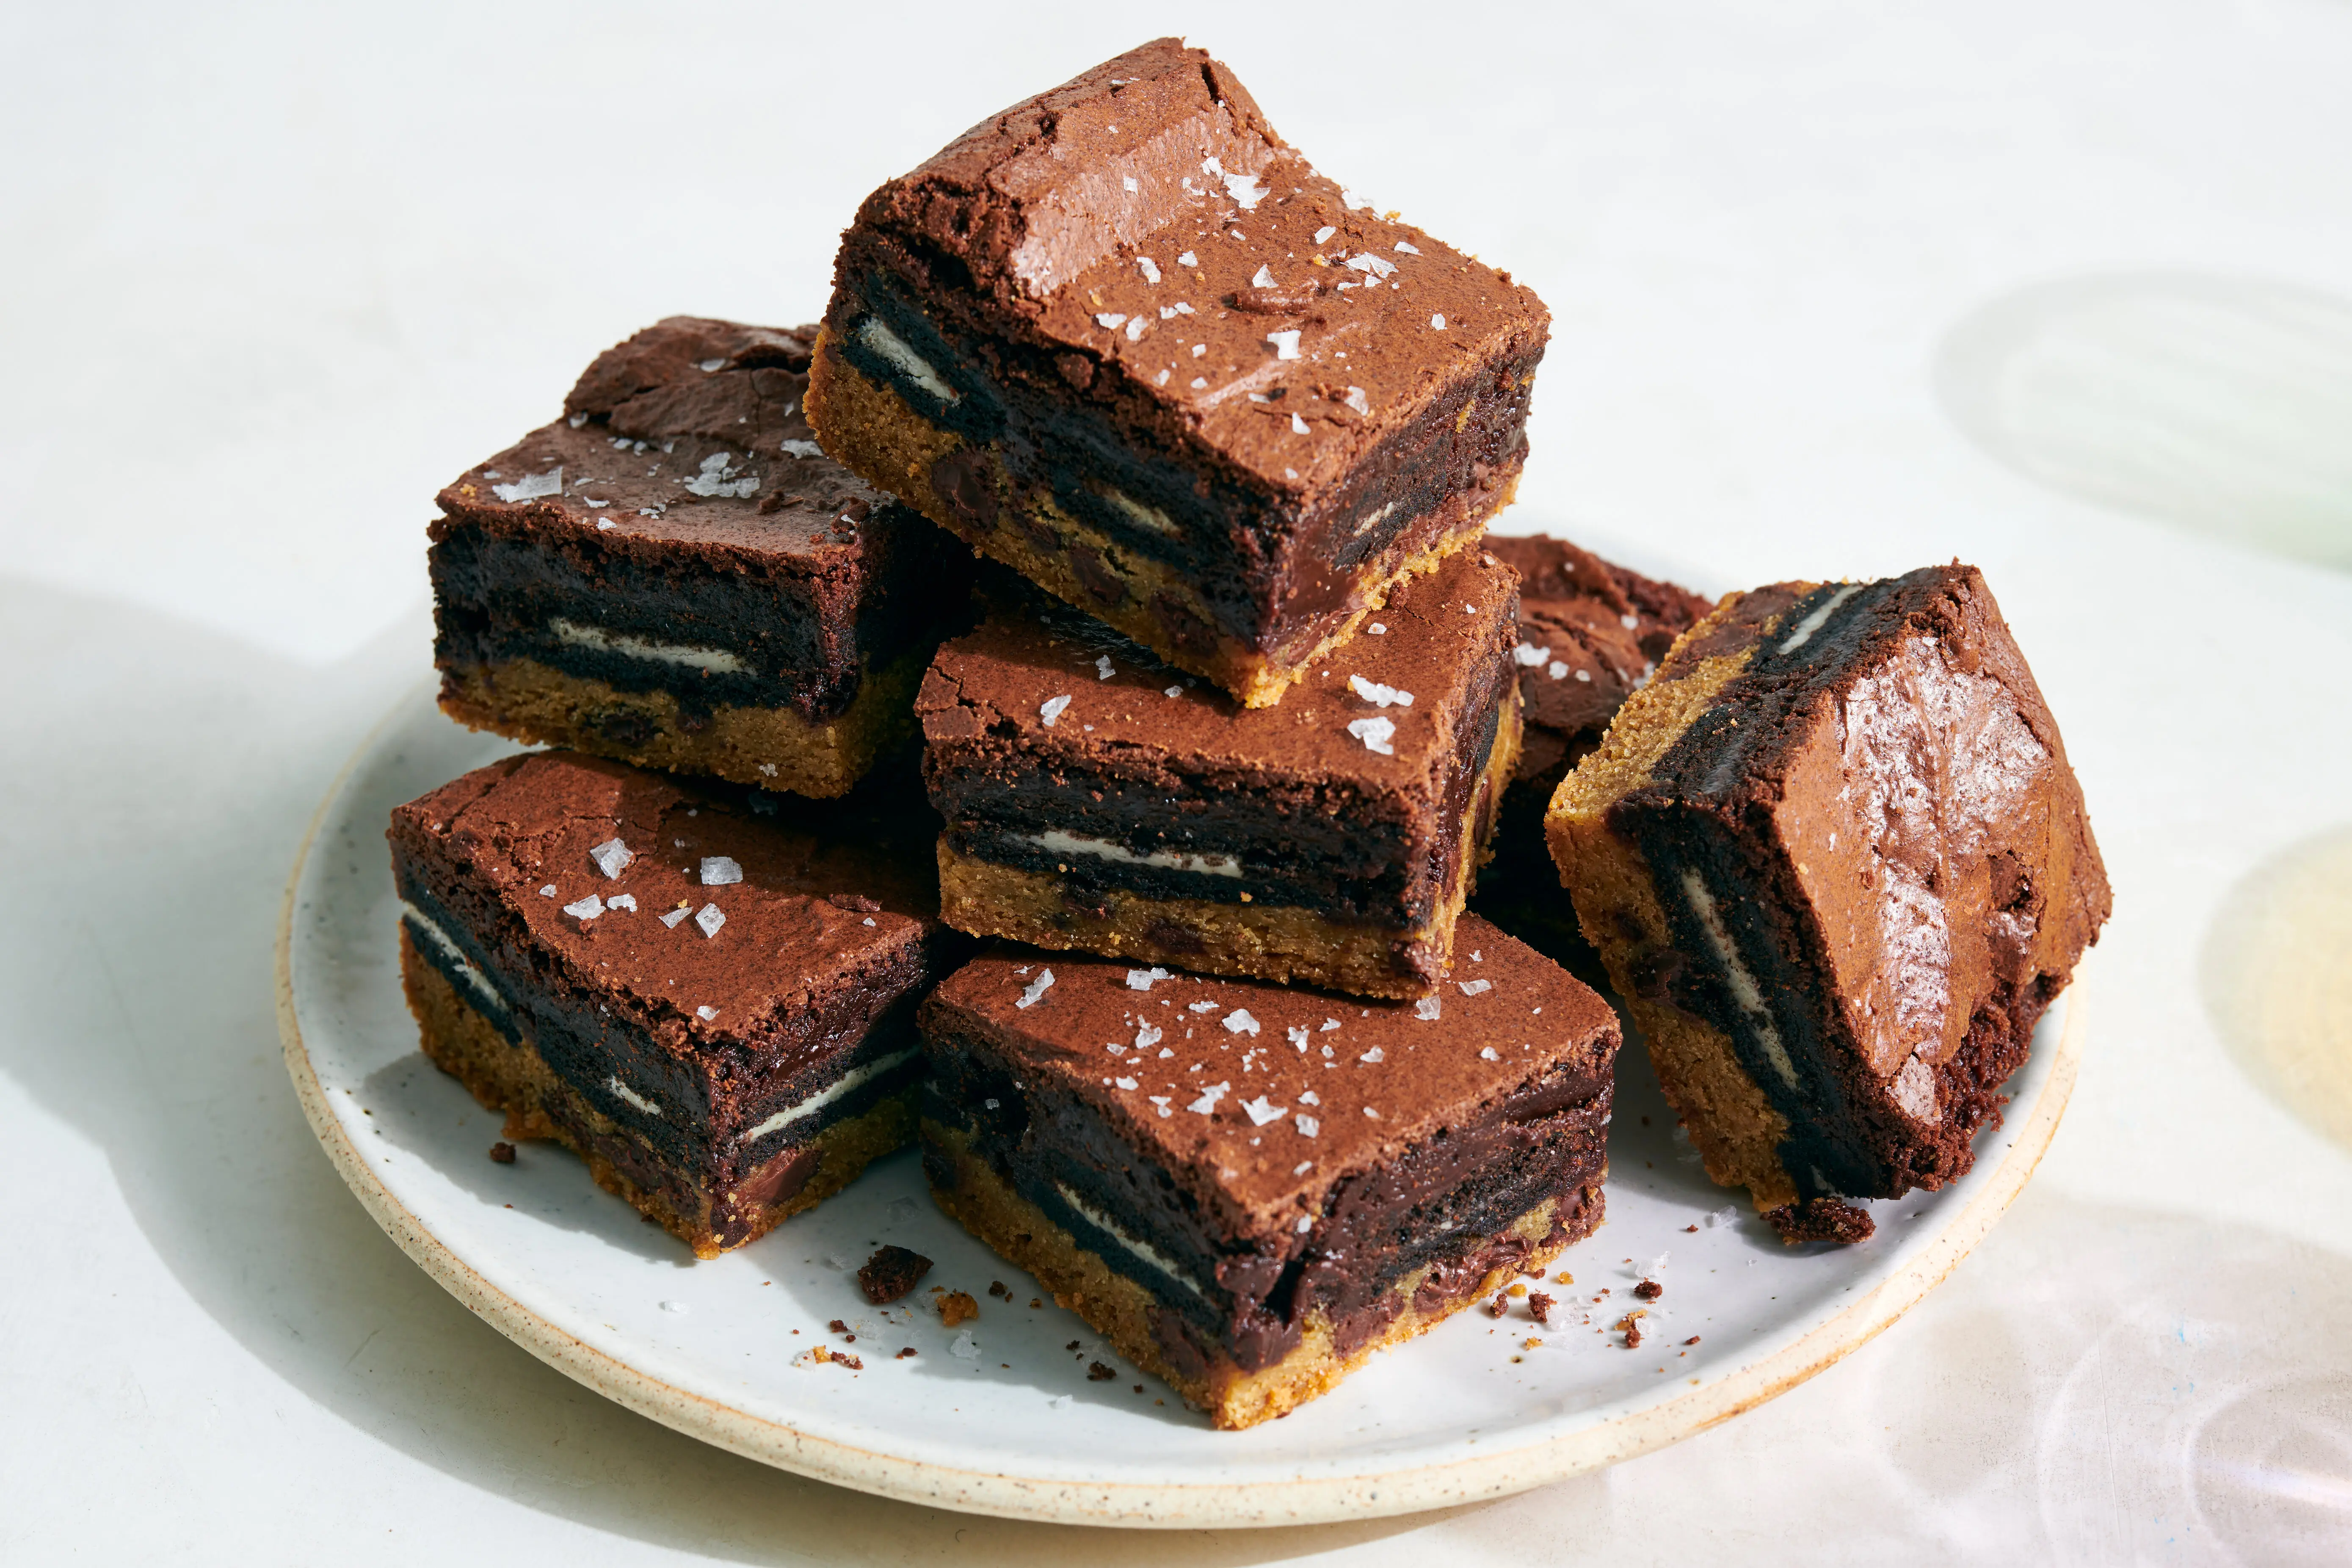
12) Cookies and Cream Egg Brownies
How: Chop cookies-and-cream style eggs (white chocolate with cookie bits). Fold into brownie batter and add a small handful on top near the end of baking.
Why: White chocolate can brown or scorch in hot spots. Late topping helps it stay creamy-looking, but keep an eye on the last few minutes.
13) Creme Egg Middle Stripe Bars
How: Spread two-thirds of your brownie or blondie batter. Add halved creme eggs in a single line down the center (or a few rows). Dollop remaining batter over top to cover mostly, leaving a few peeks. Bake as directed.
Tip: This gives you dramatic slices without the whole pan turning into a sugary sinkhole.
14) Chocolate Egg Brownie Brittle Bars
How: Spread brownie batter thinner than usual in a larger pan. Sprinkle chopped chocolate eggs all over and bake until the center is set. Cool fully for a crisp-chewy snap.
Great for: Using up lots of thin-shelled chocolate fast.
15) Everything Basket Kitchen Sink Bars
How: Choose one base (blondie is most forgiving). Pick one sticky candy (jelly beans or gummies), one chocolate candy (eggs, bunny, cups), and one crunchy candy (mini eggs, candy-coated chocolate). Keep mix-ins to about 1 1/2 cups total for an 8-inch pan, or about 2 1/2 cups for a 9x13, then adjust based on how thick your batter is.
My rule: If it melts into syrup, it goes in a layer, not stirred in.
Mix-in guide
| Candy type | Best method | Quick note |
|---|---|---|
| Peanut butter cups | Layer or press under surface | Freeze briefly for clean chopping |
| Hollow chocolate eggs | Tuck shards just under surface | Makes melty pockets |
| Solid chocolate bunny | Chop and stir in | Use bigger chunks for wow factor |
| Jelly beans | Top near end or concentrate in one area | Cornstarch can reduce sticking |
| Candy-coated chocolates | Stir in and top near end | Late topping helps prevent cracking |
| Caramel-filled eggs | Layer, do not stir hard | Caramel can scorch at edges |
| Malted milk balls | Stir in, then add some after baking | Best crunch comes from fresh topping |
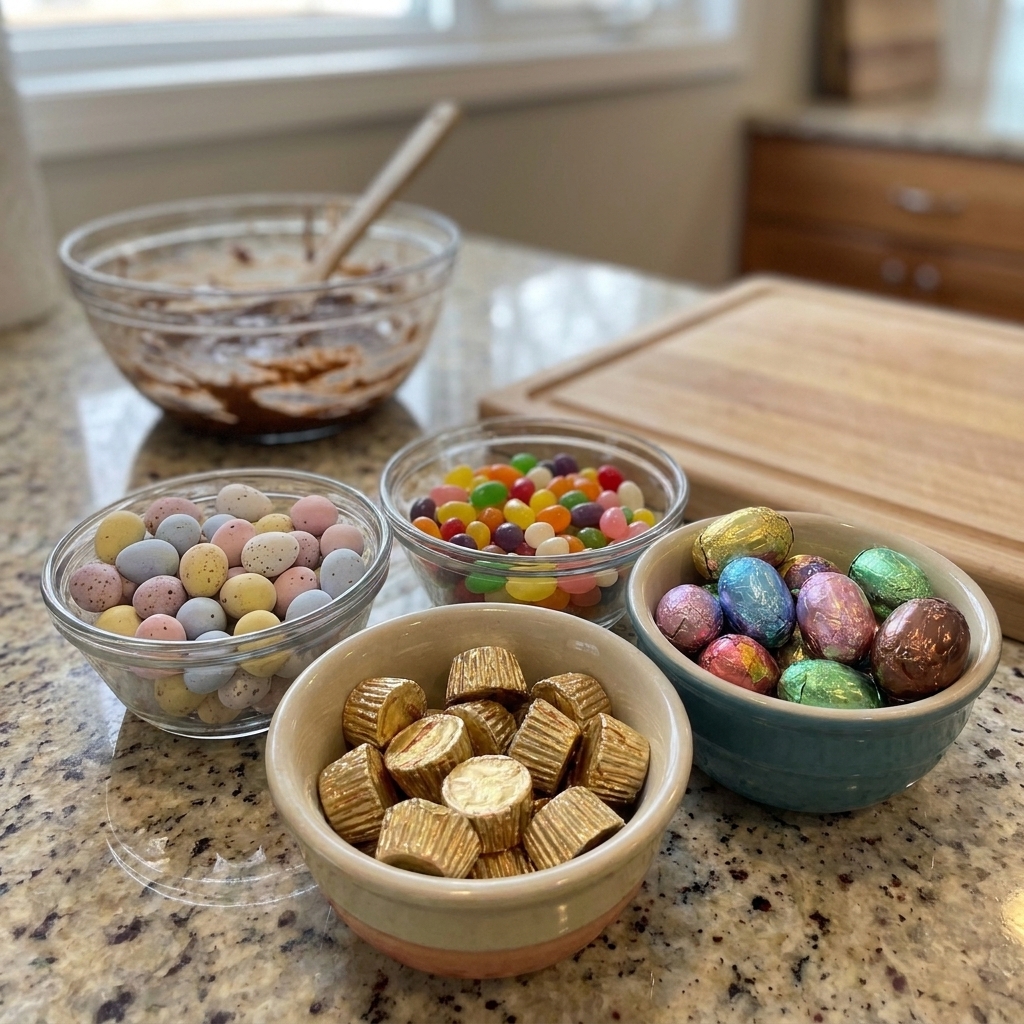
How much candy is too much?
More is not always merrier with bars. Too many mix-ins interrupts the structure and leaves you with a pan that never quite sets in the middle. These amounts are a good starting point for most standard brownie and blondie batters, then adjust depending on how thick your base is.
- 8-inch pan (thicker bars): about 1 to 1 1/2 cups total mix-ins
- 9x13 pan (standard thickness): about 2 to 2 1/2 cups total mix-ins
- Sticky candy limit: keep jelly beans, gummies, and soft chew candies to about 1/3 of your mix-ins, and use them mostly as toppings or a stripe
Candy to skip
Some candy just does not play nice in the oven.
- Hard candy (lollipops, Jolly Ranchers, butterscotch discs): it melts into extremely hot syrup, then cools into glassy, tooth-sticky shards. If you love the flavor, crush a little and use it as a tiny sprinkle after baking instead.
- Powdery sour candy: the coating can dissolve into odd wet spots. Better as a finishing garnish right before serving.
Pan basics and candy check
- Pan and lining: A light-colored metal pan bakes the most evenly. Line with parchment with a little overhang for easy lifting.
- Candy quality: Use candy that is wrapped and still tastes fresh. If something is unwrapped, dusty, stale, or has damaged packaging, toss it. Bars do not magically fix old candy.
Storage and make-ahead
- Room temp: Most candy bars keep 3 to 4 days in an airtight container. Place parchment between layers.
- Refrigerator: Great for extra clean slicing, but can dry bars out. If you chill, bring squares to room temp before serving.
- Freezer: Brownies and blondies freeze beautifully for up to 2 months. Wrap tightly, then store in a freezer bag. Skip freezing jelly bean topped bars if you want the beans to stay pretty.
Troubleshooting
My candy sank to the bottom
Your batter may have been too warm or too thin. Next time, let batter sit 5 minutes to thicken, or layer candy between batter instead of stirring in.
My jelly beans melted into glue
Totally normal if baked too long. Use them as a late-stage topping, or keep them concentrated in one section.
The top candy cracked and bled color
Press it in during the last 10 minutes of baking, not at the beginning. Also avoid placing candy right at the hot pan edges.
Bars are gooey in the center but overbaked at edges
Too many mix-ins or big candy clusters can block heat. Reduce mix-ins slightly and spread them more evenly, or bake in a light-colored metal pan for more even baking.