
Red velvet is one of those flavors that feels tailor-made for Valentine’s Day. It is festive, a little dramatic, and somehow both chocolatey and tangy at the same time. The trick is that the things that build that signature flavor (cocoa + acid) are also the things that can nudge your dough darker if you are not careful.
In this guide, I’m going to walk you through how I balance cocoa powder, acid, and food coloring to get cookies that are bright red, perfectly chewy, and finished with a cream cheese frosting that pipes or spreads like a dream.
What red velvet should taste like
If your red velvet cookie tastes like plain chocolate with red dye, it is missing the point. Classic red velvet has:
- A light cocoa flavor (think: cocoa aroma, not brownie intensity)
- A subtle tang from an acid (buttermilk, vinegar, or both)
- Vanilla to round everything out
- Soft, plush texture, not crisp all the way through
In cookie form, we aim for a chewy center and lightly crisp edges, with a tender bite that feels velvety instead of cakey.
The cocoa balance

Cocoa powder is the number one reason red velvet cookies drift from ruby to brick. Too much cocoa, and the dough starts out darker before the coloring even has a chance.
My rule of thumb
- For a most standard cookie batches (about 18 to 24 cookies, made from roughly 2 to 2 1/2 cups flour), keep cocoa in the 2 to 4 tablespoon range.
- If you want deeper chocolate flavor, increase vanilla and add a small pinch of espresso powder rather than piling on cocoa.
Natural vs Dutch-process cocoa
This matters for both flavor and color:
- Natural cocoa is more acidic and usually lighter in color. It plays nicely with baking soda and helps that classic red velvet tang come through.
- Dutch-process cocoa is alkalized (less acidic) and often darker. It can make cookies taste smoother, but it commonly pushes dough toward brown and can mute that classic tang.
If you are chasing that classic bakery-style red velvet cookie, I recommend natural cocoa.
The acid piece

That slight tang in red velvet is not optional. But in cookies, acid also affects spread and chew, so we want a controlled amount.
Common acids in red velvet baking
- Buttermilk: adds tang and tenderness. In cookies, I prefer a small amount so we do not drift into cakey territory. For a standard batch, think 1 to 3 tablespoons.
- White vinegar: sharp, clean tang. You only need a little. For a standard batch, start with 1/2 to 1 teaspoon.
- Lemon juice: workable, but the flavor can read lemony if you use too much. I save it for emergencies.
Baking soda vs baking powder
Most classic red velvet formulas use baking soda because the dough includes acidic ingredients like buttermilk and vinegar. The reaction gives lift and helps keep the texture plush. Baking powder can still work, but the flavor and texture can feel a little flatter.
If your cookies spread too much, the culprit is usually warm dough or too much added liquid. Keep acids modest, and chill the dough if needed.
Getting a bright red
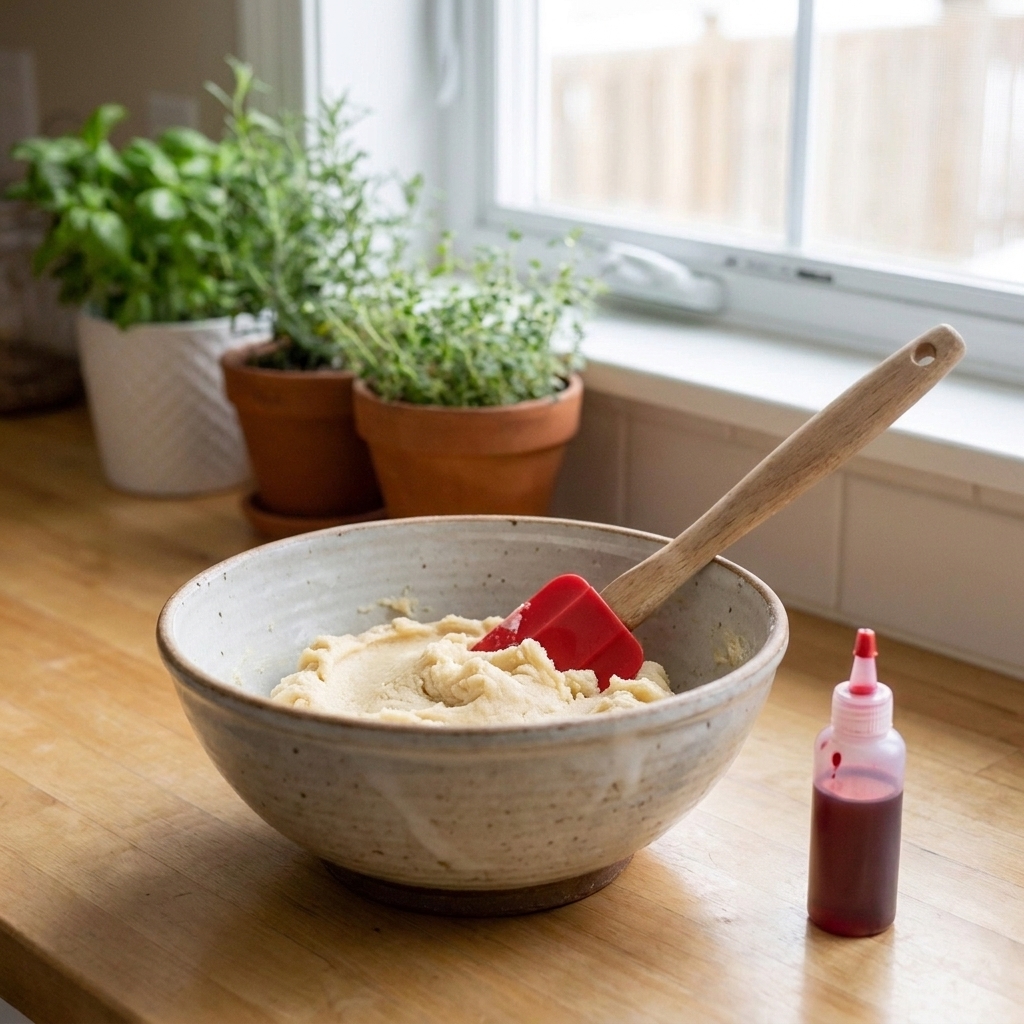
Let’s talk color, because red velvet cookies are supposed to look like Valentine’s Day. The biggest mistake I see is using a tiny splash of liquid coloring and hoping for the best. Cookies are rich with butter, sugar, and cocoa, so you need a coloring strategy.
Best choice: gel food coloring
Gel coloring is concentrated, so you get strong color without watering down the dough. For a standard batch, I like to start with 1/2 teaspoon, mix, then add a little more at a time until the dough is slightly brighter than you want the baked cookie to be. Baking always dulls the color a bit.
Liquid food coloring
It can work, but you often need a lot, which can loosen the dough and increase spread. If liquid is all you have, plan to chill the dough and skip any extra liquids you do not truly need.
Powdered food coloring
Powders give intense color without added liquid. If you bake often, it is a great pantry upgrade for vibrant reds.
How cocoa and acid really affect the red
- Food coloring does the heavy lifting for a true bright red in modern recipes.
- More cocoa equals darker dough, which means you need more coloring for the same red impact.
- Acid is mainly there for flavor. In some formulas it can support a more vibrant tone, but it will not magically turn a cocoa-heavy dough bright red without enough dye.
A quick shade trick
If your red is reading a little hot-pink, a tiny drop of brown or a pinch of extra cocoa can nudge it toward that deeper, classic red velvet look. Go slowly. You can always add, but you cannot take it back.
Natural coloring
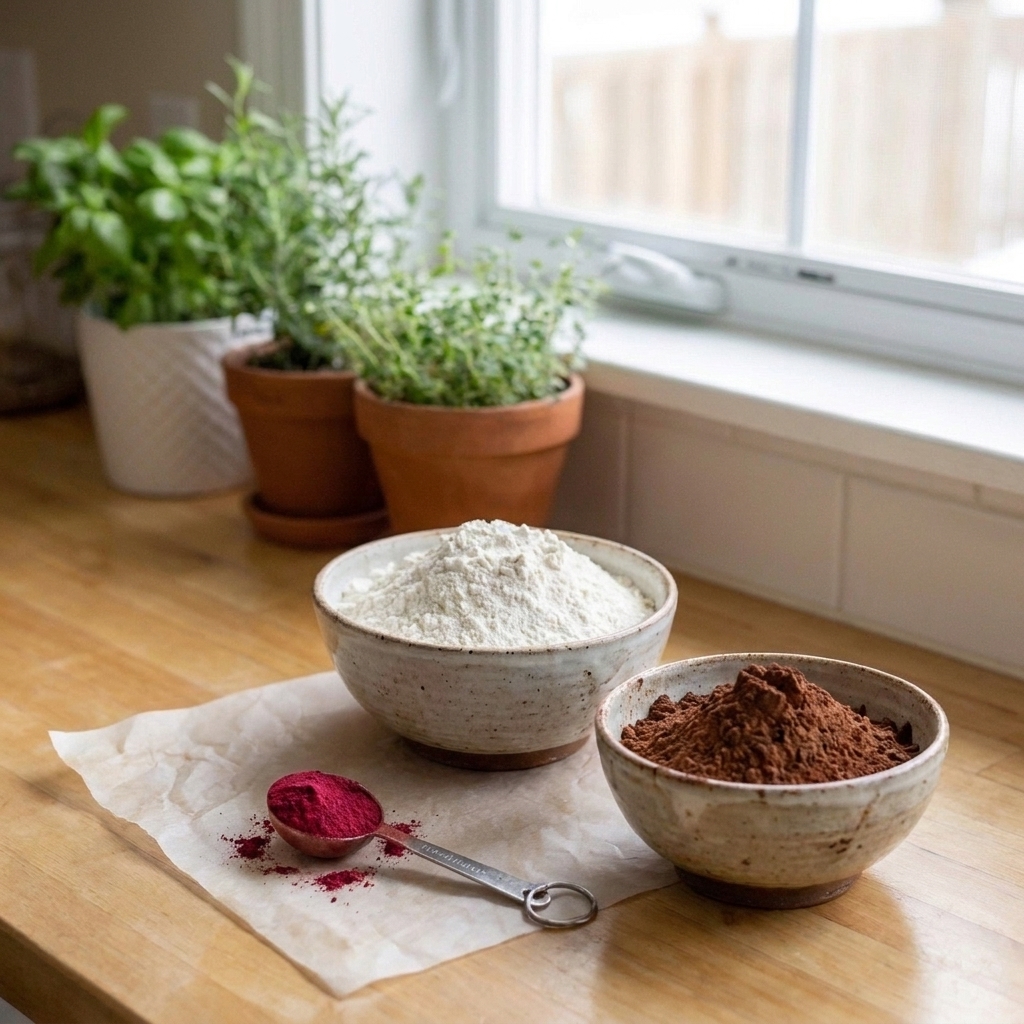
If you would rather skip synthetic dyes, you can absolutely make a naturally tinted red velvet cookie. The important thing is setting expectations: natural options tend to produce burgundy, raspberry, or brick red rather than neon bakery red.
Beet powder
- Color: the strongest natural option, usually a deep pink-red
- Flavor: mild, but too much can taste earthy
- How to use: whisk beet powder into your dry ingredients so it disperses evenly
Freeze-dried raspberries or strawberries (powdered)
- Color: pinkish red, more romantic than fire-engine
- Flavor: fruity and bright, which is delicious with cream cheese frosting
- Tip: sift the powder to remove seeds for a smoother dough
Pomegranate powder
- Color: muted red-purple
- Flavor: tangy-fruity, works well if you like a little twist on classic red velvet
Natural colorants are most vibrant when the dough is not too cocoa-heavy, so keep cocoa on the lower end if your goal is color.
Texture control
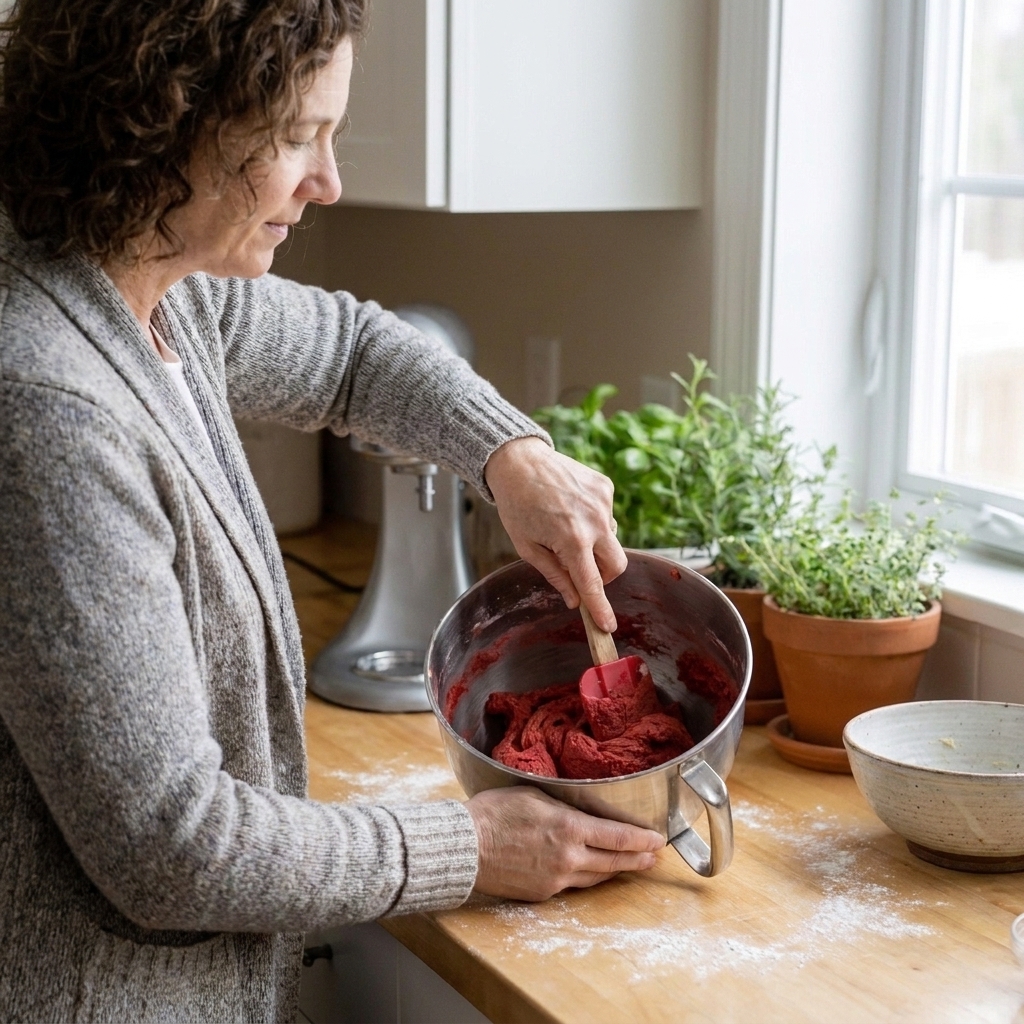
I test cookie dough the same way I test a brownie batter: I watch for the texture cues, not just the clock. Here’s what makes red velvet cookies chewy and not cakey:
- Use more brown sugar than white sugar for chew and moisture.
- Do not overmix after flour goes in. Overmixing builds structure and can make cookies bready.
- Chill the dough if it feels soft, glossy, or sticky. Cold dough equals thicker cookies and better chew.
- Pull cookies when the centers look slightly underdone. They finish baking on the sheet.
My favorite bake cue
The edges should look set and slightly darker, while the centers still look soft and a bit puffy. If you wait until the centers look fully firm, you will lose that plush chew.
Basic bake temp and time
If you are working from your favorite base cookie recipe and just adapting it to red velvet, this is a reliable starting point:
- Oven: 350°F (175°C)
- Scoop size: 1 1/2 tablespoons (a medium cookie scoop)
- Bake time: 9 to 11 minutes, until edges look set and centers look slightly underdone
- Rest: cool on the baking sheet 5 minutes before moving to a rack
Keeping the red bright
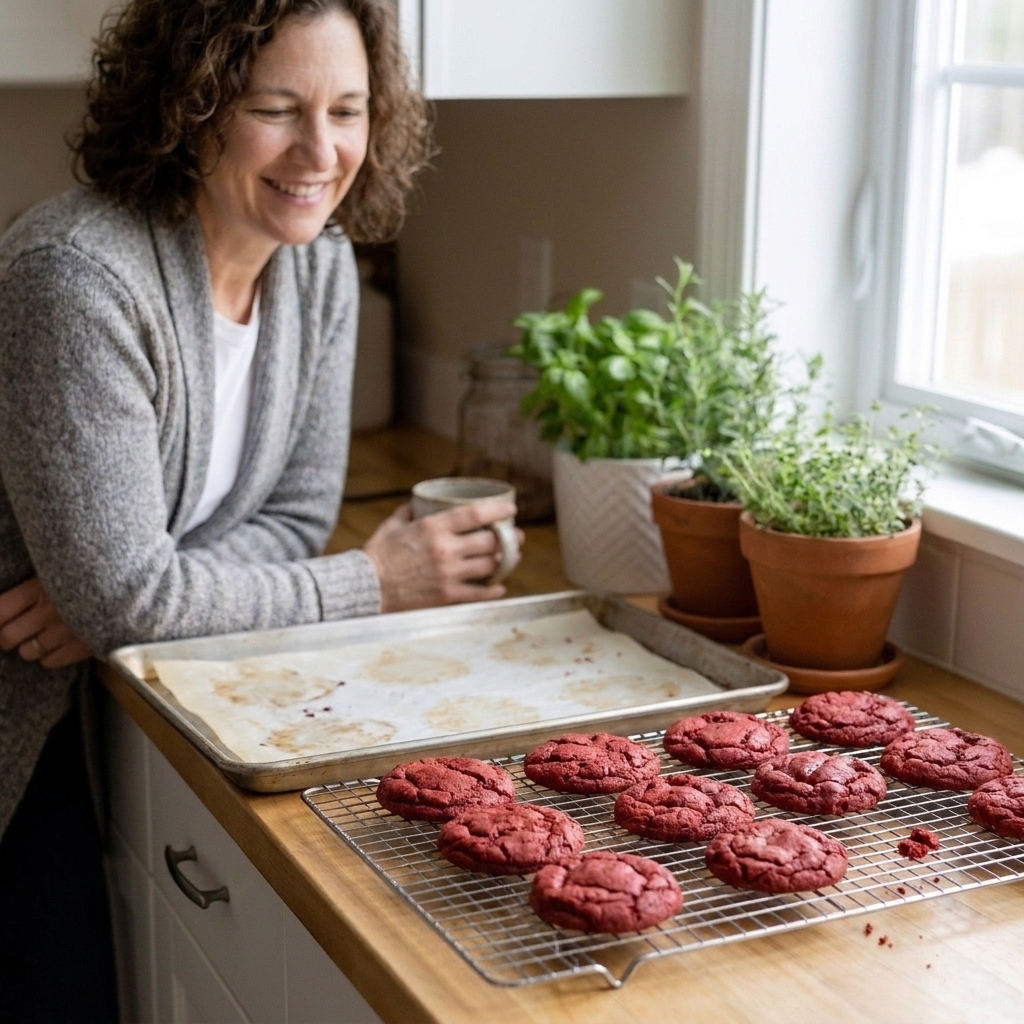
- Avoid overbaking. Extra time in the oven deepens browning.
- Use light-colored baking sheets if you have them. Dark pans brown cookies faster on the bottom.
- Line with parchment for gentler heat and easier lift.
- Let cookies cool completely before frosting. Warm cookies can melt frosting and dull the look.
Cream cheese frosting that sets
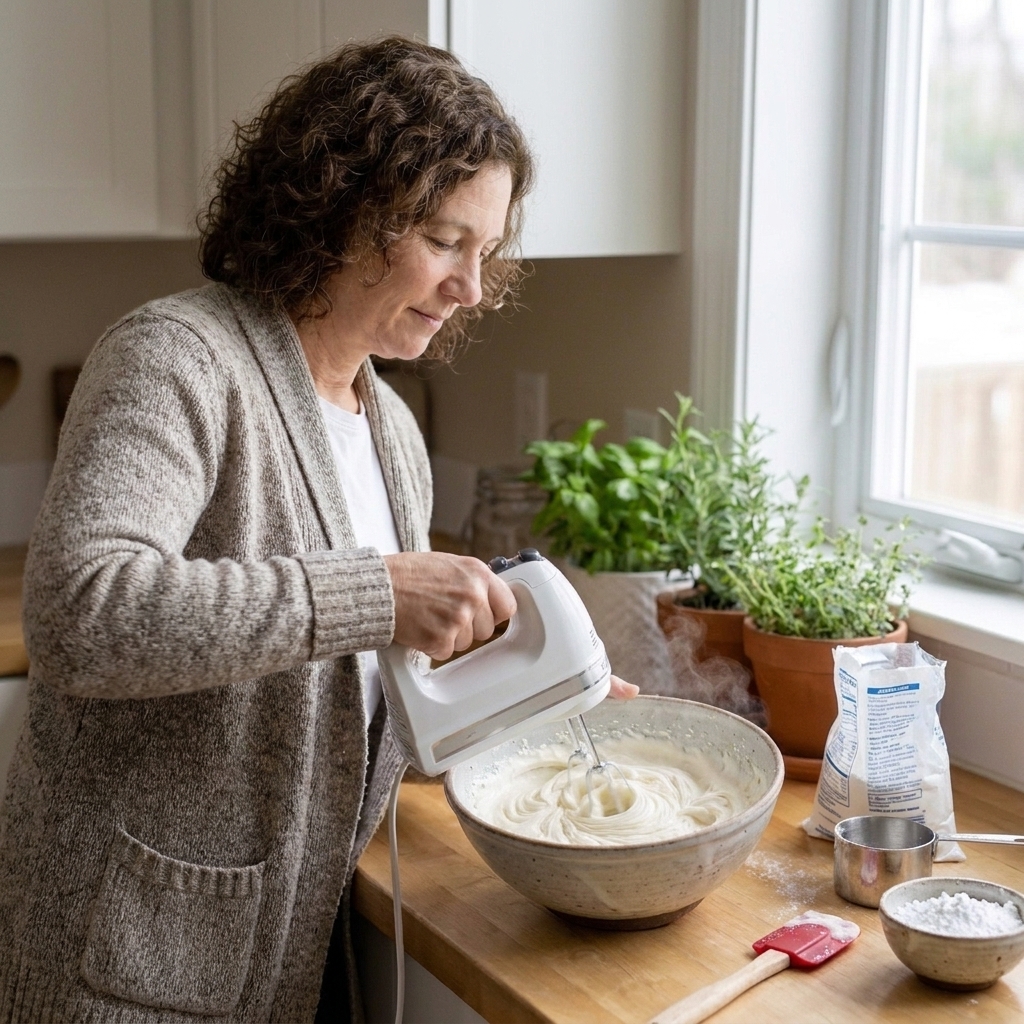
Red velvet and cream cheese are basically soulmates. For cookies, though, we want a frosting that is thick enough to hold a swoop, but soft enough to bite through cleanly.
My non-negotiables
- Use block cream cheese, not whipped or spreadable. Tub cream cheese is too soft and can turn runny.
- Start with cool (not warm) room temperature butter and cream cheese. You want them pliable, not glossy or melty.
- Sift powdered sugar for a smooth finish, especially if you want to pipe it.
- Add a pinch of salt. It makes the tang pop and keeps the frosting from tasting flat-sweet.
How to thicken without grit
Add more powdered sugar in small increments, and then chill the frosting for 10 to 15 minutes before piping. Chilling firms it up without forcing you into a sugar overload.
Finishing touches
- Red sanding sugar or tiny heart sprinkles
- White chocolate curls
- A small drizzle of melted white chocolate over set frosting
My go-to ratio map
When you want to tweak a recipe, use this as your guardrail. These are the choices that most affect color and chew:
| What you change | What happens | What to do instead |
|---|---|---|
| Add more cocoa for stronger chocolate | Dough gets darker and less red | Use natural cocoa, keep cocoa modest, add a pinch of espresso powder |
| Add more liquid coloring | Dough can get soft and spread more | Switch to gel or powdered coloring, or chill the dough longer |
| Add extra buttermilk | Can turn cakey or puffy | Keep it to a small amount, use vanilla and a tiny bit of vinegar for tang |
| Reduce sugar to make it lighter | Less chew, more dry texture | Make smaller cookies, or sandwich with frosting and freeze extras |
| Skip chilling | More spread, thinner cookies | Chill 30 to 60 minutes for thicker, chewier results |
Troubleshooting
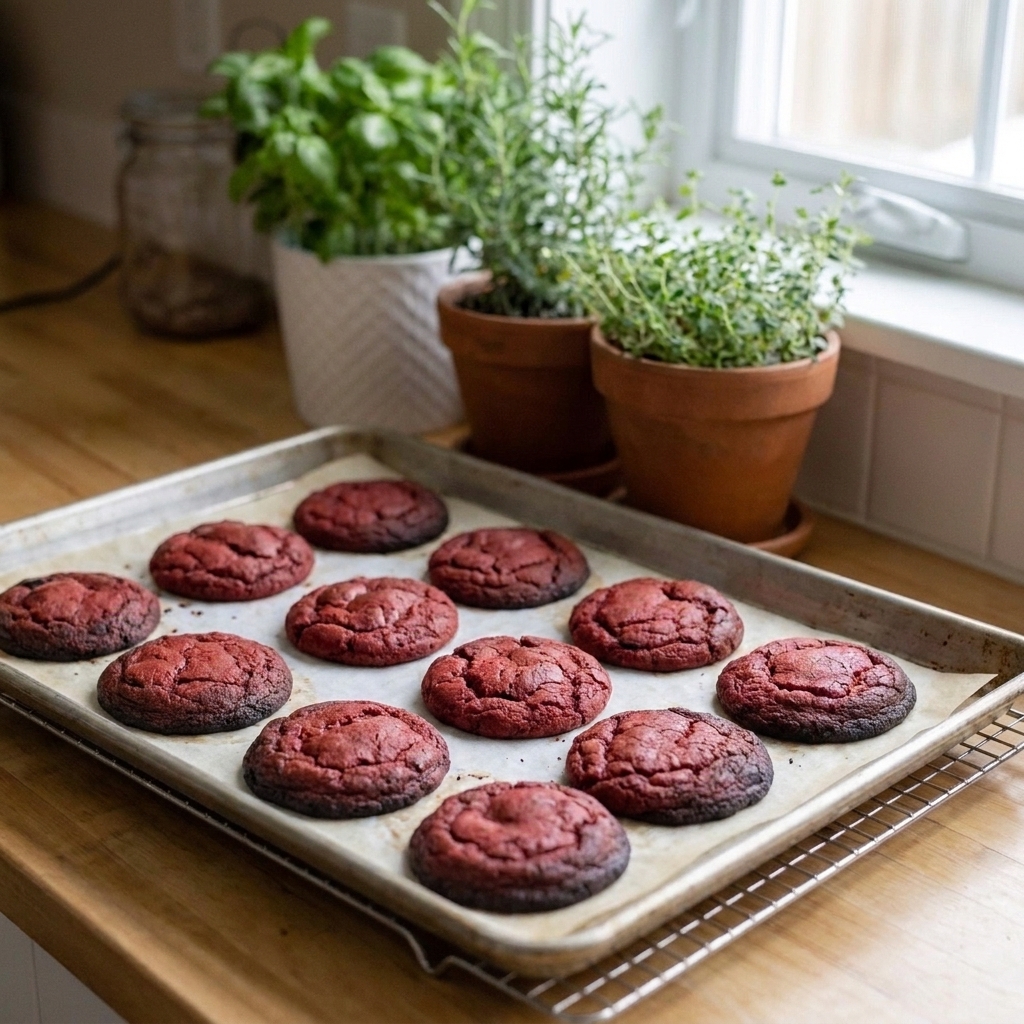
My cookies turned brown
- You likely used too much cocoa, Dutch-process cocoa, or baked too long.
- Next time: use natural cocoa, keep cocoa modest, and pull them when centers still look soft.
My cookies spread too much
- Dough was warm, butter was too soft, or you added a lot of liquid coloring.
- Next time: chill the dough and use gel or powdered coloring.
My cookies are cakey
- Too much liquid (often buttermilk), too much flour, or overmixing after flour goes in.
- Next time: measure flour carefully, mix just until combined, and keep liquid minimal.
My frosting is runny
- Cream cheese was too warm or came from a tub.
- Fix: chill the frosting 20 to 30 minutes and re-whip briefly. If it is still loose, add a bit more powdered sugar.
Make-ahead and gifting
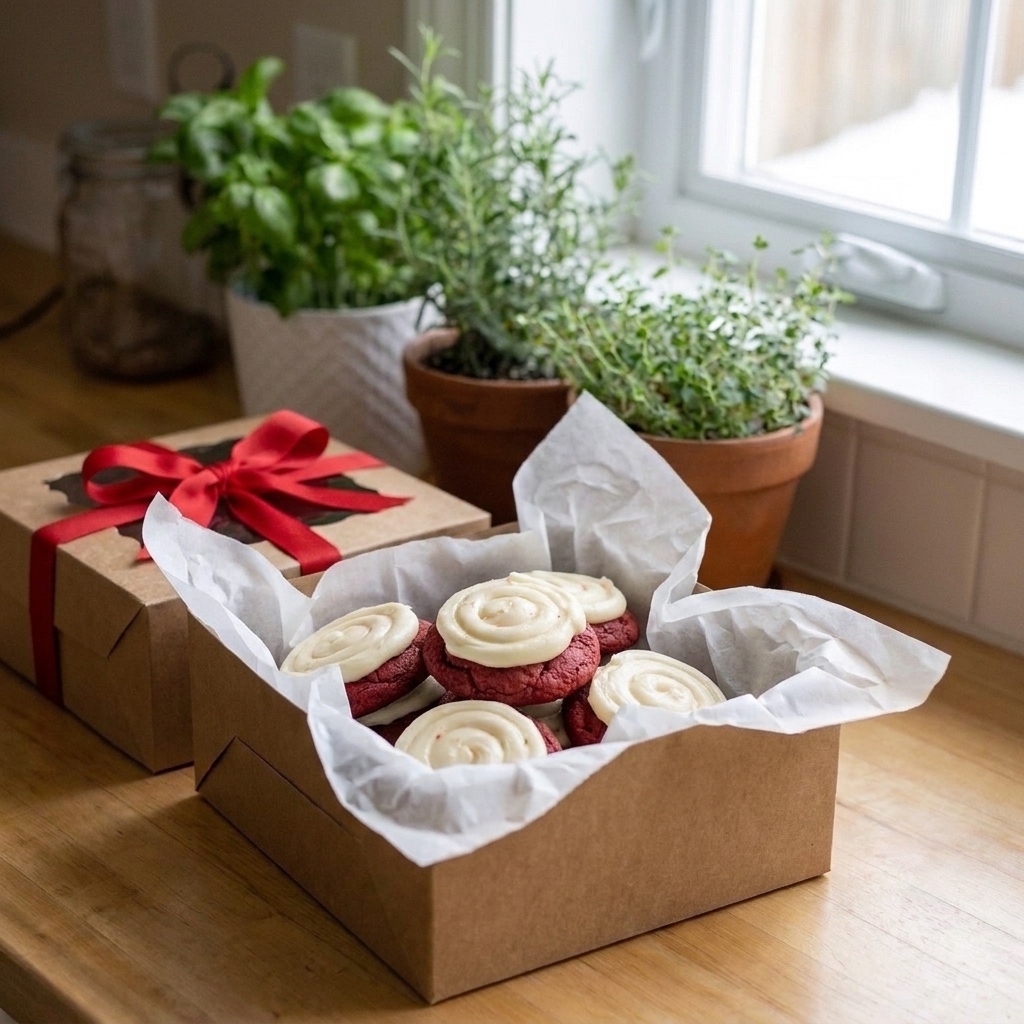
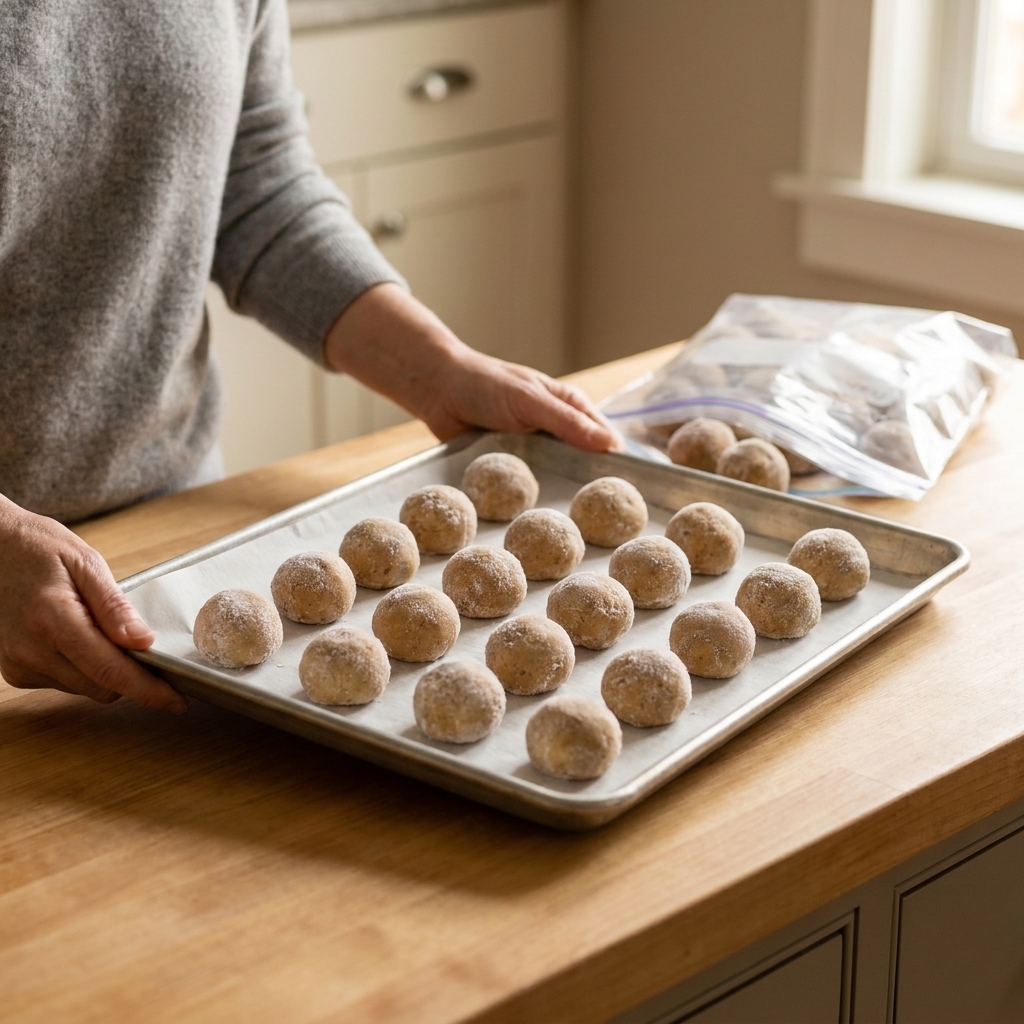
- Dough: Portion into balls and chill up to 48 hours. You can also freeze dough balls for longer storage.
- Baked unfrosted cookies: Keep airtight at room temperature for 2 to 3 days for best softness.
- Frosted cookies: Store in the fridge in a single layer (or with parchment between layers). Cream cheese frosting is happiest chilled. Bring cookies to cool room temp before serving for the best texture.
- Gifting: If you are boxing them, let the frosting set in the fridge first so it does not smear.
Quick FAQ
Do I have to use vinegar?
No, but a tiny amount helps deliver that classic red velvet tang without adding much liquid. If you skip it, use a small amount of buttermilk or sour cream instead.
Can I make them without food coloring at all?
Yes. You will get a cocoa-tinted cookie with red velvet flavor cues if you keep the cocoa moderate and include an acid. It will not be bright red, but it will still taste wonderful with cream cheese frosting.
Why is my red velvet flavor not coming through?
Usually it is missing acid or vanilla. Red velvet is subtle. The flavor is built from small amounts working together, not one big chocolate punch.
Should I frost them earlier?
For the neatest look, frost once the cookies are fully cool, then chill 15 minutes to set. If you are serving right away, frosting at room temperature is totally fine.
My final pep talk
Red velvet cookies are one of those bakes where tiny tweaks make a big difference. Keep cocoa restrained, include a little acid for that signature tang, and choose a coloring method that matches the boldness you want. Once you dial it in, you will have a Valentine’s Day cookie that looks like a love letter and eats like a dream.