If you can cut brownies into squares, you can make these. I love Halloween baking because it lets you play without needing perfect piping skills. We are taking your favorite pan of brownies and turning them into two adorable designs: crisp spider webs (with a super forgiving icing method) and stretchy mummy brownies (my personal favorite for decorating with kids).
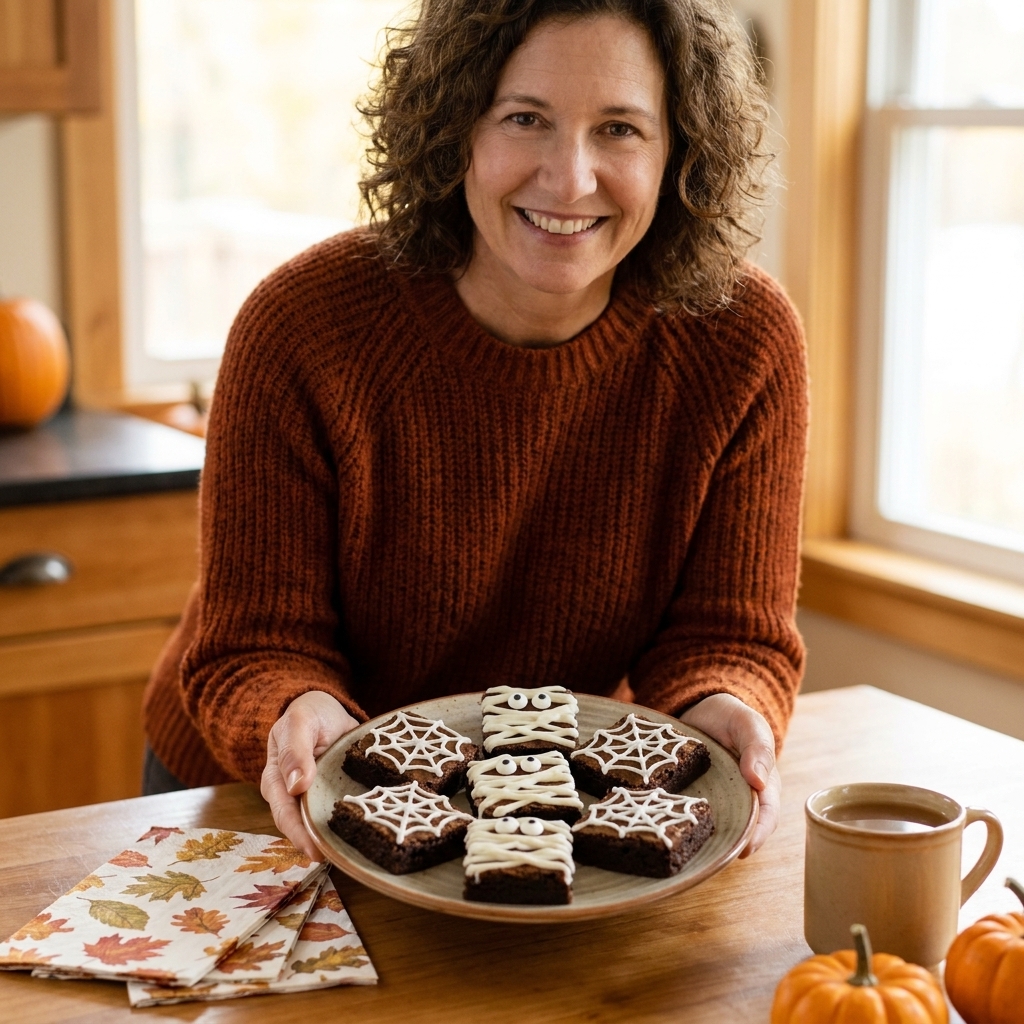
You can use homemade brownies, a box mix, or store-bought. The decorating is the star here, and I will walk you through it like I am standing next to you at the counter.
Start with the right brownies
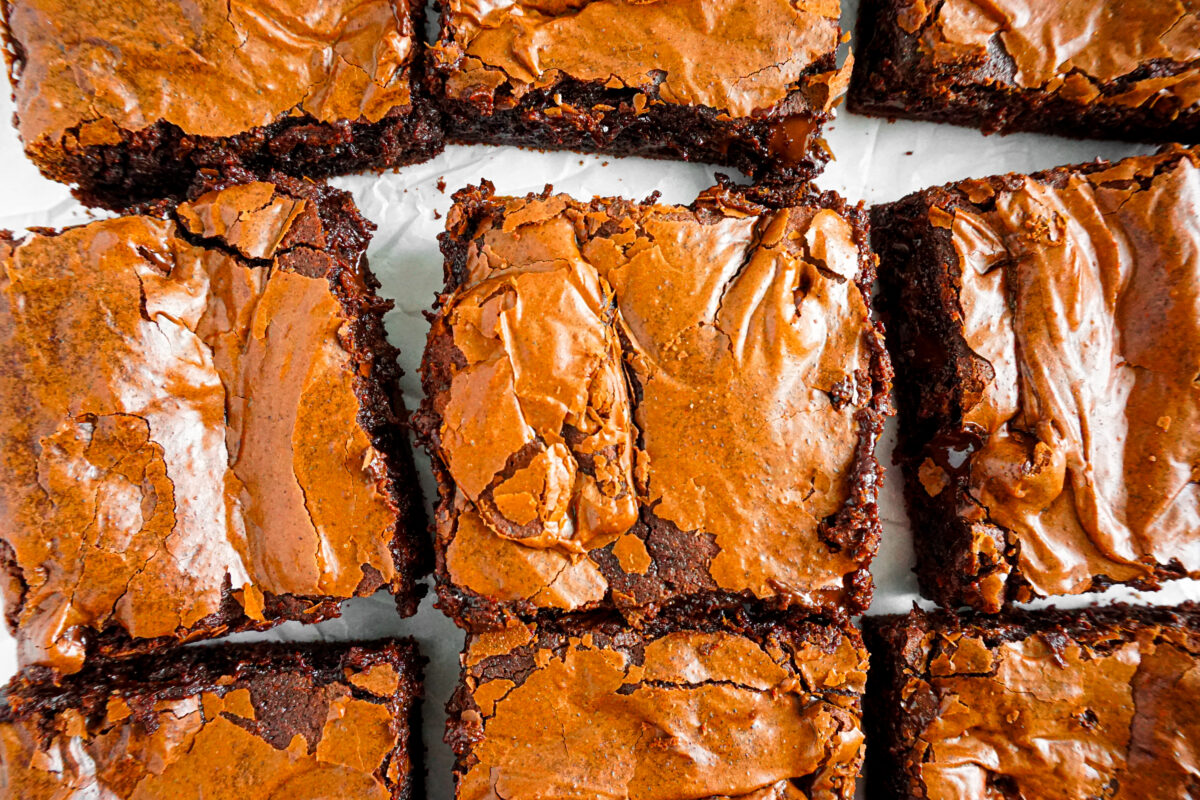
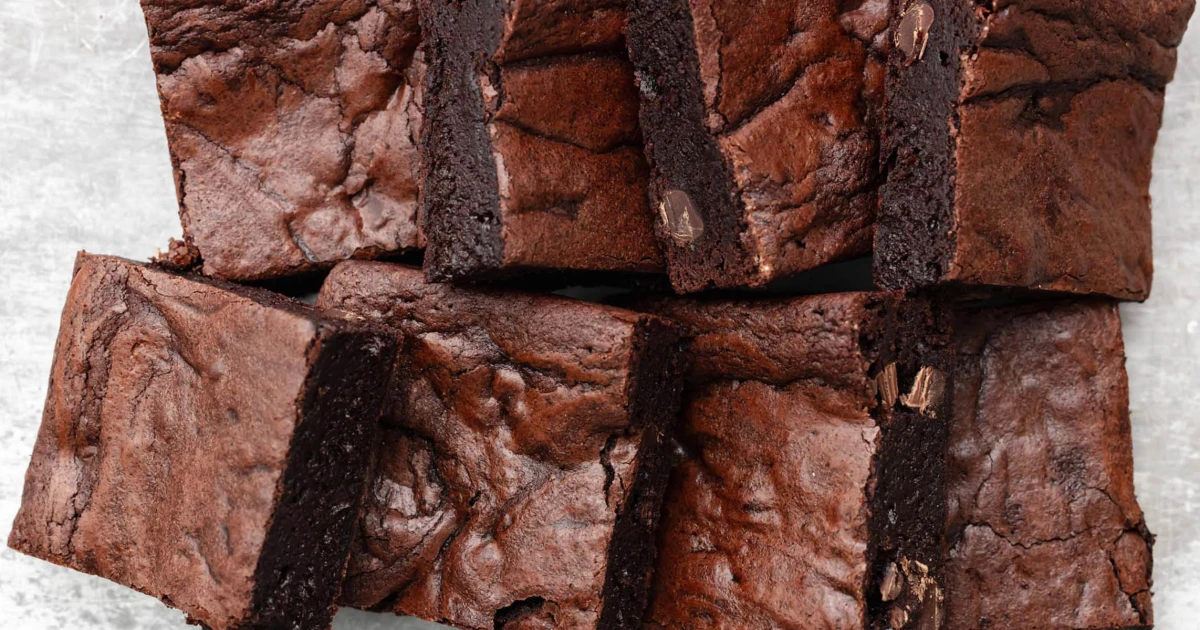
Any brownie works, but if you want the decorations to stay neat, pick brownies that are fudgy and not too crumbly. Let them cool completely before decorating. Warm brownies melt icing and turn marshmallows into a sticky puddle. Ask me how I know.
My favorite base brownie options
- Fudgy brownies: best for clean cuts and smooth tops.
- Crinkly top brownies: also great, just expect a slightly bumpy surface (still cute).
- Frosted brownies: skip the frosting, or use only a thin layer so your lines do not slide around.
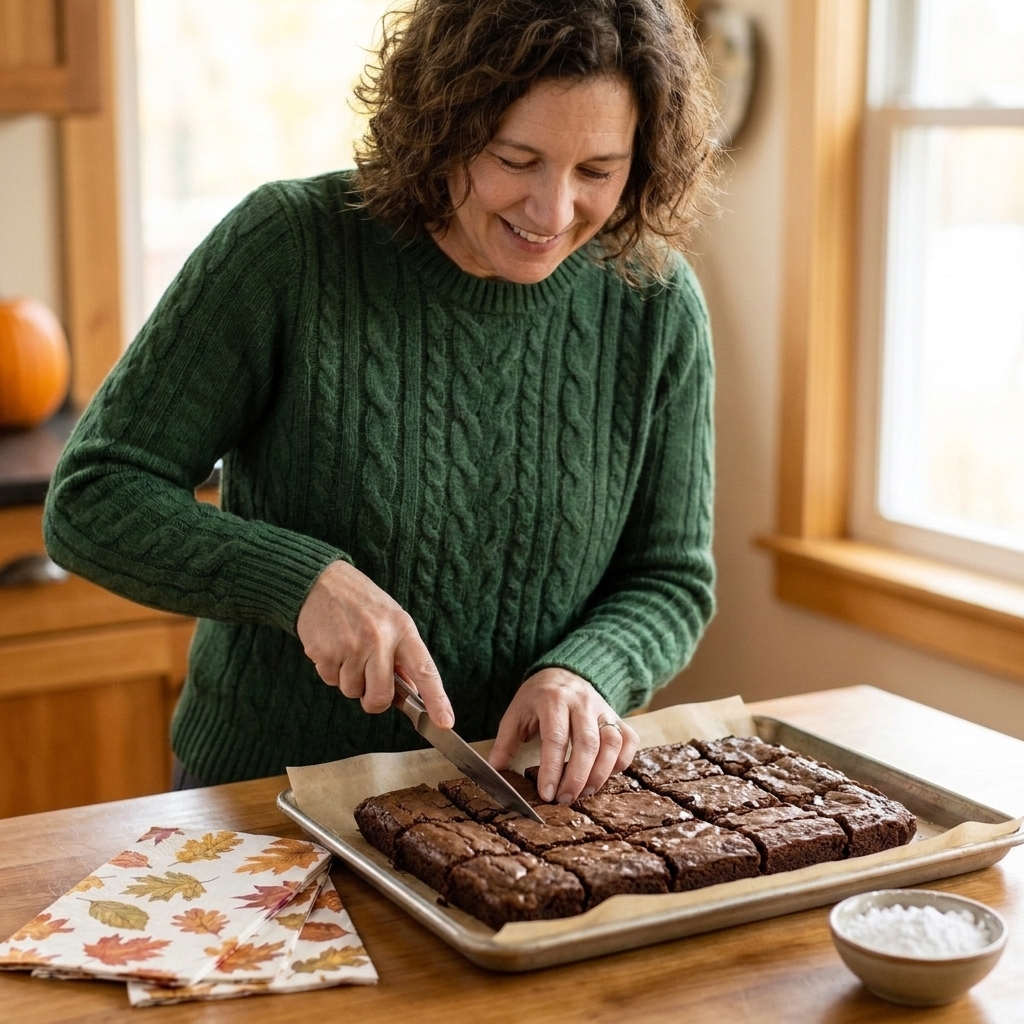
Clean-cut tip
For bakery-style squares, chill the pan for 20 to 30 minutes, then cut with a large knife wiped clean between slices.
Tools and ingredients
You do not need fancy gear. A couple of zip-top bags and a spoon will get you there.
Grab this from your kitchen
- Brownies, cooled and cut into squares
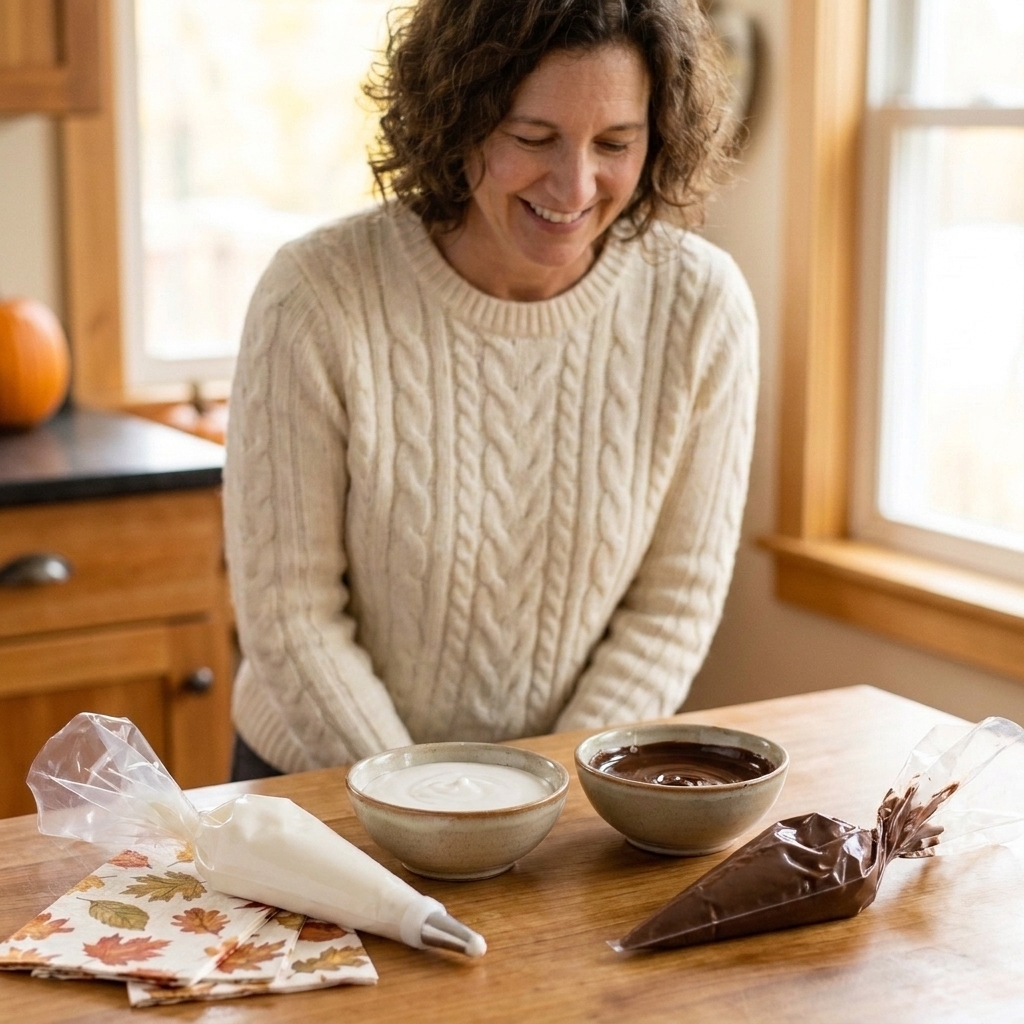
- Zip-top bags or piping bags
- Small scissors (to snip a tiny piping hole)
- Toothpicks or wooden skewers
- Microwave-safe bowls
- Parchment paper (for easy cleanup)
Decorating ingredients
- White icing: royal icing or a quick powdered sugar glaze
- Chocolate: semisweet chips, dark chocolate, or melting wafers
- Mini marshmallows (or large marshmallows)
- Candy eyes (optional but highly recommended)
Design 1: Spider web brownies
Spider webs look impressive, but they are basically just circles and gentle dragging with a toothpick. This is the design I use when I want a big payoff with minimal stress.
Important: Pick one high-contrast method below. That wet-on-wet contrast is what makes the web crisp and visible.
Option A: Classic (white base + chocolate rings)
Step 1: Mix your white icing
If you already have royal icing, use it. If you want an easy version for quick decorating, you can mix a thick glaze that sets fairly well.
Easy royal icing (small batch)
- 1 cup powdered sugar
- 1 1/2 to 2 teaspoons meringue powder
- 1 1/2 to 2 1/2 tablespoons water (add slowly)
Whisk until smooth and thick. You want it to ribbon off the whisk and settle back into itself in about 10 to 15 seconds.
Shortcut glaze option
Whisk powdered sugar with a tiny splash of milk or water until thick and pipeable. It will not set as hard as royal icing, but it works great for same-day serving.
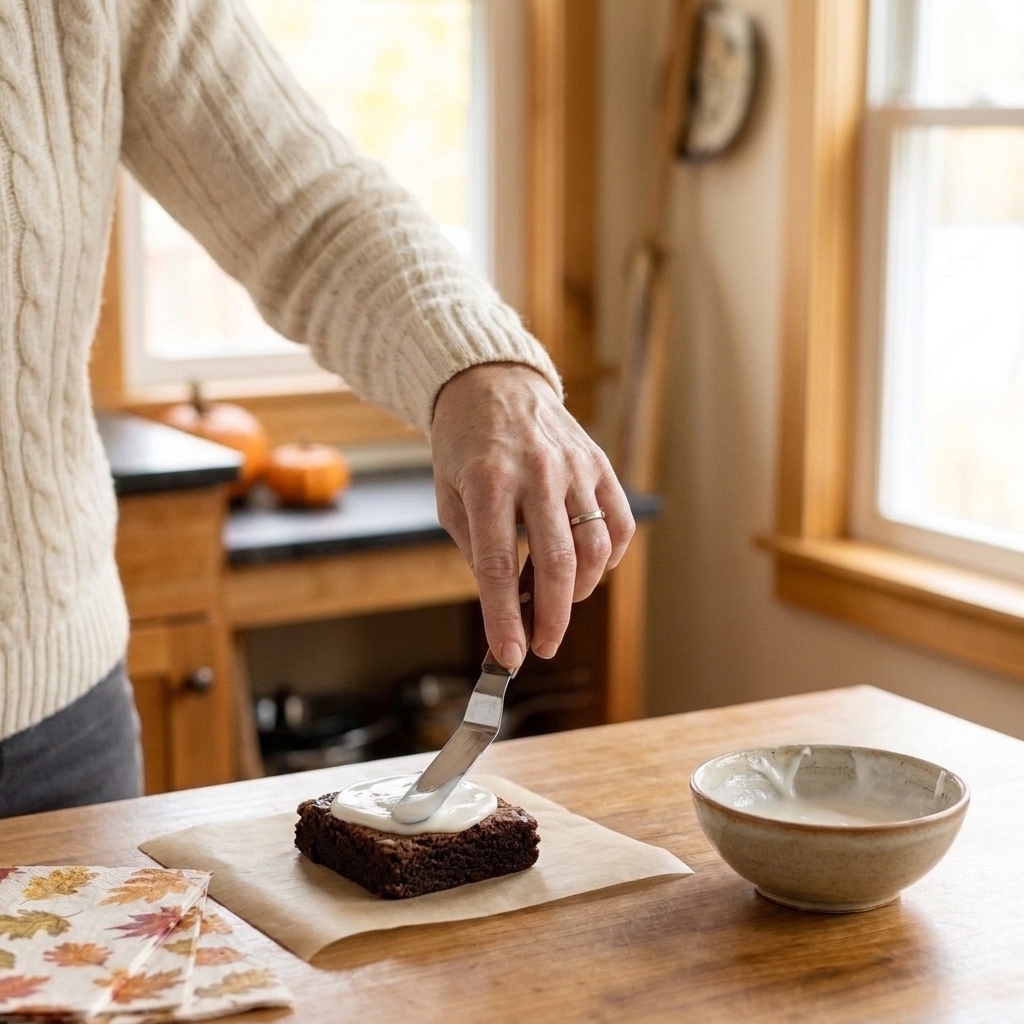
Step 2: Flood the top (thin layer)
Pipe a border of white icing, then spread or pipe icing to fill the center. You want a thin, smooth layer, not a tall frosting mound. Let it sit 5 to 10 minutes so the surface starts to settle.
Step 3: Pipe chocolate rings
Melt chocolate chips in 15 to 20 second bursts in the microwave, stirring between bursts. Spoon into a piping bag or zip-top bag and snip the tiniest corner.
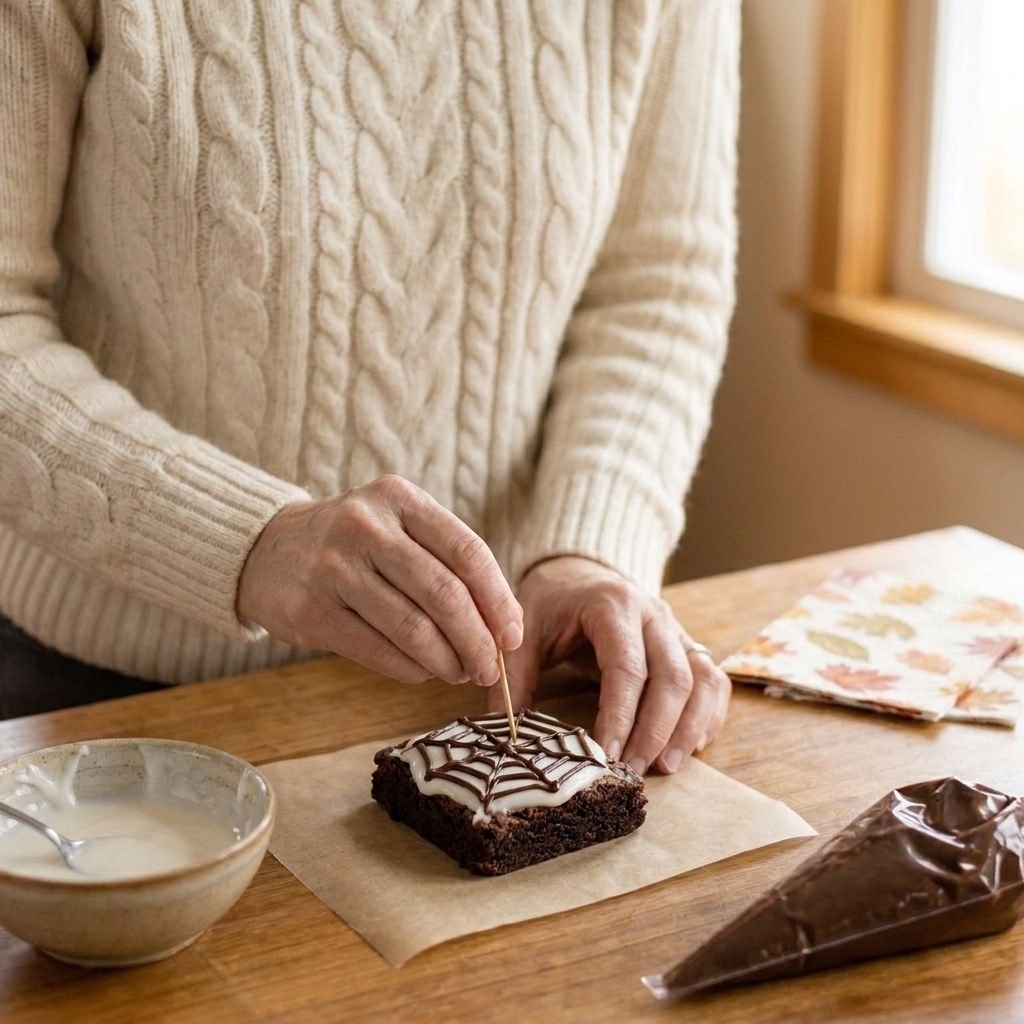
Pipe 3 to 5 concentric circles of chocolate on top of the white icing.
Step 4: Drag to make the web
Immediately drag a toothpick from the center out to the edge, repeating all the way around (about 8 to 12 drags). Wipe the toothpick as needed. You will see the rings pull into a web pattern as you go.
Option B: Bold and fast (white rings on bare brownie)
If you love the look of bright white webs on dark brownies, skip the flood.
- Pipe 3 to 5 concentric rings of white icing directly onto the bare brownie top.
- Drag a toothpick from the center out to the edge, repeating around the brownie (8 to 12 drags).
Optional: Add a tiny chocolate spider after the white web sets a bit, or place a candy spider if you have them.
Optional: Add a chocolate spider
If you want to go extra, pipe a small chocolate dot for the body and a smaller dot for the head. Add 8 tiny legs with thin lines. Let it set before moving the brownie.
Let them set
Give spider web brownies 20 to 30 minutes at room temperature to set, or pop them in the fridge for 10 minutes if you are in a hurry.
Design 2: Mummy brownies
Mummy brownies are delightfully messy in the best way. The goal is stretchy marshmallow bandages, not perfection. Kids can do most of this with minimal help.
Step 1: Warm the marshmallows
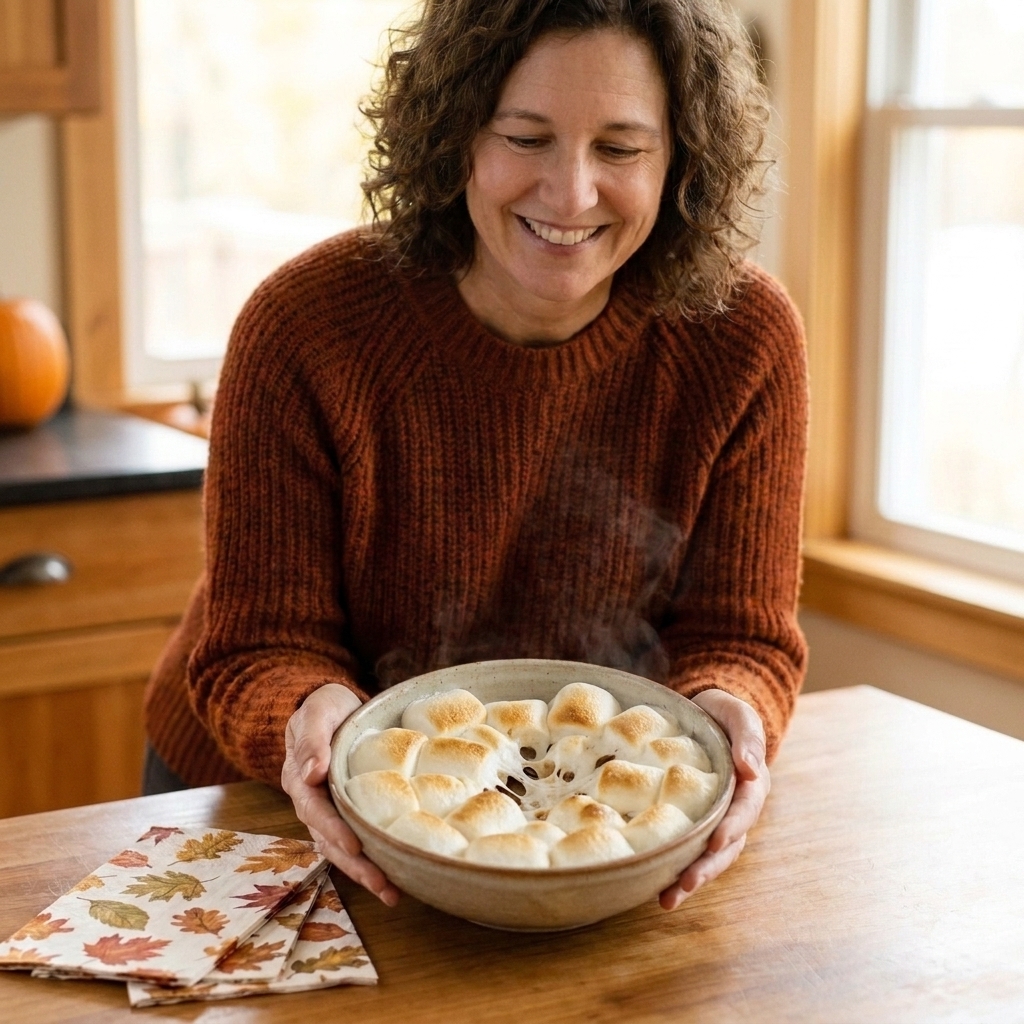
Place mini marshmallows in a microwave-safe bowl. Microwave for 8 to 12 seconds, just until puffy and soft. Stir once. They should be sticky and stretchy, not fully melted into liquid.
Tip: If they get too runny, let them sit 1 minute to cool slightly, then try again.
Step 2: Stretch bandages over each brownie
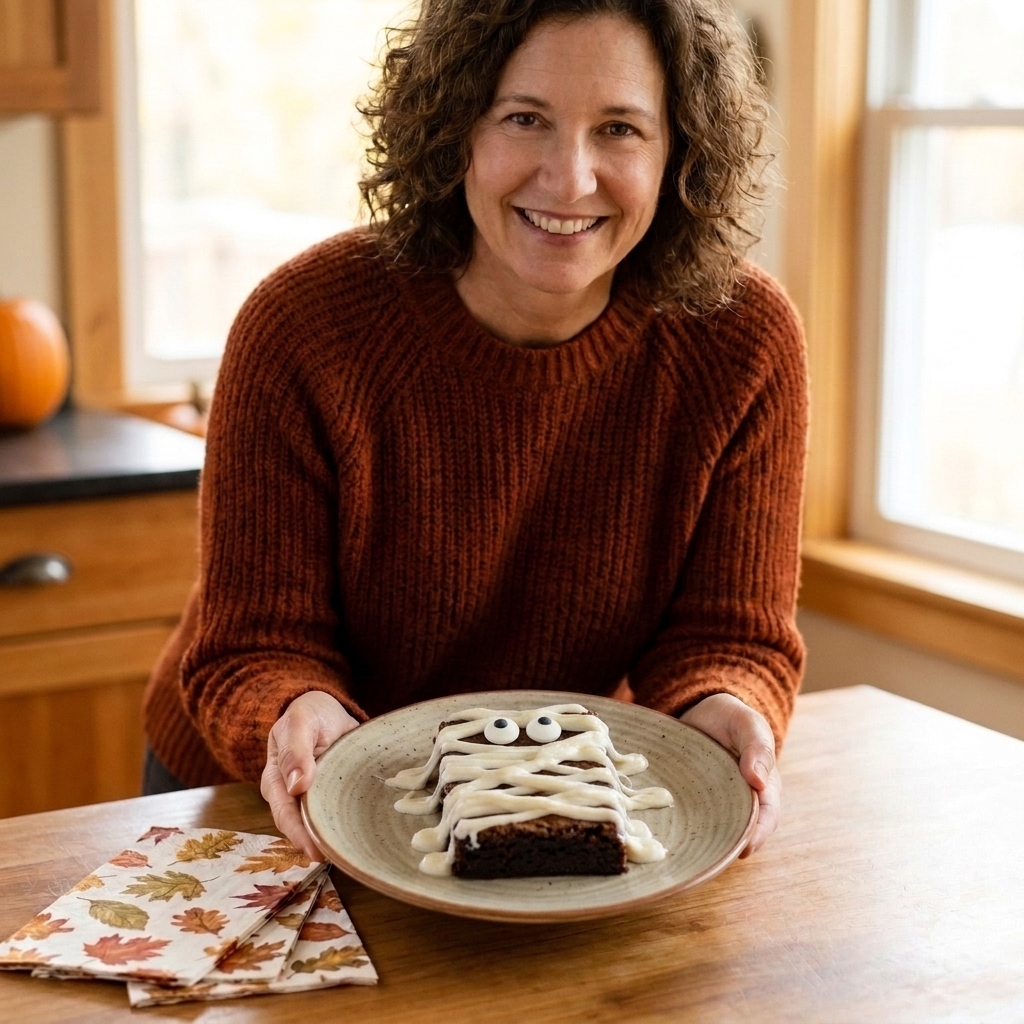
Use two forks or lightly greased fingertips to pull small pieces of marshmallow and drape them across the brownie in strips. Crisscross a little and leave a small gap for the eyes.
I like to do 3 to 5 strips per brownie. More strips looks extra mummy-ish, fewer strips looks more modern and tidy.
Step 3: Add eyes
Press candy eyes into the open space. If you do not have candy eyes, pipe two small dots of melted chocolate or use mini chocolate chips.
Step 4: Add chocolate detail (optional)
For a slightly spookier mummy, drizzle a few thin lines of melted chocolate over the marshmallow bandages.
Easy piping setup
If piping feels intimidating, this is the setup that never fails me.
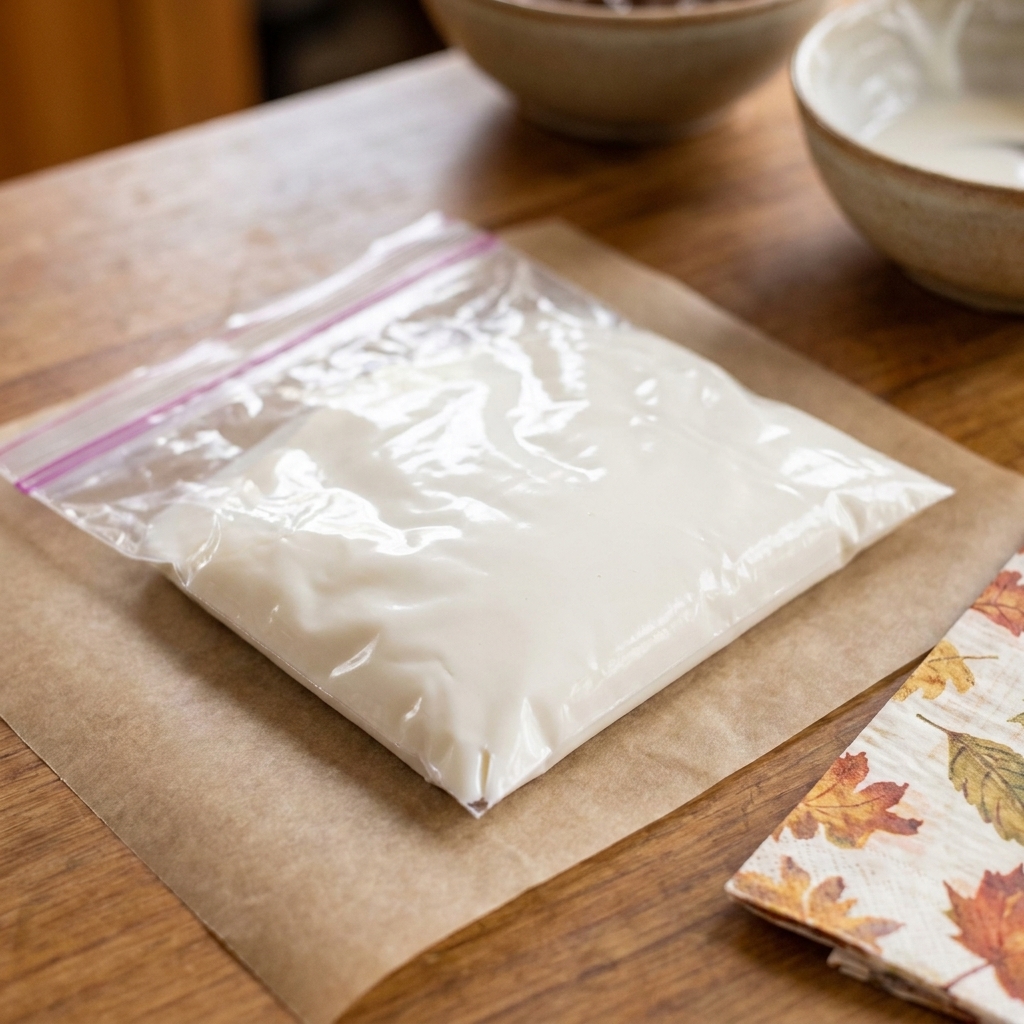
- Zip-top bag method: Spoon icing or melted chocolate into a small zip-top bag, push it into one corner, and snip a tiny hole. Start smaller than you think. You can always cut more.
- Control tip: Twist the bag above the icing to create pressure and keep your hand steady.
- Practice first: Pipe a few lines onto parchment before you touch a brownie.
Troubleshooting
My web lines look blobby
- Your icing is too thin. Add a spoonful of powdered sugar, whisk, and try again.
- Your piping hole is too big. Use a fresh bag and snip a smaller corner.
- If you are doing the spider web, make sure you are using contrast: chocolate rings on white icing, or white rings on bare brownie. Same-on-same will disappear.
My chocolate seized or got thick
- Chocolate overheated. Microwave in shorter bursts and stir more often.
- A little coconut oil or vegetable shortening can help smooth it out. Start with 1/2 teaspoon.
My marshmallows turned into glue
- They overheated. Next time microwave less. For now, let the bowl cool a minute and use forks to pull thinner strands.
- Lightly grease your forks or fingertips to prevent sticking.
My mummy bandages slid off
- Brownies were warm or oily on top. Chill brownies 10 minutes and try again.
- Use smaller pieces of marshmallow and stretch thinner strips.
Make-ahead and storage
Can I decorate these ahead?
Spider web brownies: Yes. Decorate up to 24 hours ahead and store in a single layer.
Mummy brownies: Best the day you make them. The marshmallow stays cute, but it can get a little tacky after a day.
How to store
- Room temperature in an airtight container for 2 to 3 days.
- If your kitchen is warm, refrigerate in a single layer. Bring to room temp for 15 minutes before serving for the best fudgy texture.
Fun variations
- Orange and black webs: Flood with pale orange icing, then pipe black chocolate rings and drag.
- White chocolate webs: Flood with dark chocolate (thin layer of melted chocolate that sets), then pipe white chocolate rings and drag.
- Mummy peanut butter brownies: The salty-sweet combo is unreal.
- Gluten-free base: Use your favorite gluten-free brownie mix and decorate the same way.
FAQ
Do I have to use royal icing for spider webs?
No. A thick powdered sugar glaze works if you are serving the same day. Royal icing sets firmer and travels better.
Can I use store-bought frosting instead of icing?
You can, but it is harder to pipe clean lines unless you thin it a bit. If you do use it, warm it slightly and stir until smooth, then pipe with a small hole.
What is the easiest way to melt chocolate for piping?
Microwave in short bursts and stir often. When it is mostly melted, stop microwaving and stir until smooth. Residual heat finishes the job and keeps chocolate from scorching.
How do I make these less messy for kids?
Set up a parchment-lined tray. Put icing and chocolate in bags ahead of time. For mummies, let kids use forks instead of fingers for the marshmallow stretching.